How to Configure Your Instance
🚀 Create your first instance to start your journey with Clevero.
The instance holds the special settings and details linked to your account. To configure your instance settings, follow the steps below.
Instance Categories
There are two instance categories: For Resale and Not for Resale. To help you decide which is best for you, see the details of each category in the table below:
| For Resale | Not for Resale | |
|---|---|---|
| Description | Suitable for commercial use | Used for demo purposes only |
| Purpose | For resale to customers | For internal testing or demonstration |
| Main Module | Available | Available |
| Additional Modules | Available | Available |
| Users | No limitation | Limited to 3 users only |
Module Types
We offer a variety of modules to suit your needs. They are divided into Main Modules and Additional Modules:
- Main Module: Provides core functionality.
- Additional Modules: Optional modules that enhance or extend the main module.
How to Create an Instance
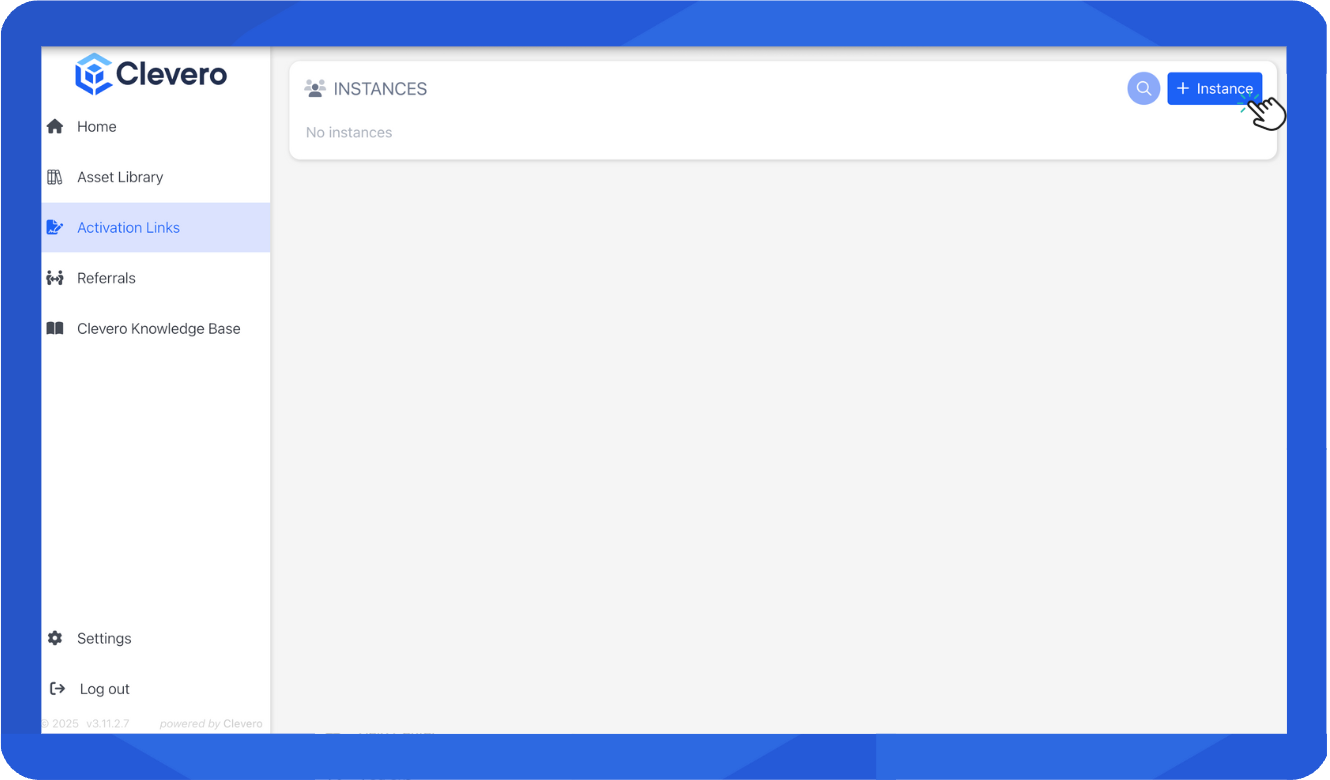
- From the Activation Links menu, select the + Instance to create a new instance.
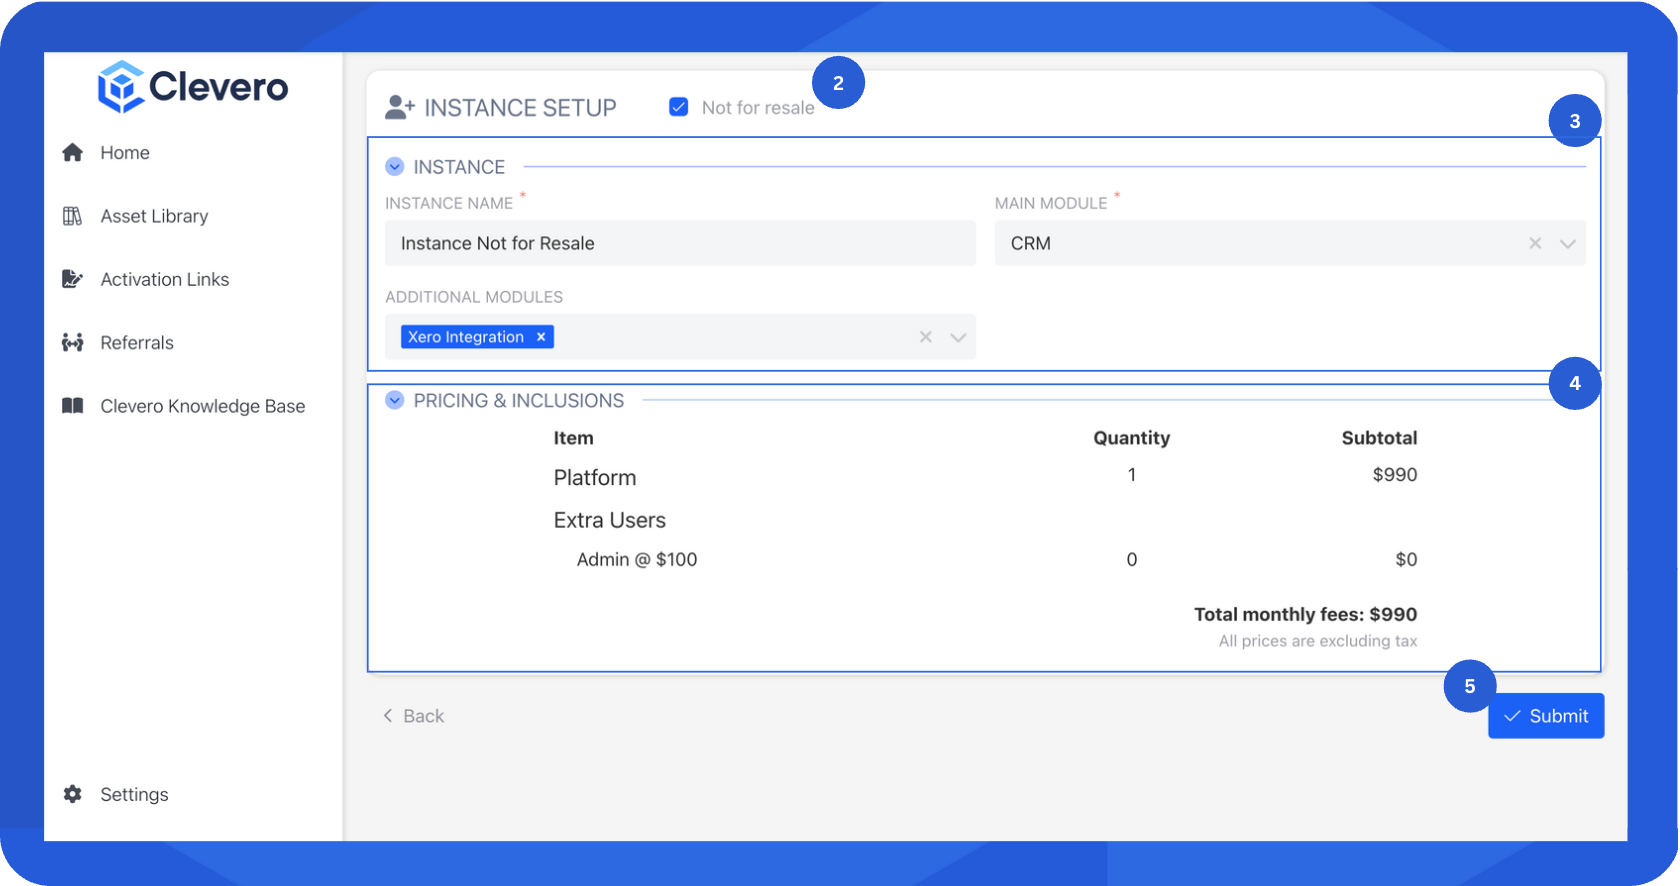
- If the instance is for resale, disable the Not for Resale checkbox.
- Fill in the Company Details information:
- Enter the Company Name.
- Enter the Company Contact's first name, last name, and email address.
- Fill in the Instance Details information:
- Enter the Instance Name.
- Choose the Main Module. You can select a blank instance for a fresh configuration of a new solution.
- Choose any Additional Modules you want to include with the Main Module.
- Select Submit to set up the instance.
- Done! The instance is created successfully.
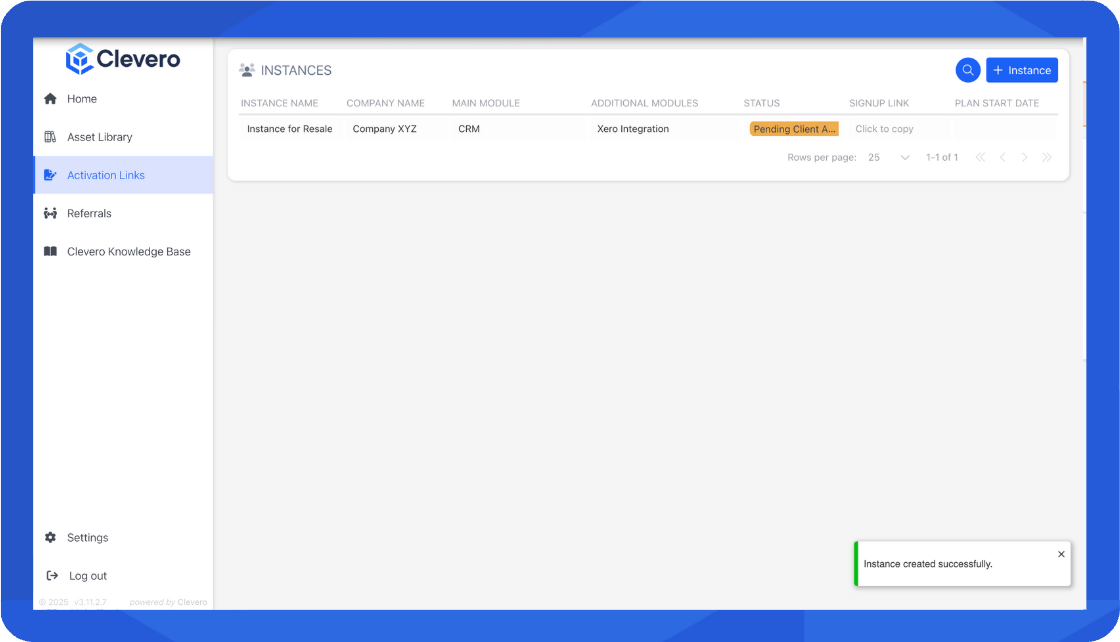
- From the instance you just created, select Signup Link to generate a payment link.
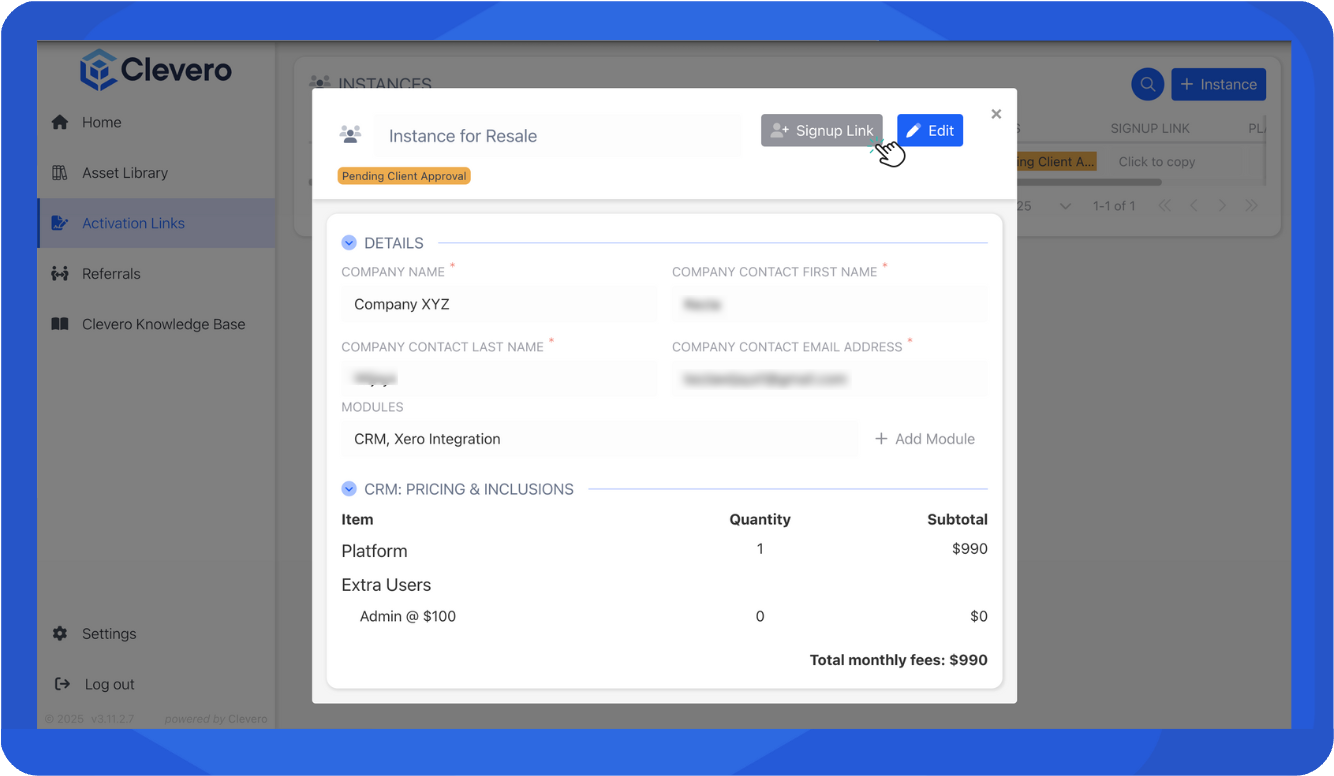
- Copy the link and share it with your customer.
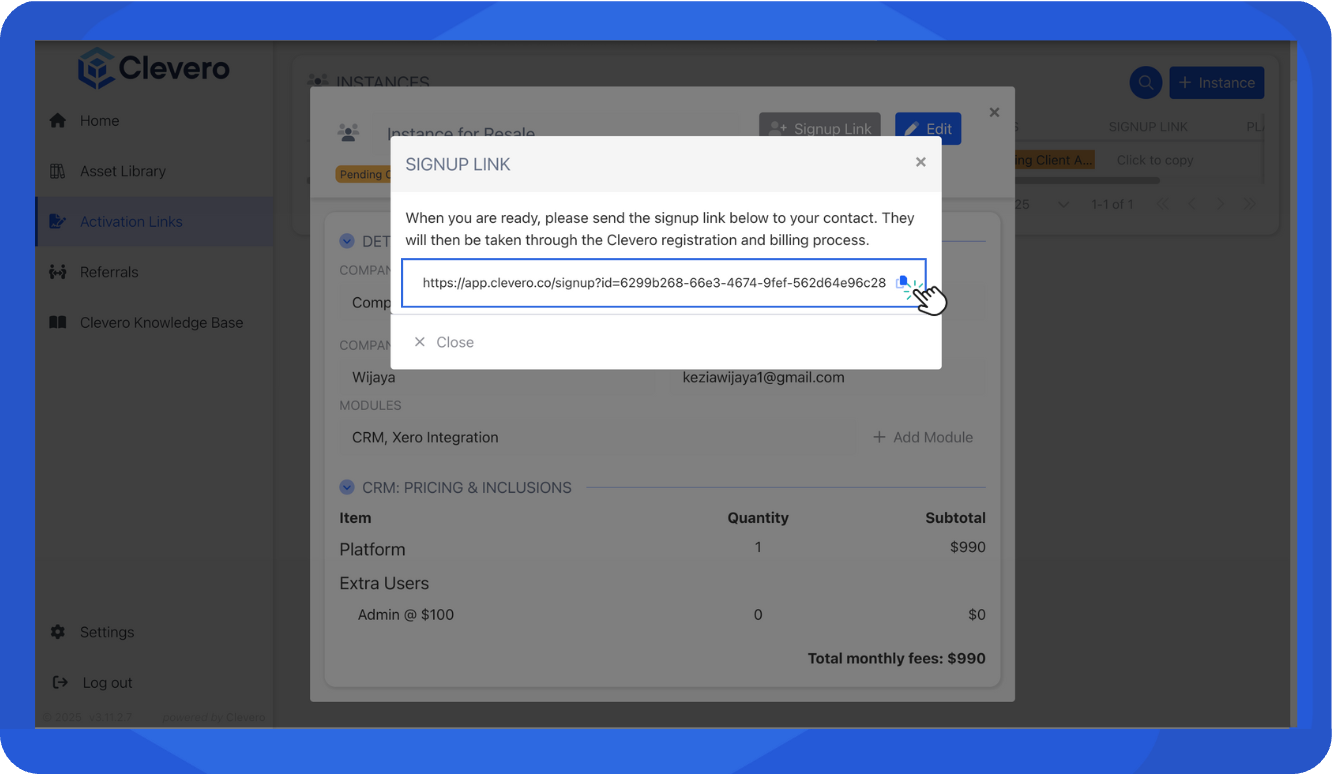
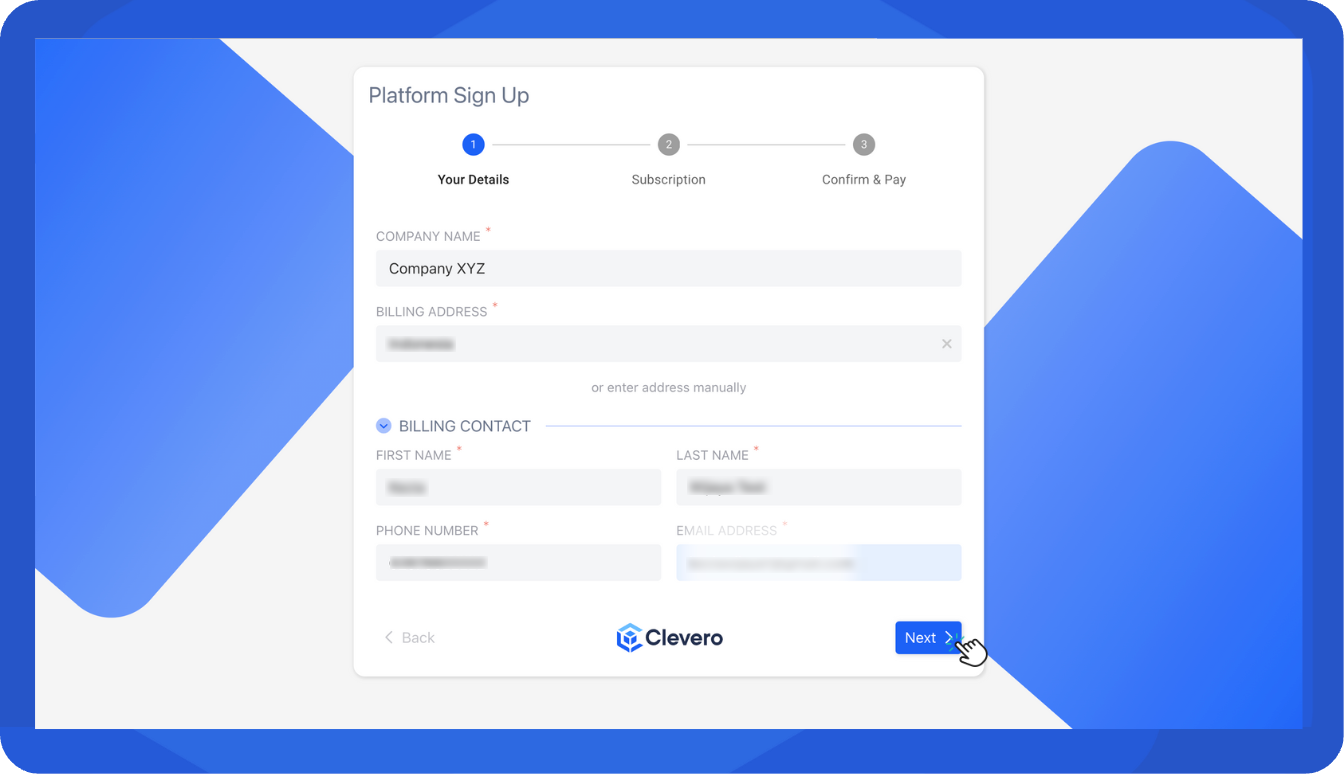
- The customer will be directed to the Clevero Registration and Billing page. They must enter their billing information and review the subscription details.
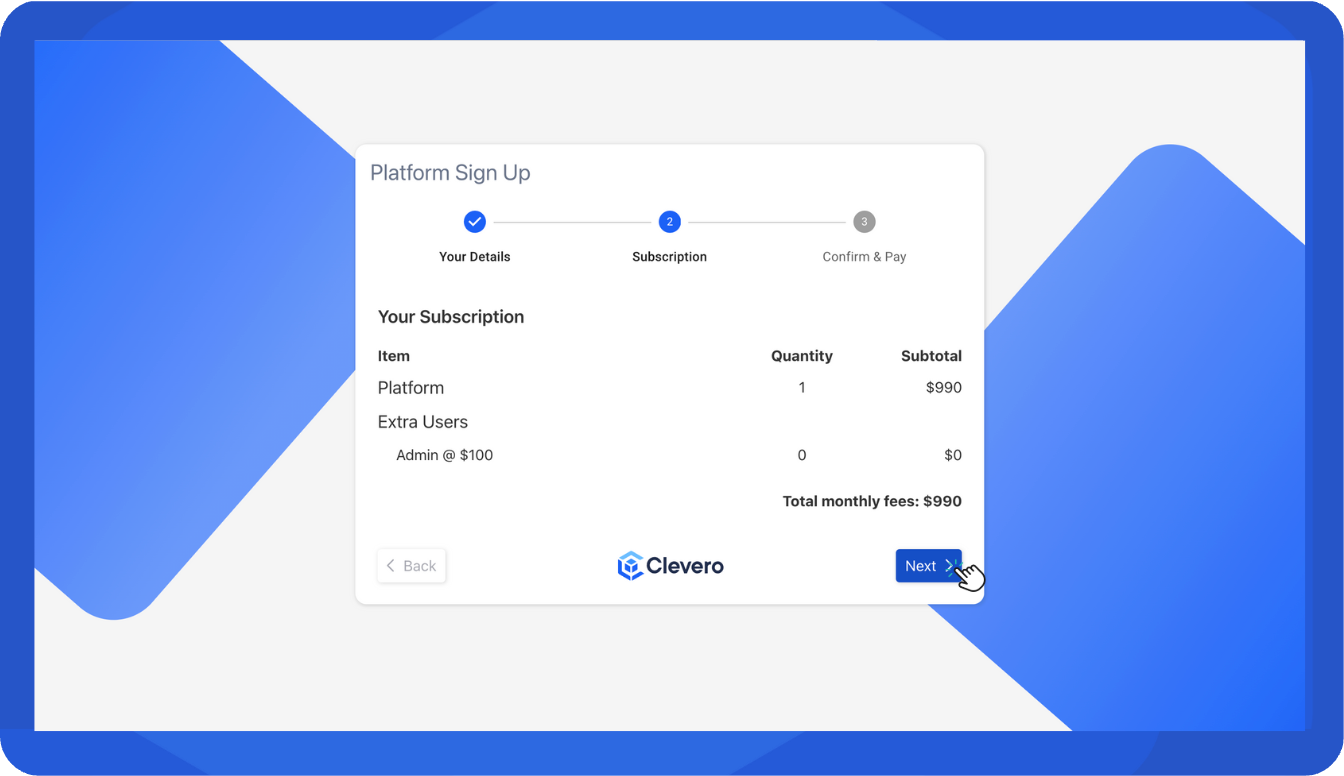
- On the next page, the subscription details are displayed based on the selected modules. If everything looks correct, continue to the Billing and Payment page.
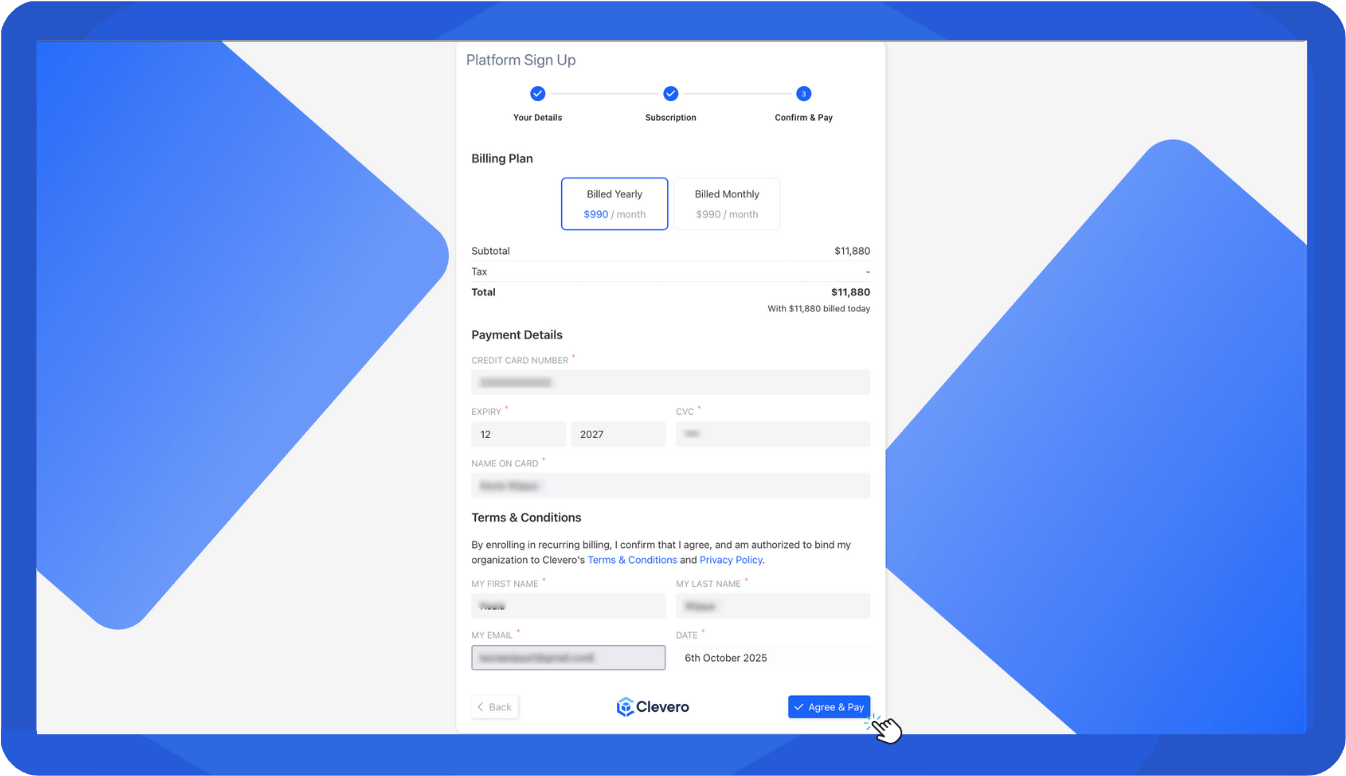
- Review and complete the payment information:
- Choose billing frequency (Monthly or Yearly). Both options start billing immediately and will continue on a recurring basis.
- Enter Card Details for payment.
- Provide your personal information and accept the Terms and Conditions.
- Finally, select Confirm & Pay to complete the instance setup. The customer will then receive a payment confirmation notification from their bank.
📌 Need Help?
