Calendars
📆 Enhance Planning with Calendars.
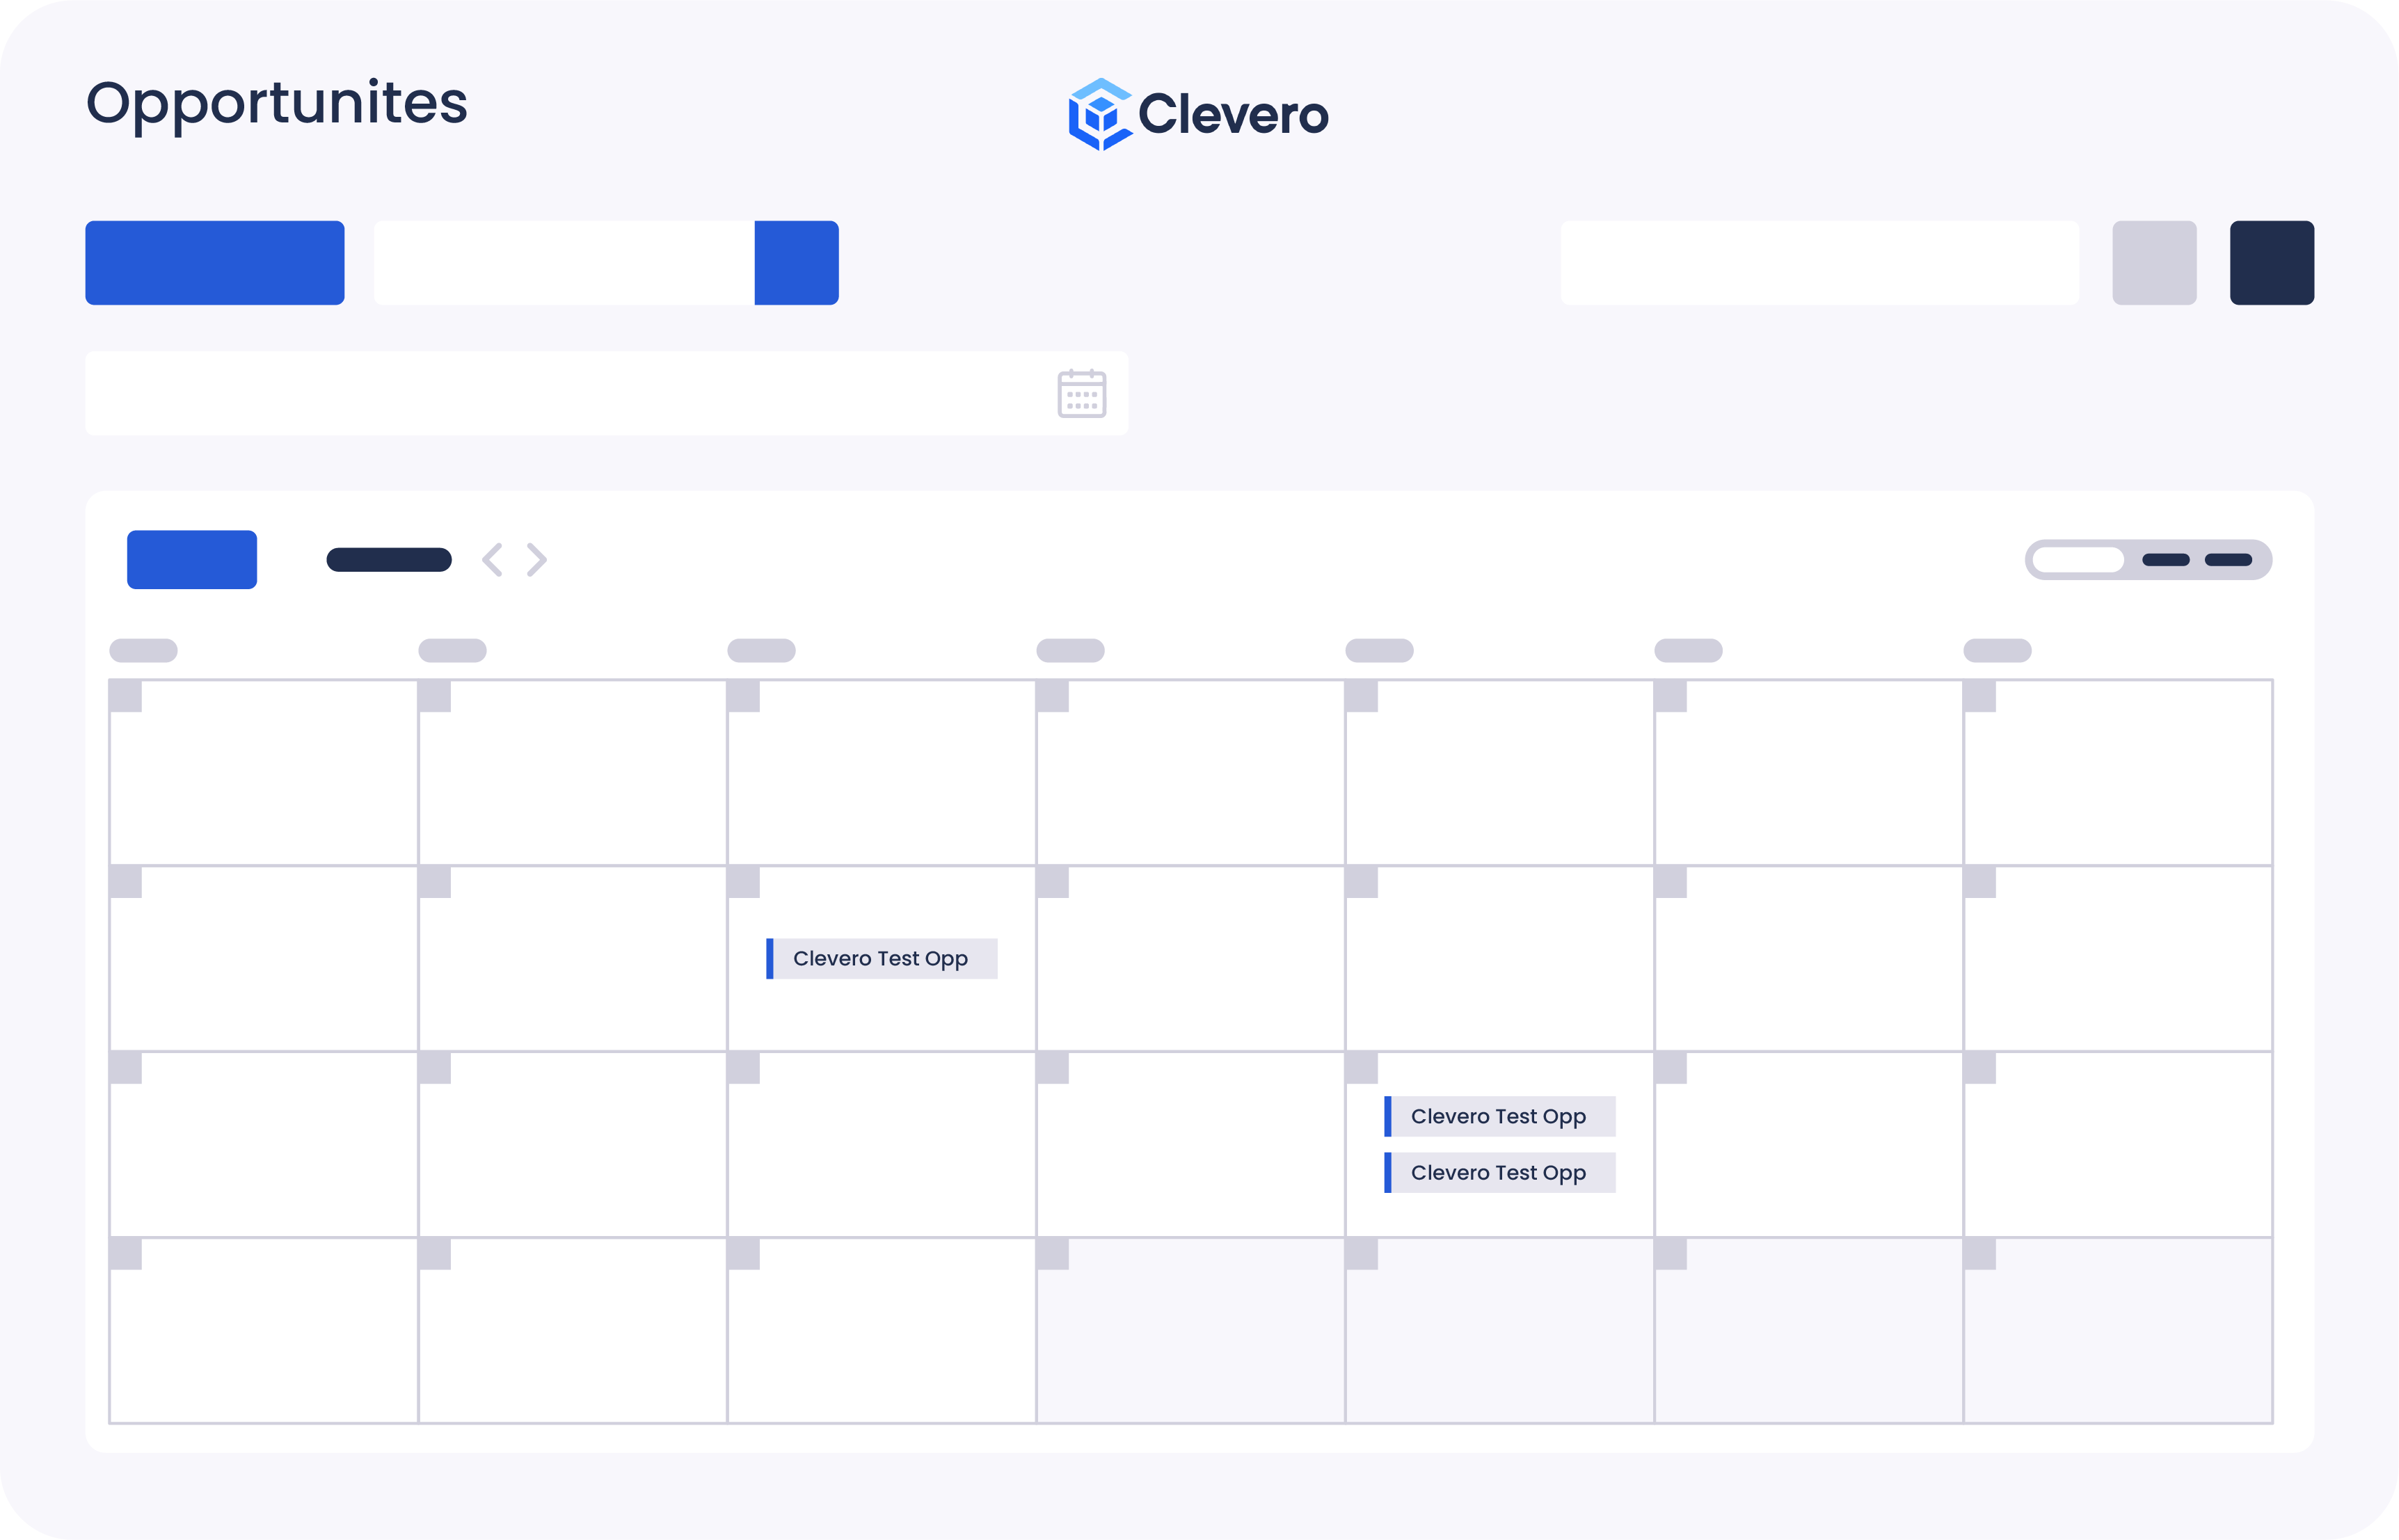
Calendars visually represent time to view and manage events, activities, or schedules. It offers a structured layout with dates, days, and months and the ability to add, edit, and navigate through time-based information.
1. Features and Benefits
The following are the key features and benefits provided by the Calendar View:
- Enables efficient planning and scheduling of events.
- Provides an overview of upcoming and past activities.
- Display dates, days, and months clearly and legibly.
- Provide options for multiple views (e.g., daily, weekly, monthly).
- Allow easy navigation and switching between dates.
2. Create and Apply a Calendar View
Watch the guided demo below to create and apply a Calendar View.
You can also follow the same steps using the written guide below.
WarningThe default view is visible to all users. To make sure it works for everyone, create a default setting that works for all users. If you need a personalized experience, copy the default view or create a new view as needed.
- Open the record and find the Views icon in the top-right corner of the screen.
- Click on the "New View" button within the Views menu.
- Choose the "Calendar View" option.
- Specify the settings as follows:
- View Name: Enter a name for the layout.
- Date Field: Select the field that contains the event dates.
- Title Field: Choose the field to be displayed as the label on the calendar for each event.
- Location Field: Select the field that contains the event locations.
- Attendee Field: Choose the field that includes the event attendees.
- Configure the Day view column settings:
- Use as columns: Select the desired columns displayed on the Day view.
- Columns to display: Specify the specific columns on the Day view.
- Set the field that will determine the colour of the events on the calendar.
- [Optional] Utilise quick filters to pre-define specific filter criteria for easy data filtration.
- [Optional] Utilise Advanced Settings to add configuration to your list view.
- Report Widgets are simple “number widgets” that can display a calculation over a list of entries. To add a report widget, insert a configuration. Here are sample configurations for reference: Link to the report widget.
- Click on the "Save" button to save the changes.
To set up and use a Calendar view for a desired record, follow these steps:
- Open the record and find the Views icon in the top-right corner of the screen.
- Choose the desired layout you wish to display from the available options.
- To set the selected view as the default display for the record, click on the "Set as default" option > Click "Save".
- Alternatively, if you only want to apply the selected view without setting it as the default, click the "Apply" button.
📌 Need Help?
