Entry Layout Builder
💡 Customise Record Views with Entry Layout Builder
The Entry Layout Builder lets you design how records are displayed and interacted with. By customizing layouts, you can control how users view, create, and edit data.
Step 1: Create an Entry Layout
Start by creating a new Entry Layout, either directly from a record or through the System Settings. This step involves naming the layout, selecting how it will appear, and linking it to the appropriate record before you begin configuring its structure.
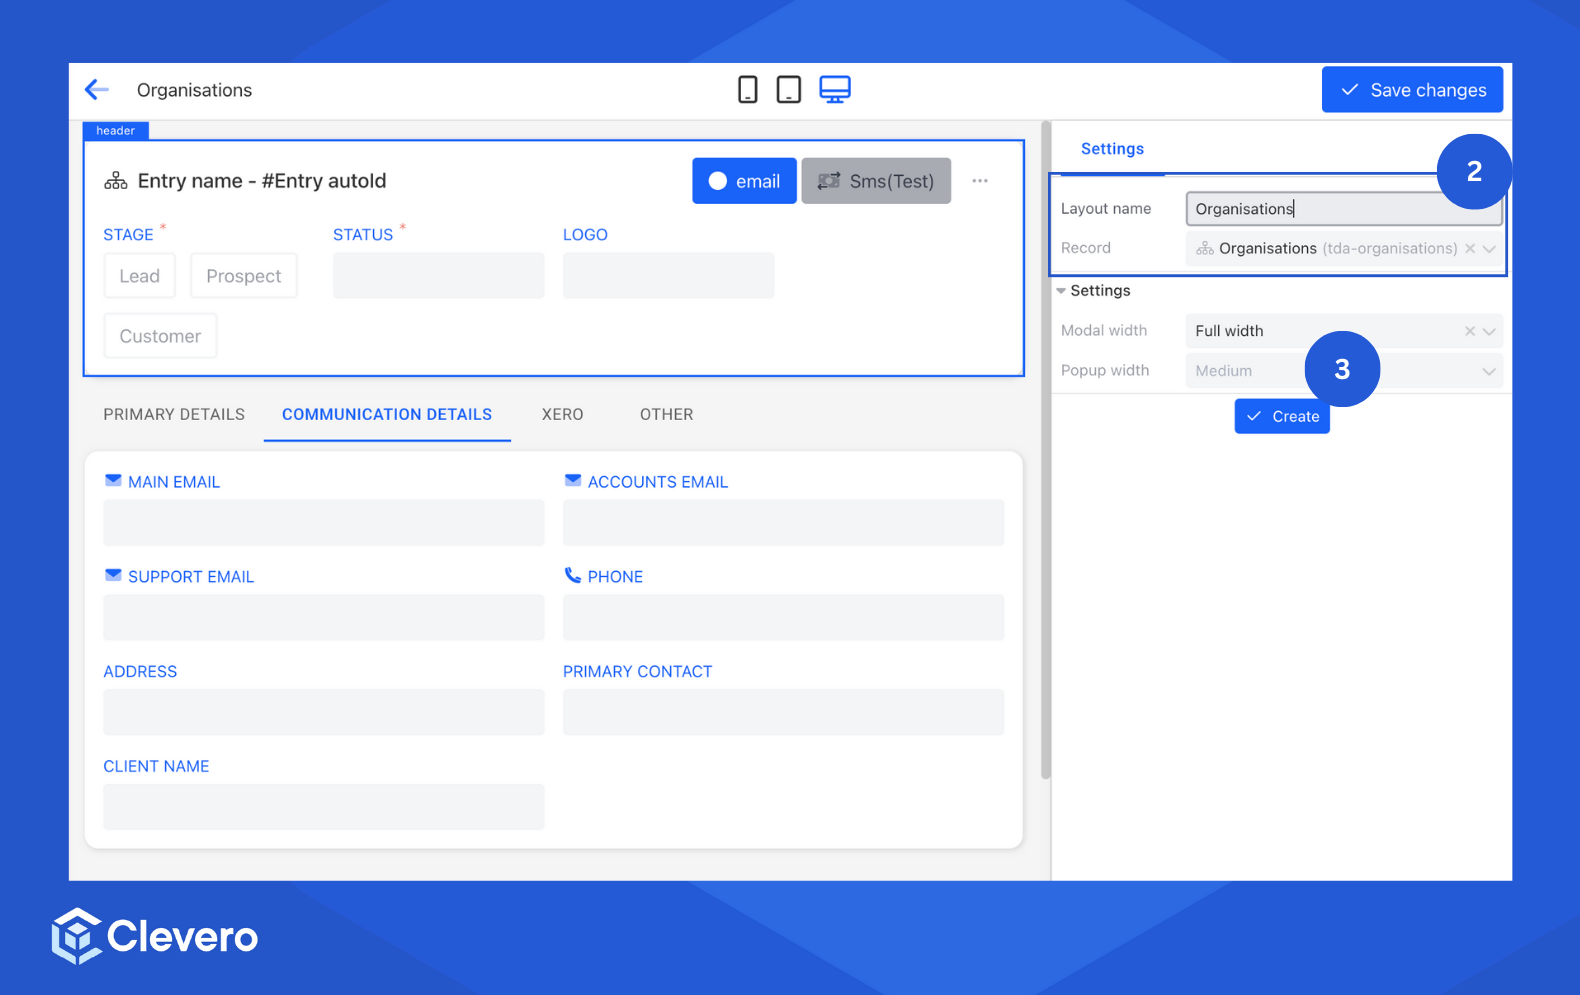
- From the record view, click the ⋯ (three dots) icon and select Configure Record.
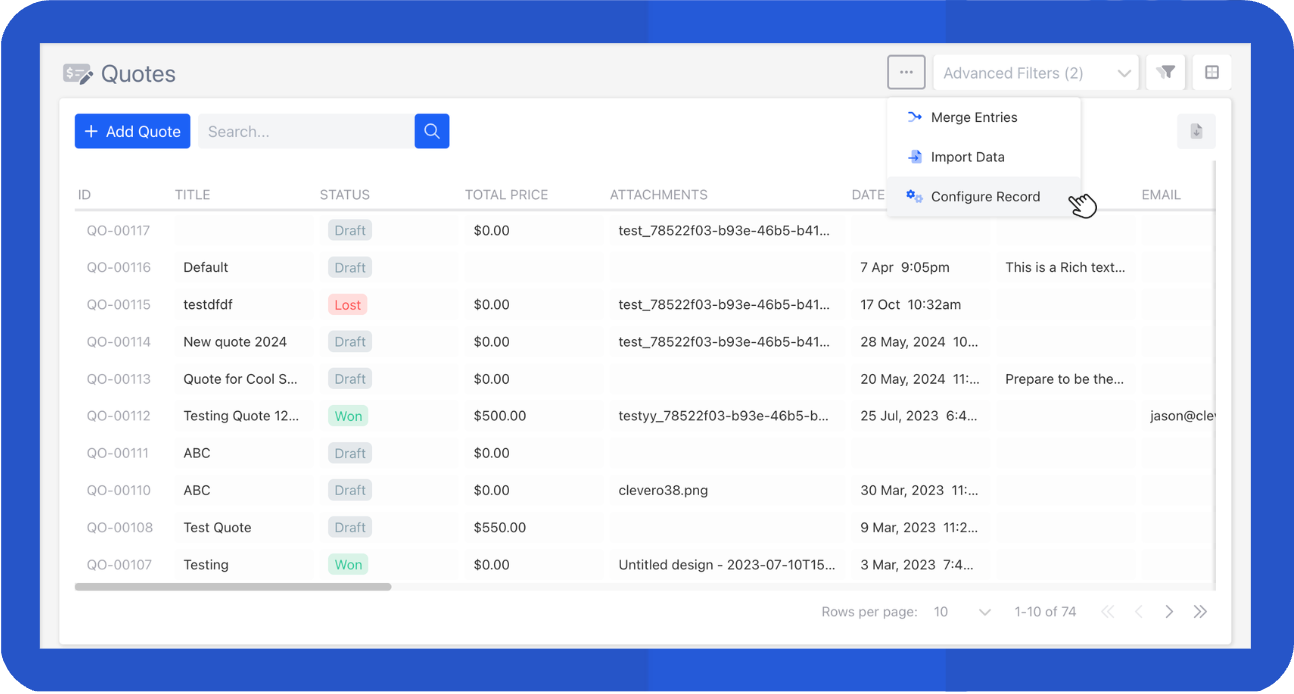
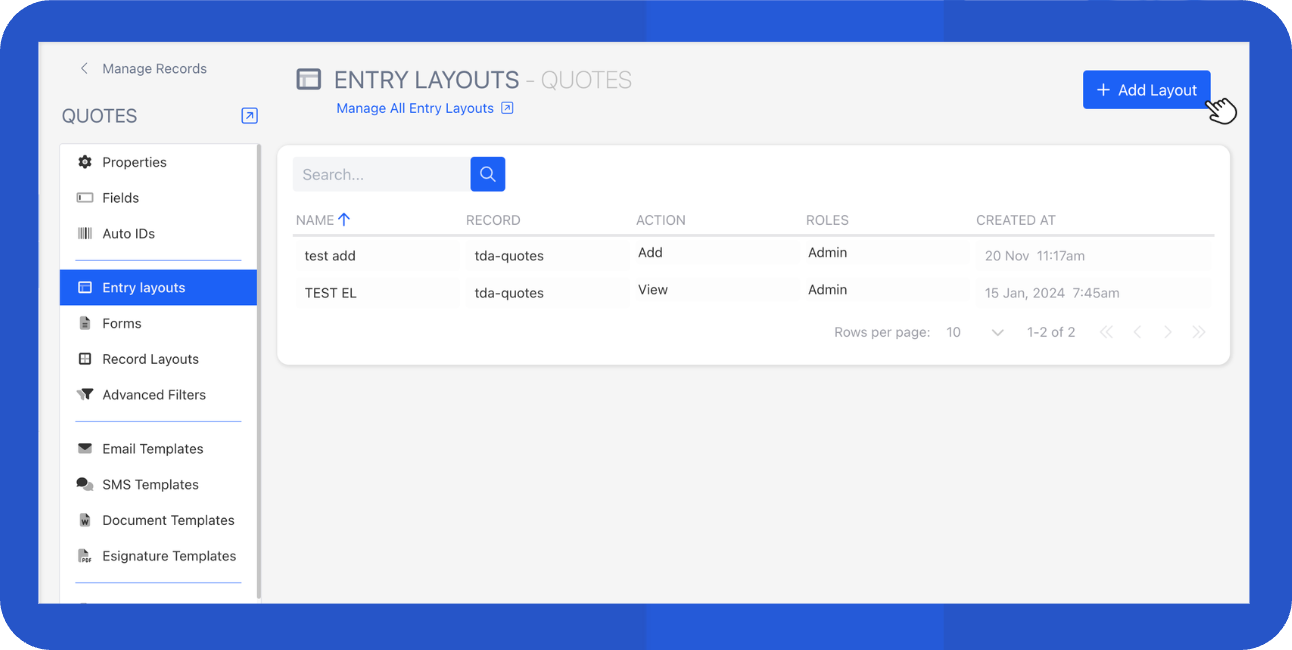
- Choose Entry Layouts from the side navigation.
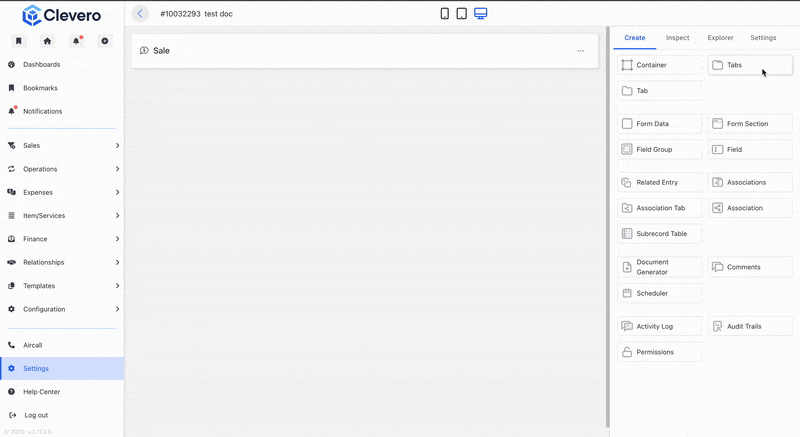
- Click on the "+ Add Layout" button to create a new layout or choose an existing layout to modify. For this example, we will create a new layout.
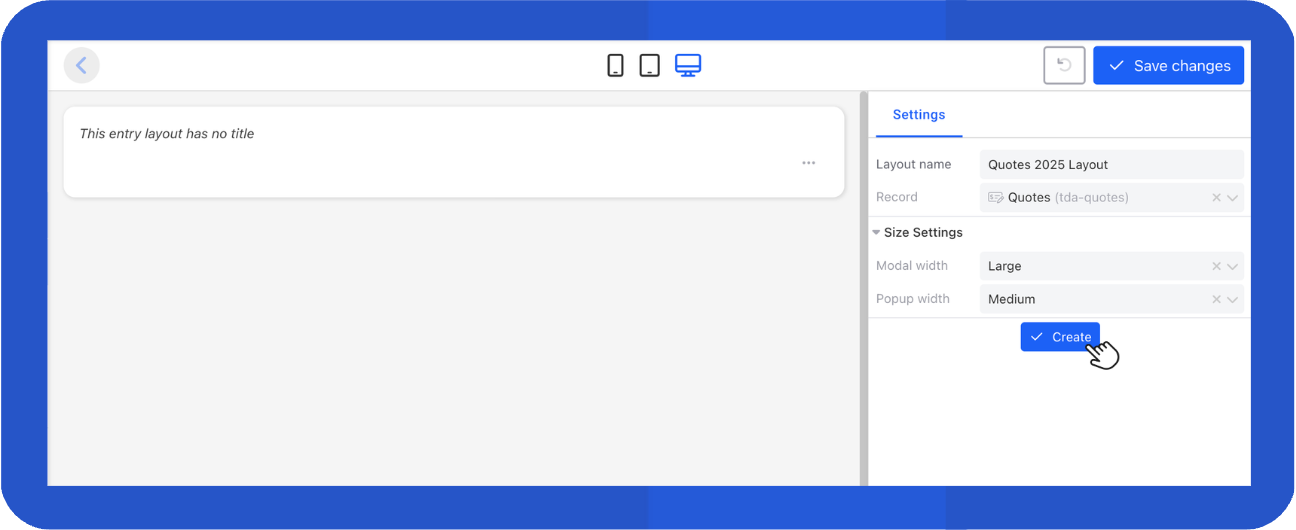
- In the Settings section, provide a name for the layout and specify how you want the content to be displayed via Modal and Popup widths.
- Click the "Create" button to create the layout.
Step 2: Build Your Layout
Now that you’ve created a layout, it’s time to design it with components. Each component has its own purpose, think of them like building blocks.
InfoLearn more about Entry Layout concept:
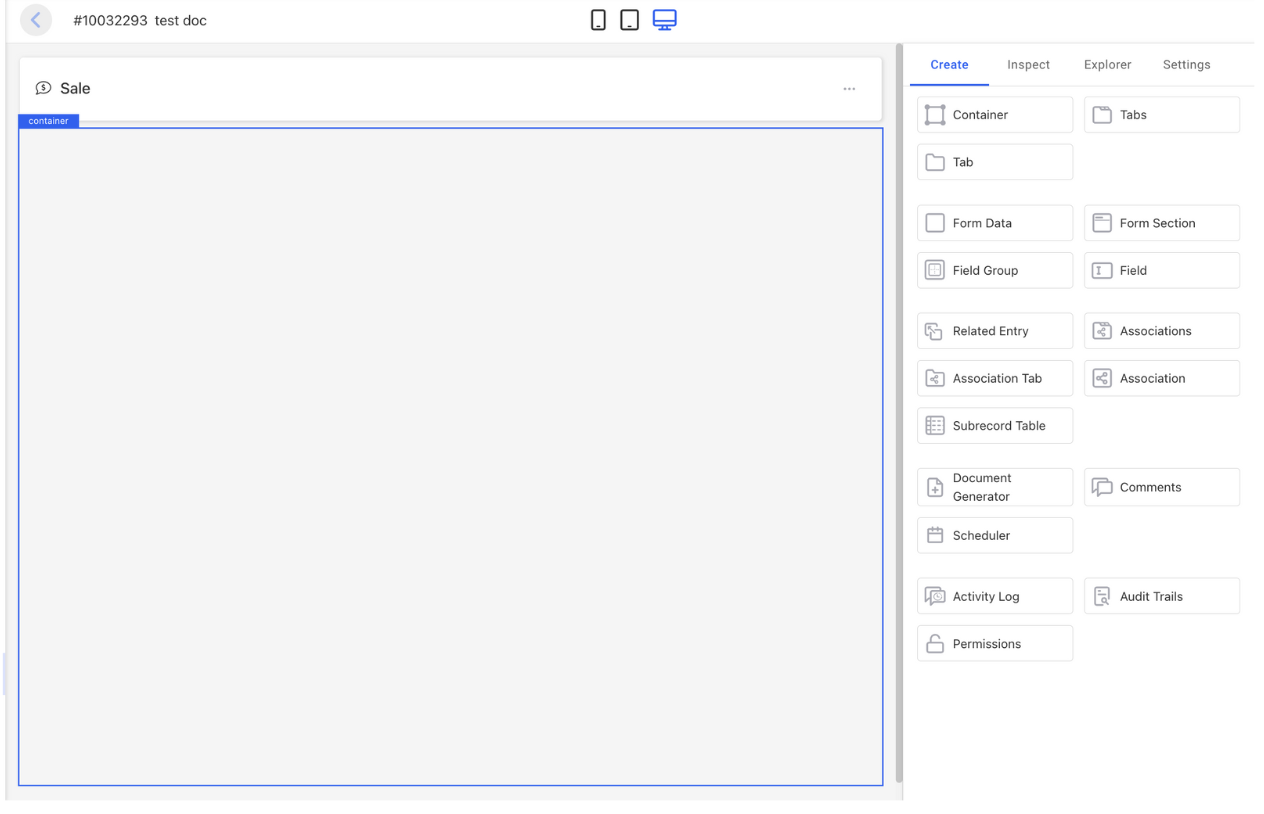
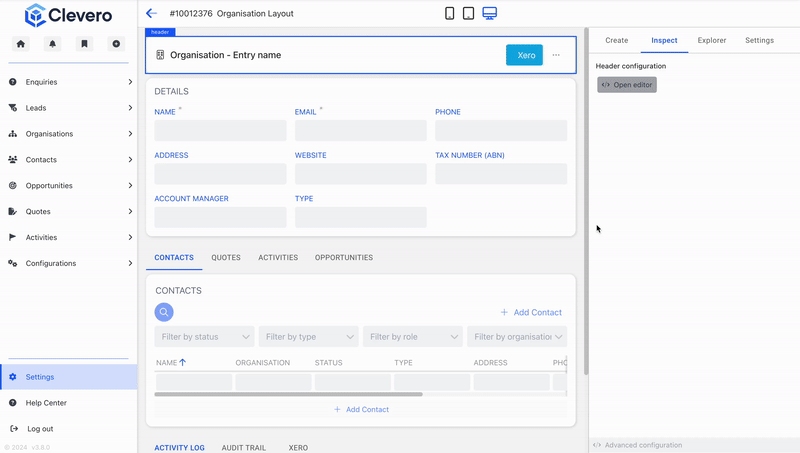
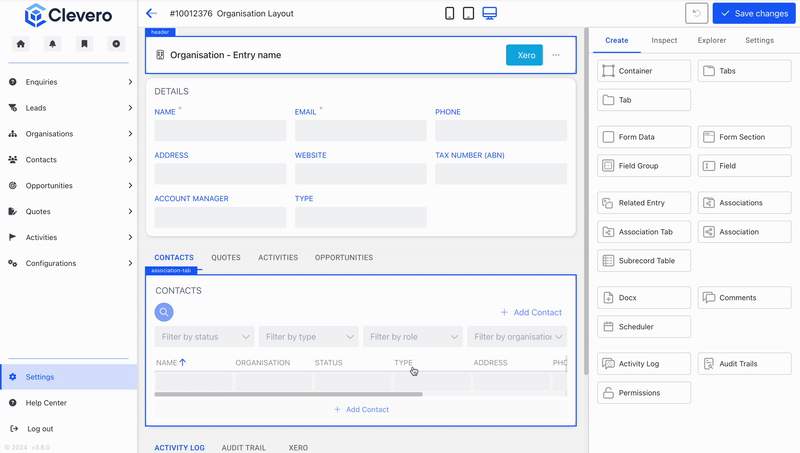
- Go to the Create tab.
- Drag and drop components you need onto the canvas.
- Add and configure components one by one based on what you want users to see or do. Use the list below as a reference:
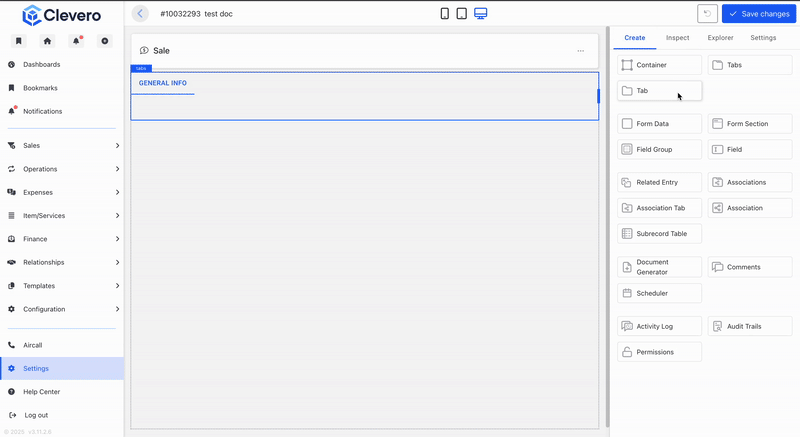
1. Container
Start with a Container. It’s the “frame” of your layout where everything else lives. Put forms, tabs, or associations inside it to keep things organised.
2. Tabs
Use Tabs when you want to break information into different views (e.g. General Info, Details, History). This keeps complex records easier to navigate.
3. Tab
Each Tab is one section inside the Tabs component. Inside each Tab, you can add Form Data, Associations, or Subrecord Tables.
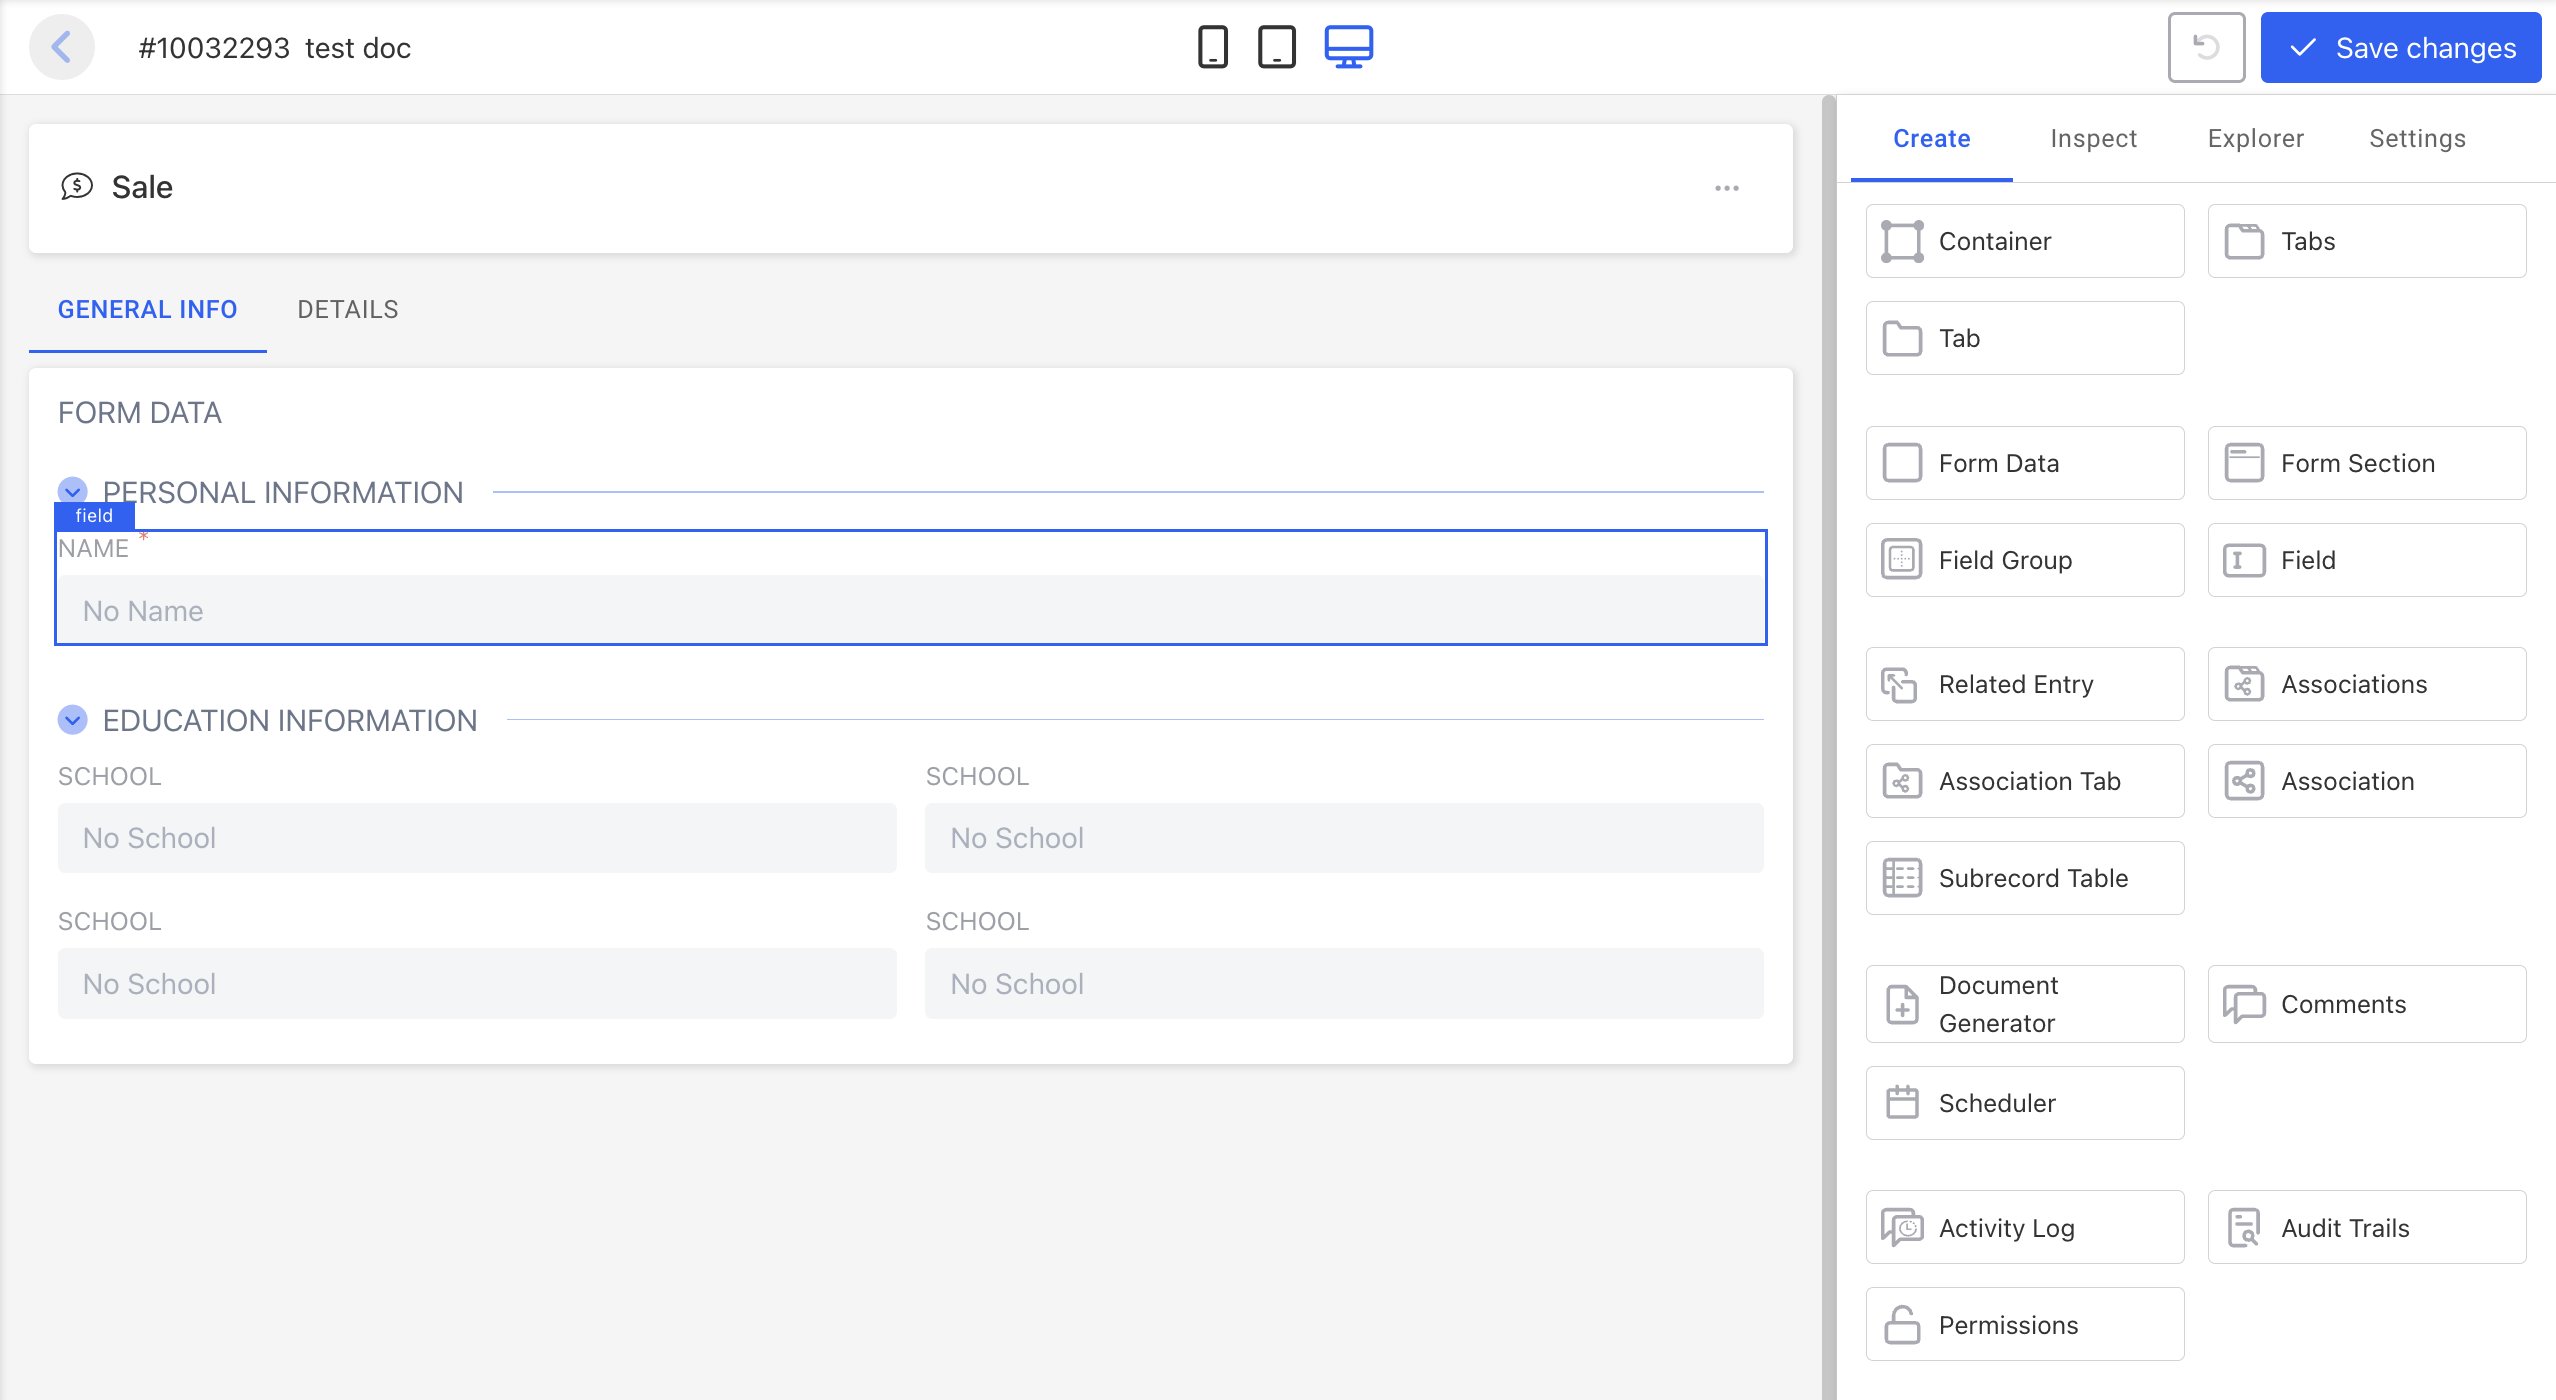
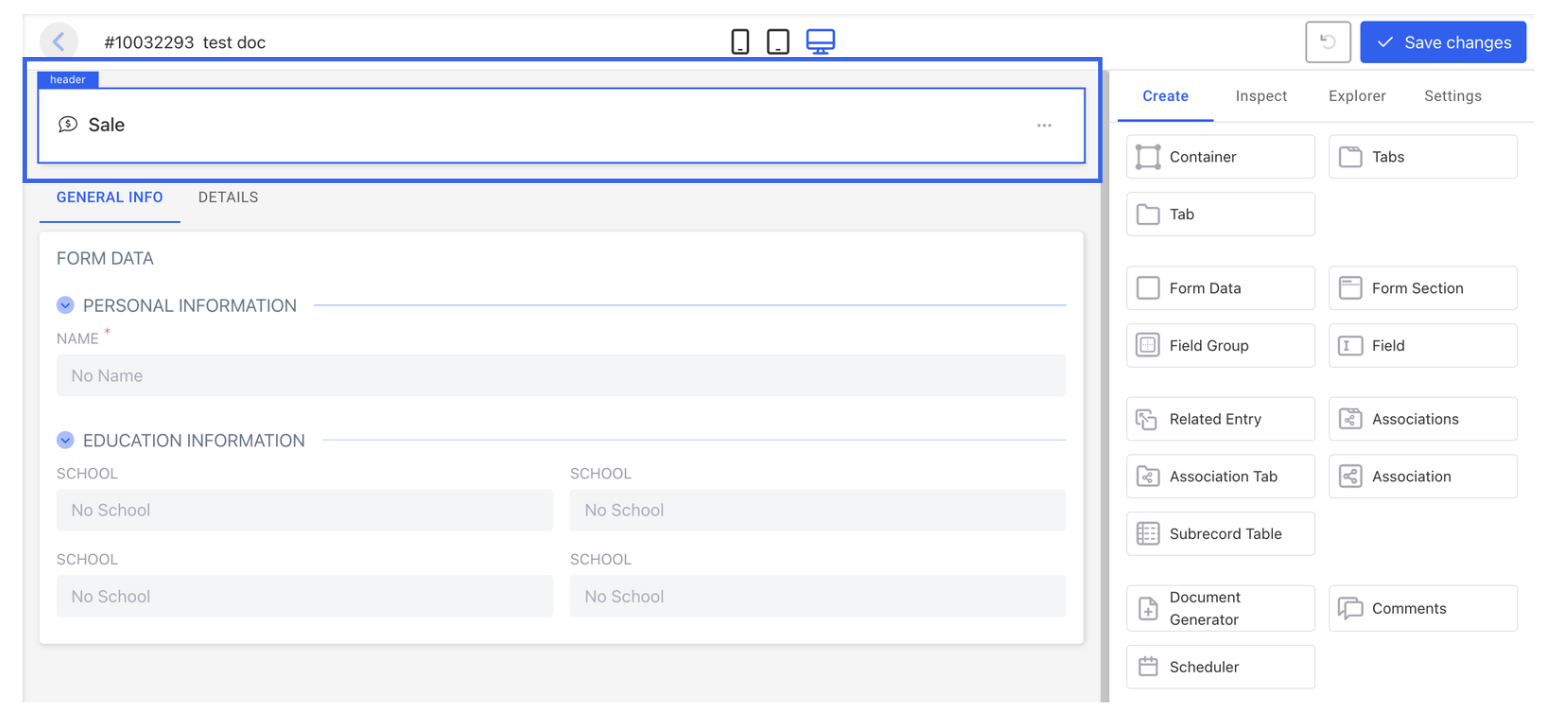
4. Form Data
This is your main workspace for fields. Use it when you want users to enter or update record details.

5. Field Group
Group related fields together so users don’t feel overwhelmed. Example: put “First Name,” “Last Name,” and “Email” under Contact Information.
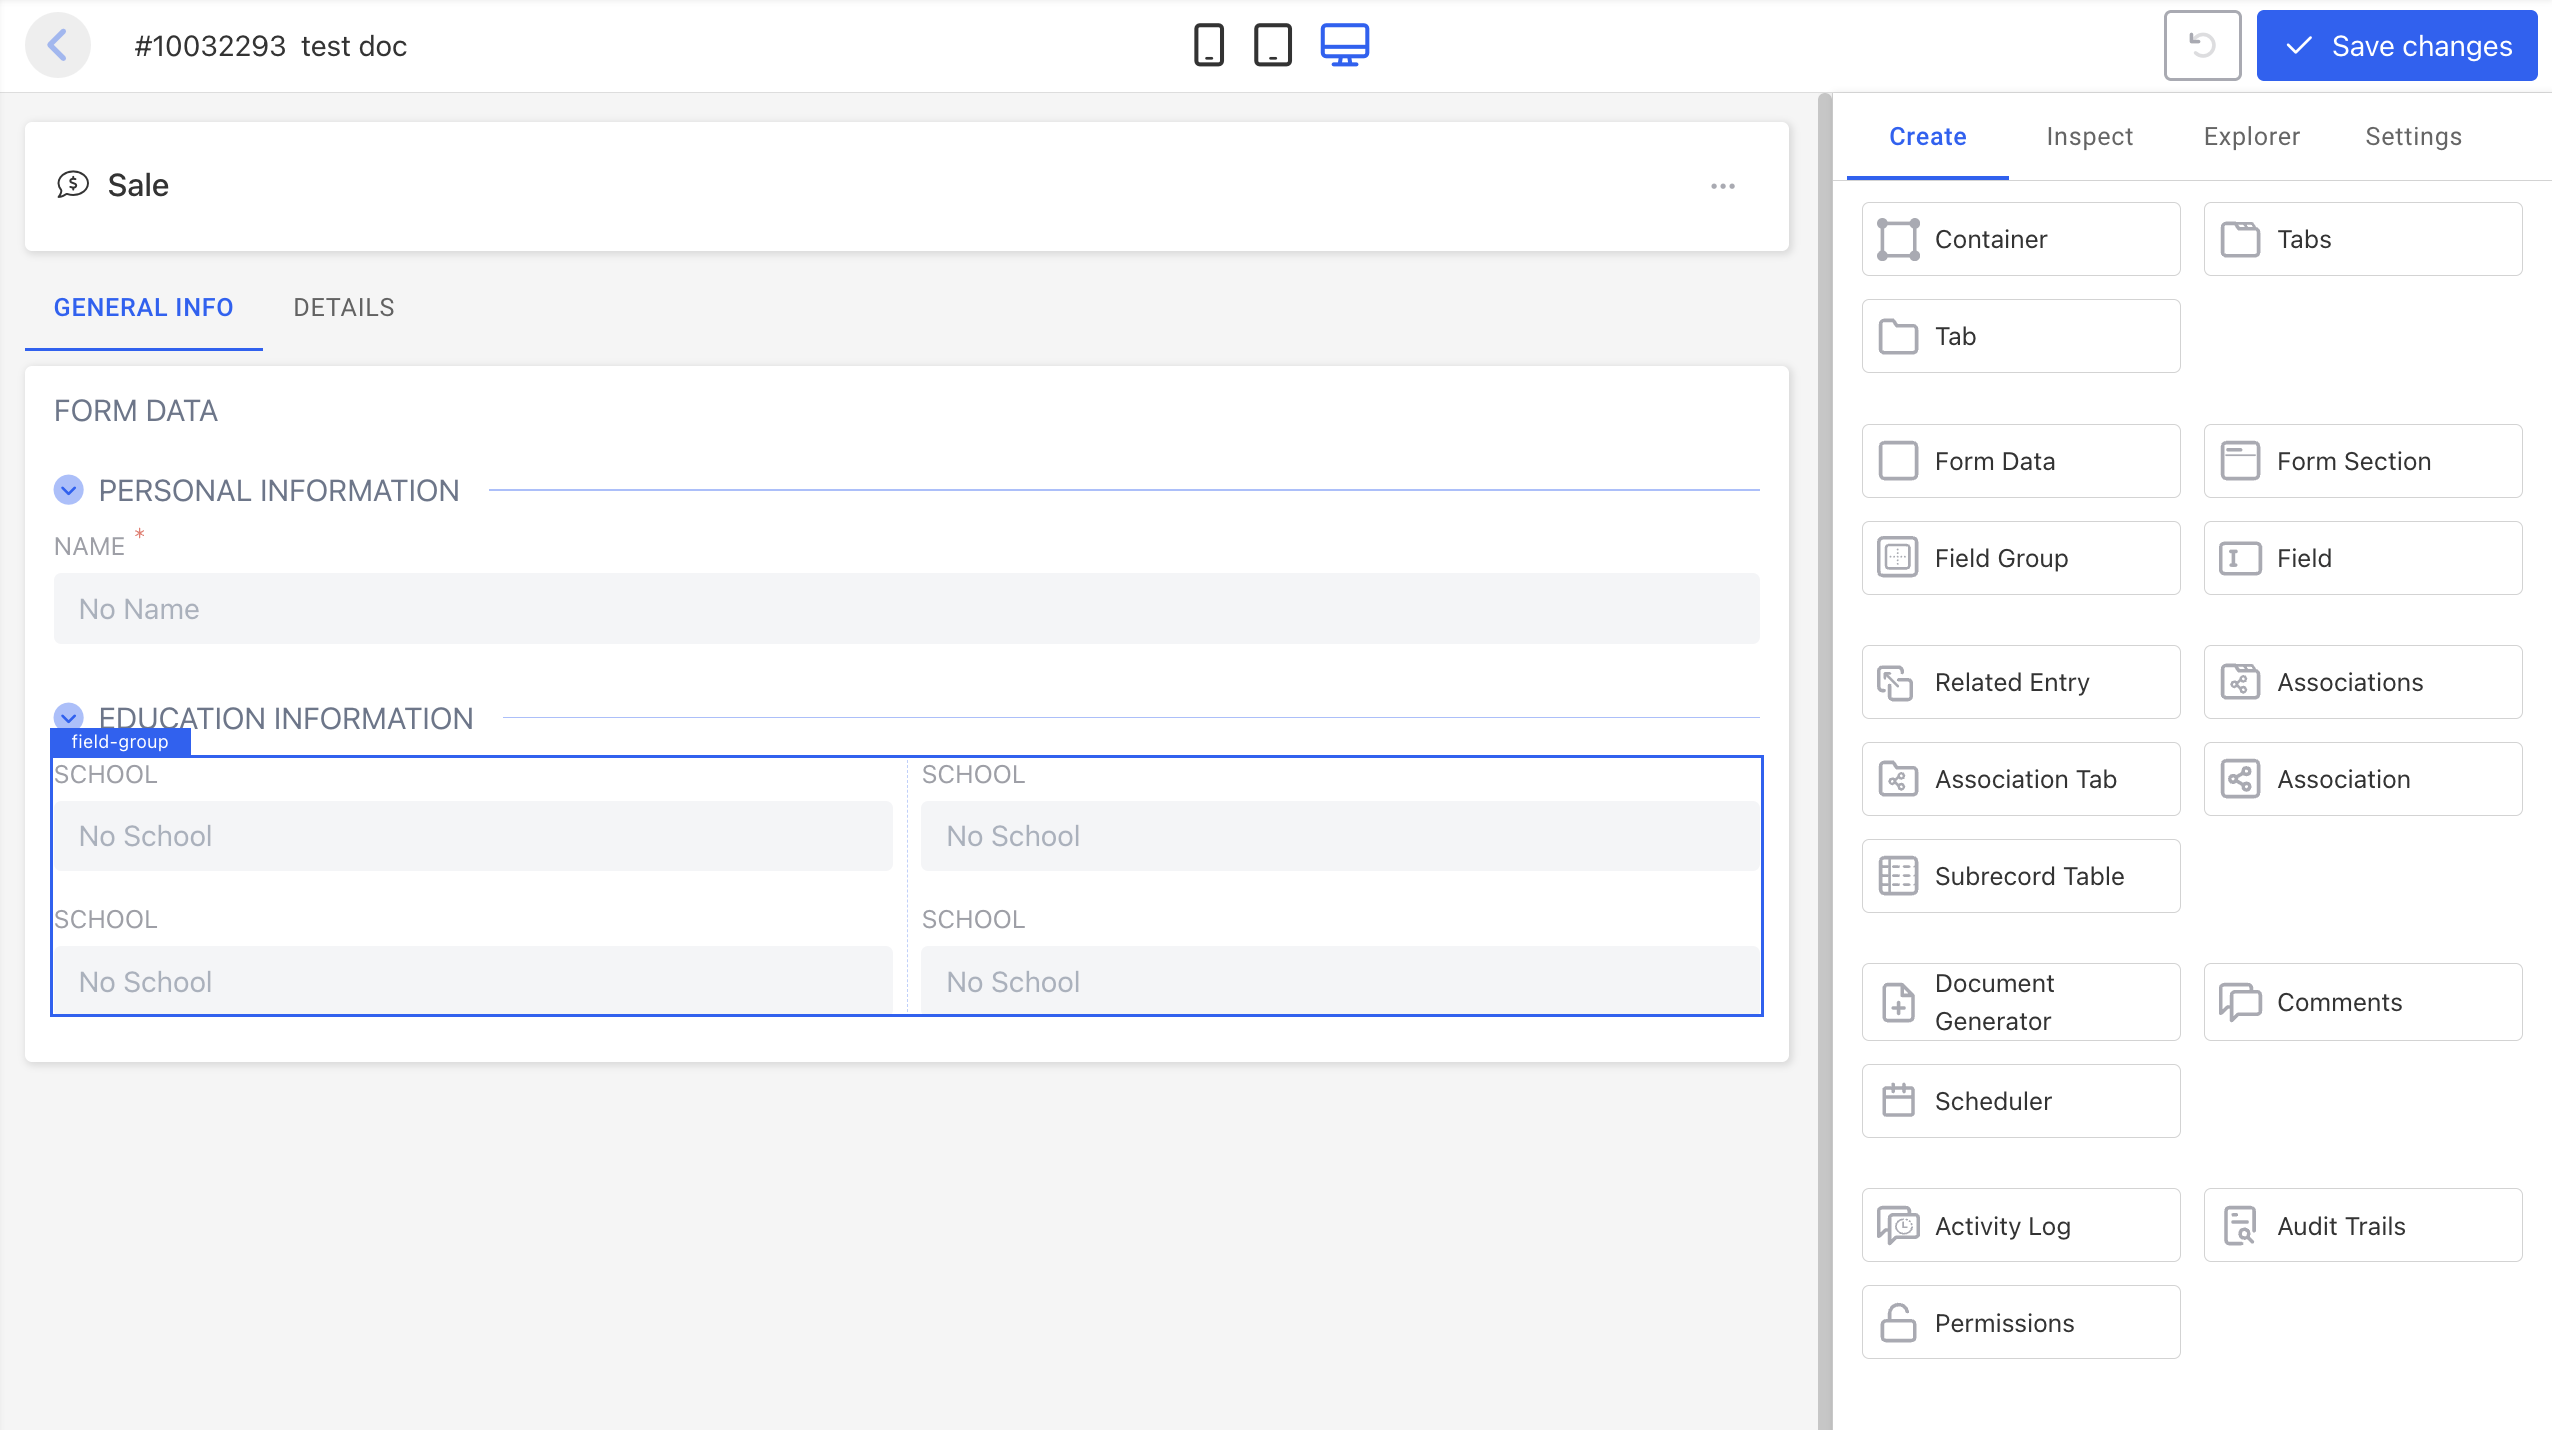
6. Field
An individual input or display element. Place inside Form Data or a Field Group. Use for single pieces of data such as Name, Email, or Date of Birth.
7. Form Section
Break up a long form into clear sections. For example: Personal Information, Preferences, Billing Details.
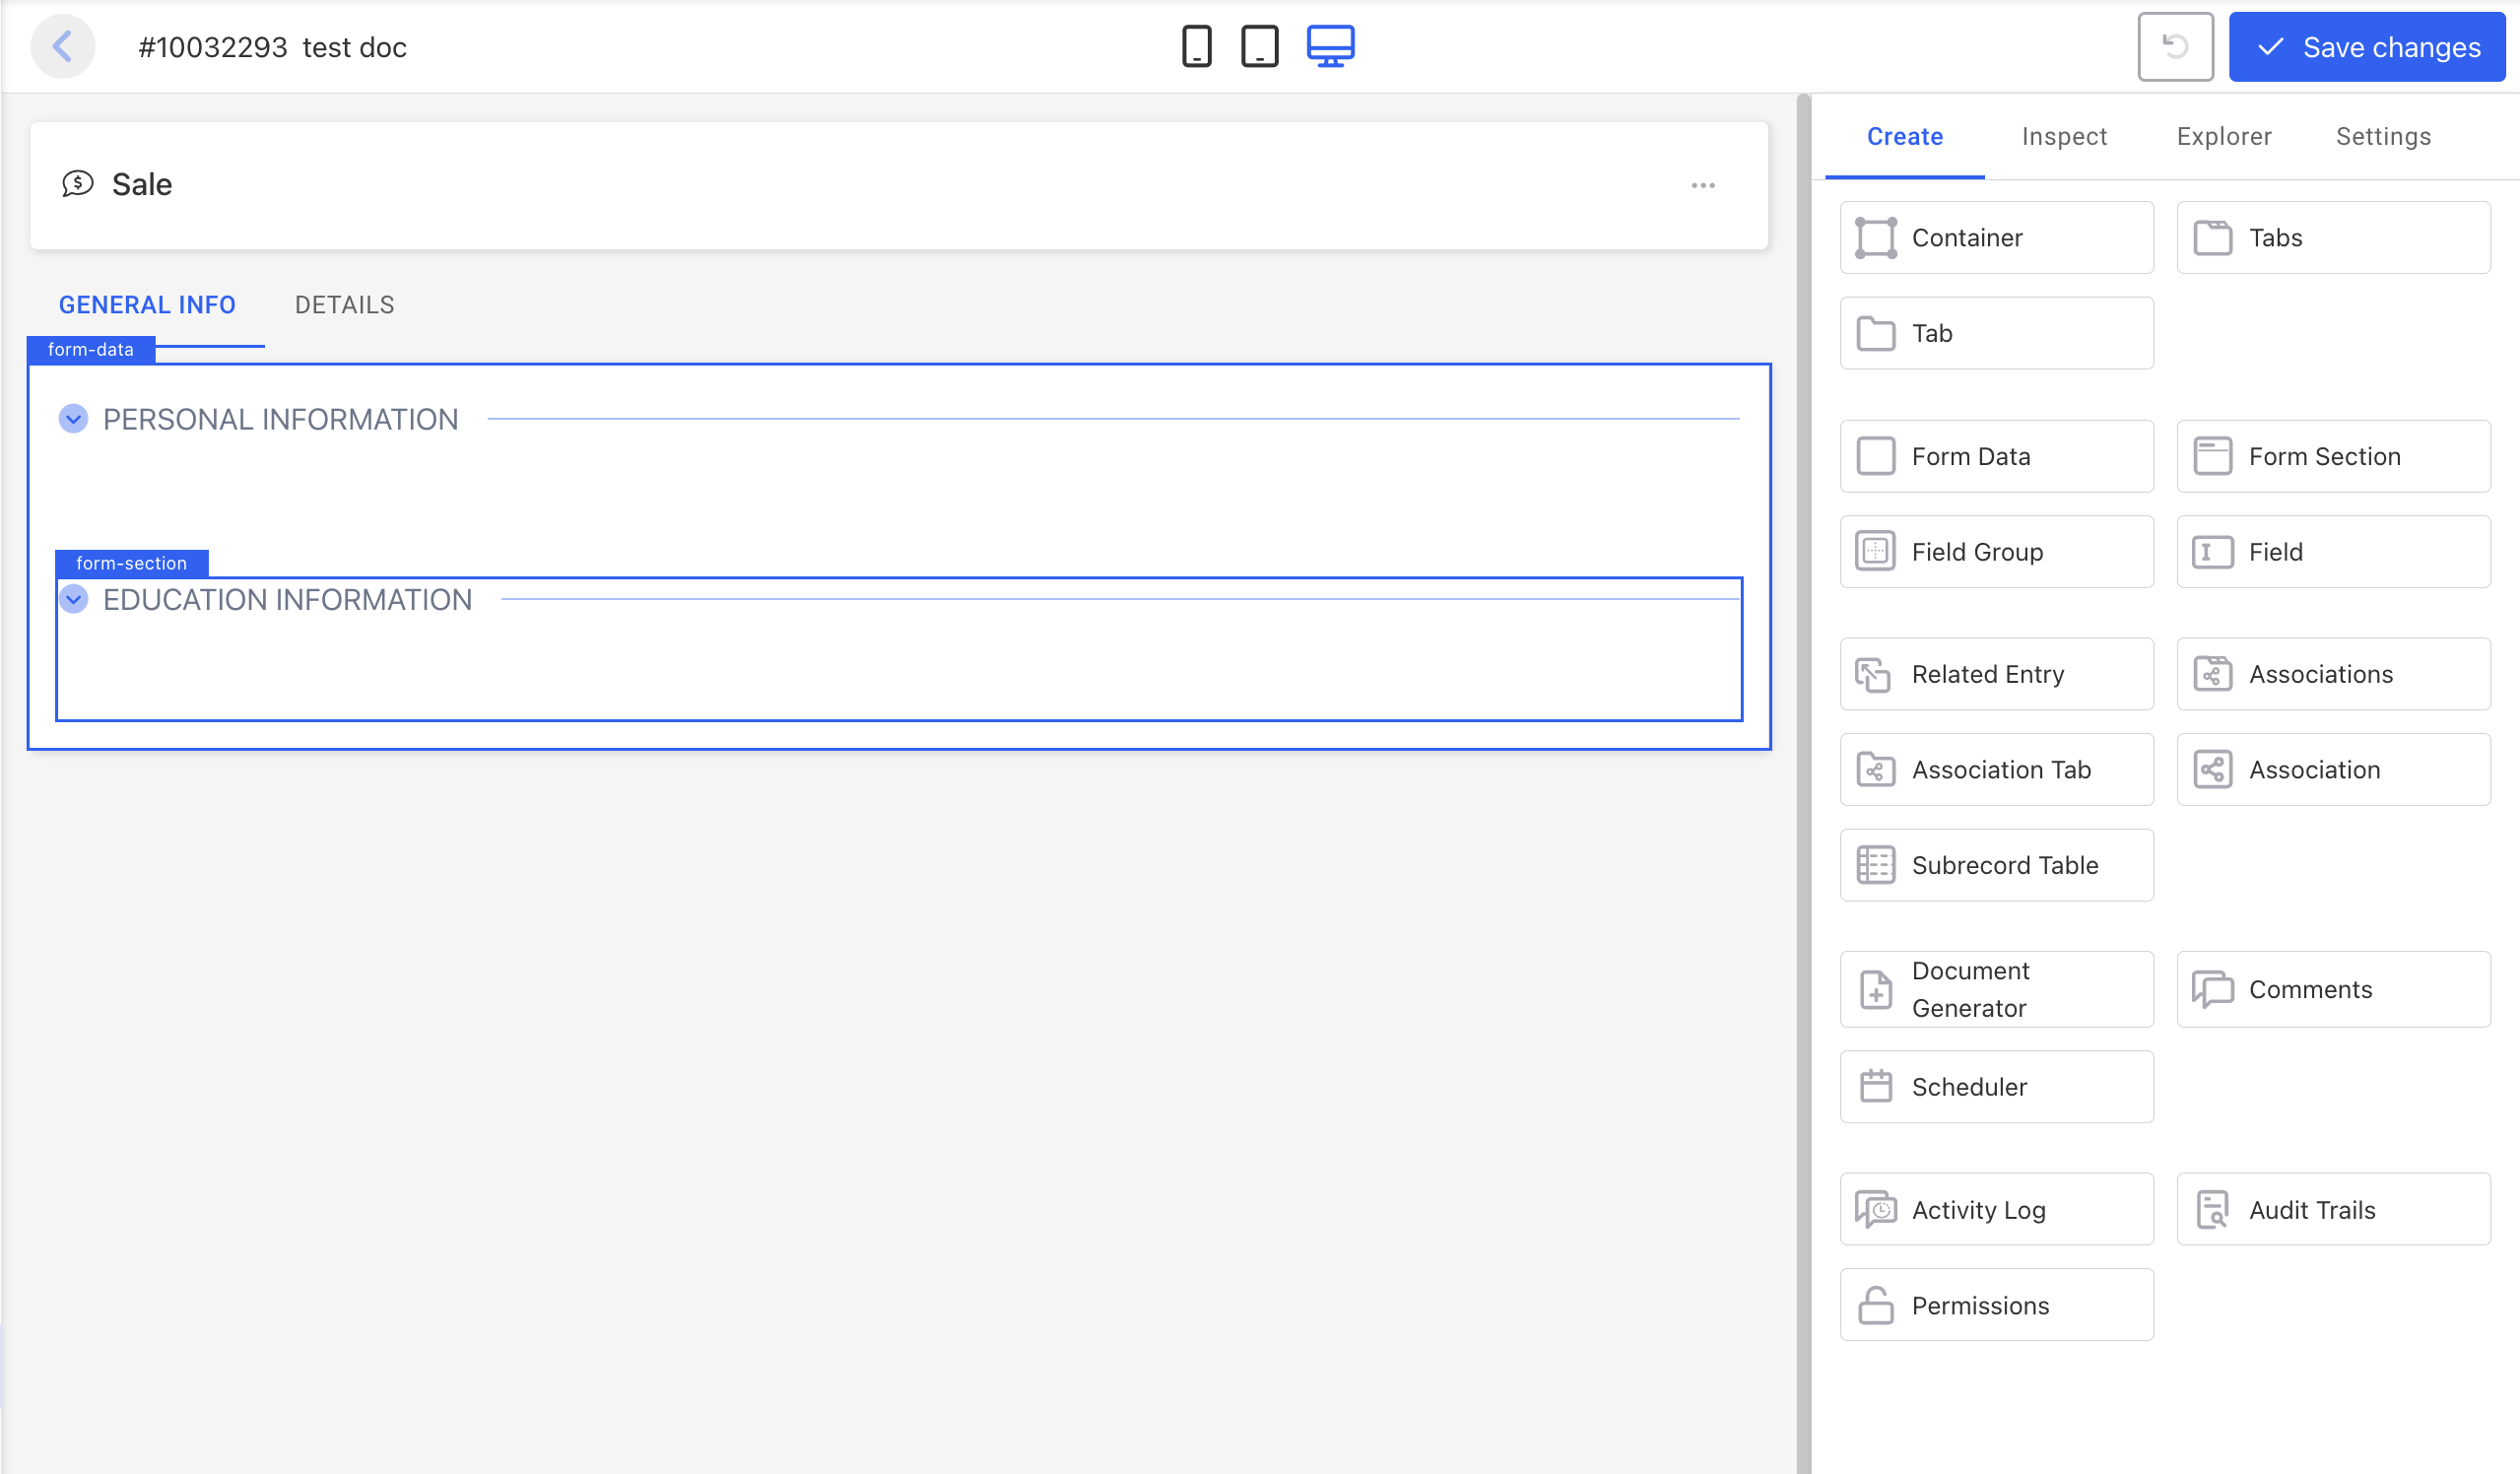
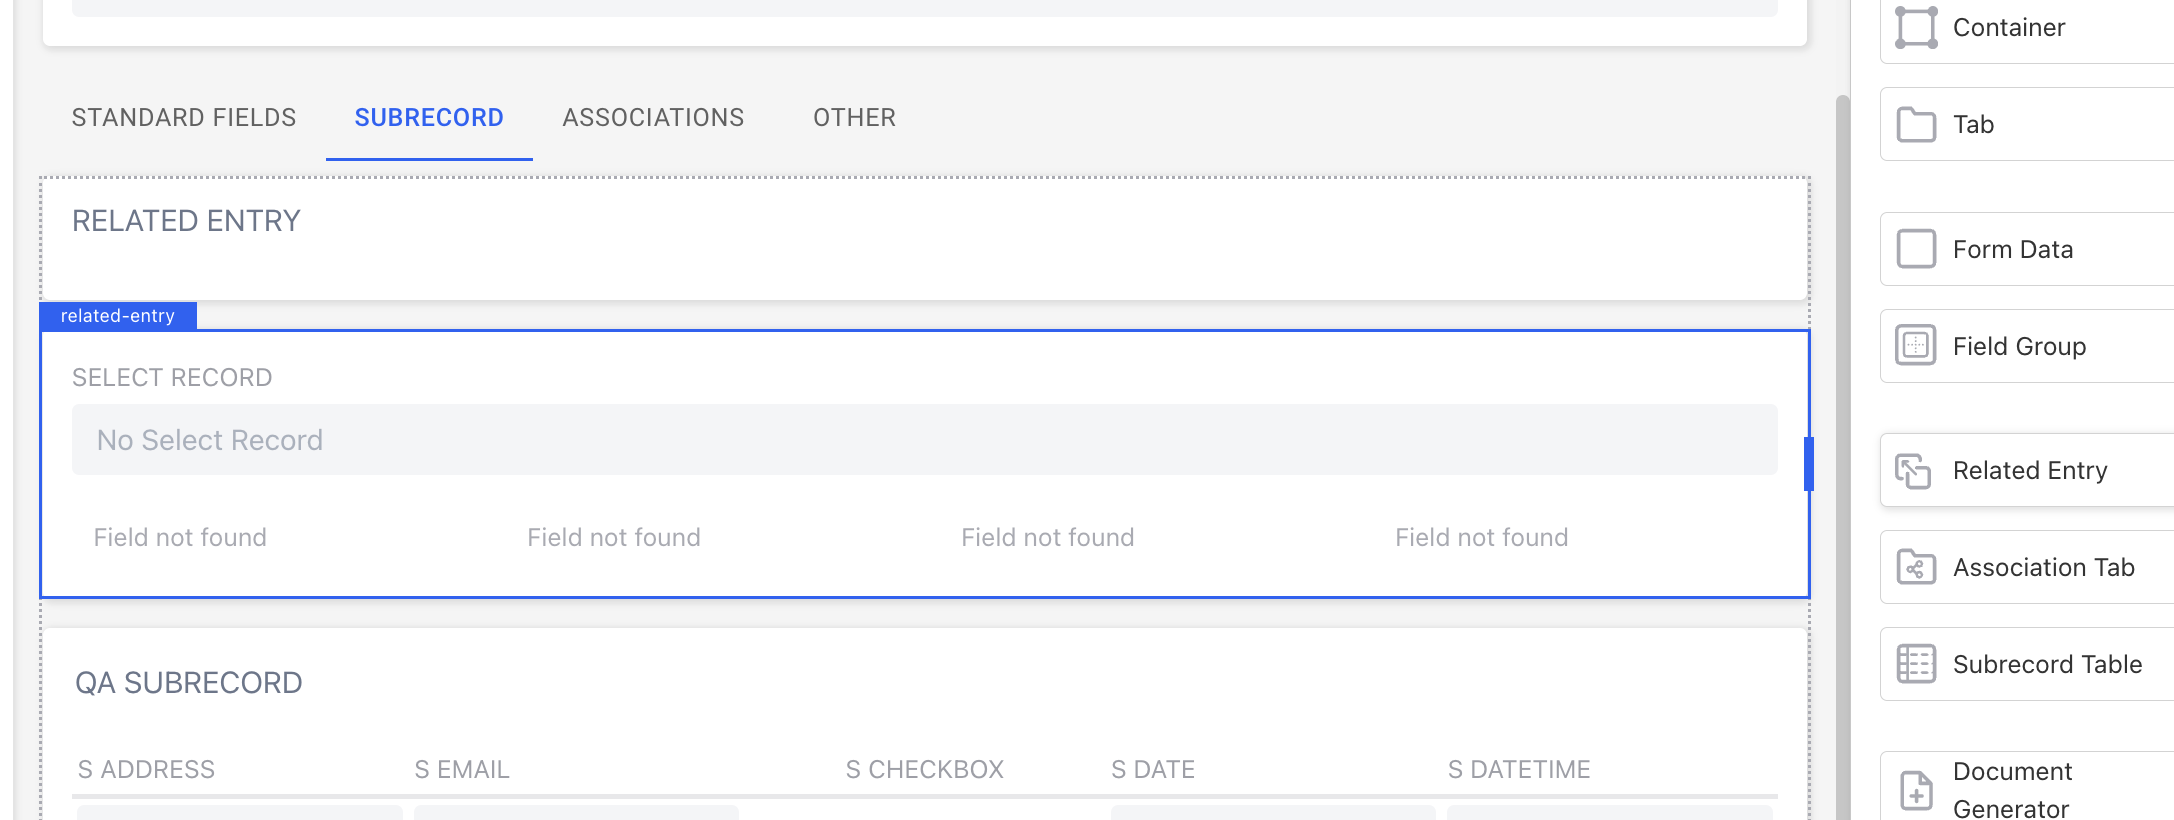
8. Related Entry
Show one linked record inside another. Example: display the Customer record inside an Order so users see who placed it without leaving the page.
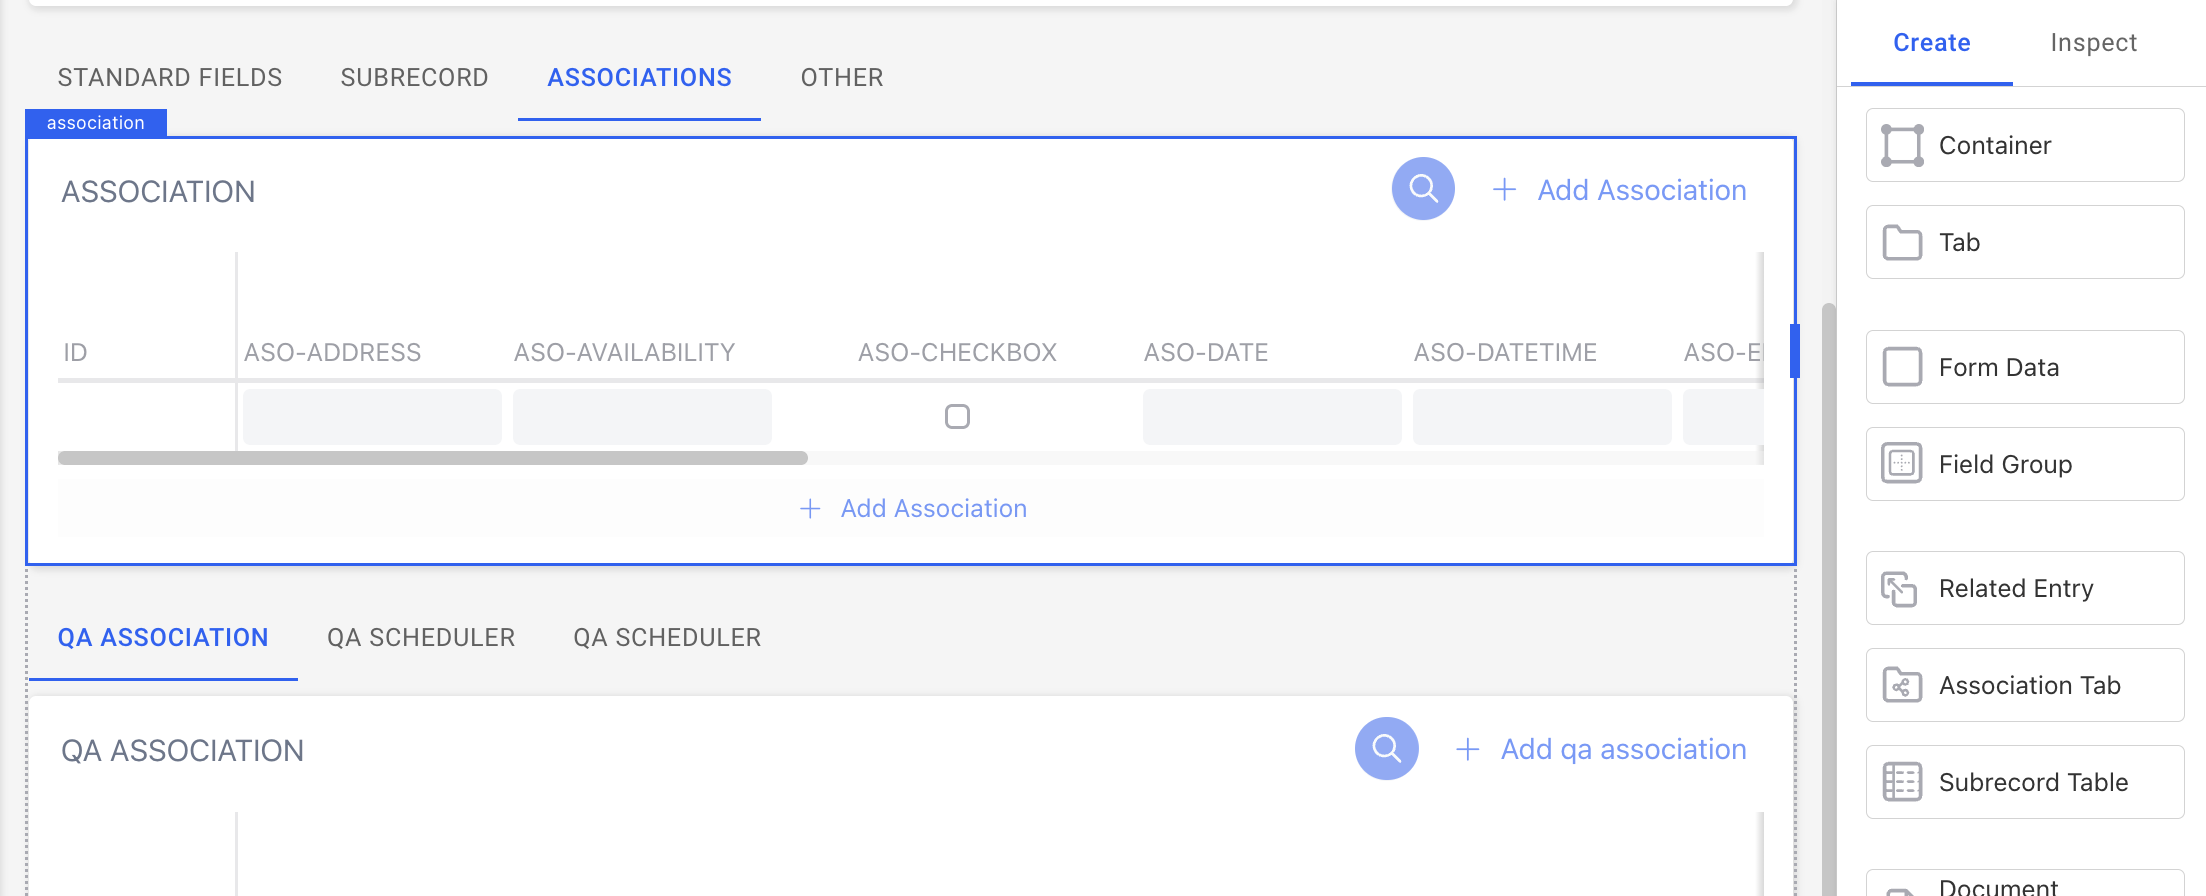
9. Associations
Displays multiple relationships connected to the record (e.g. a Customer with multiple Orders).
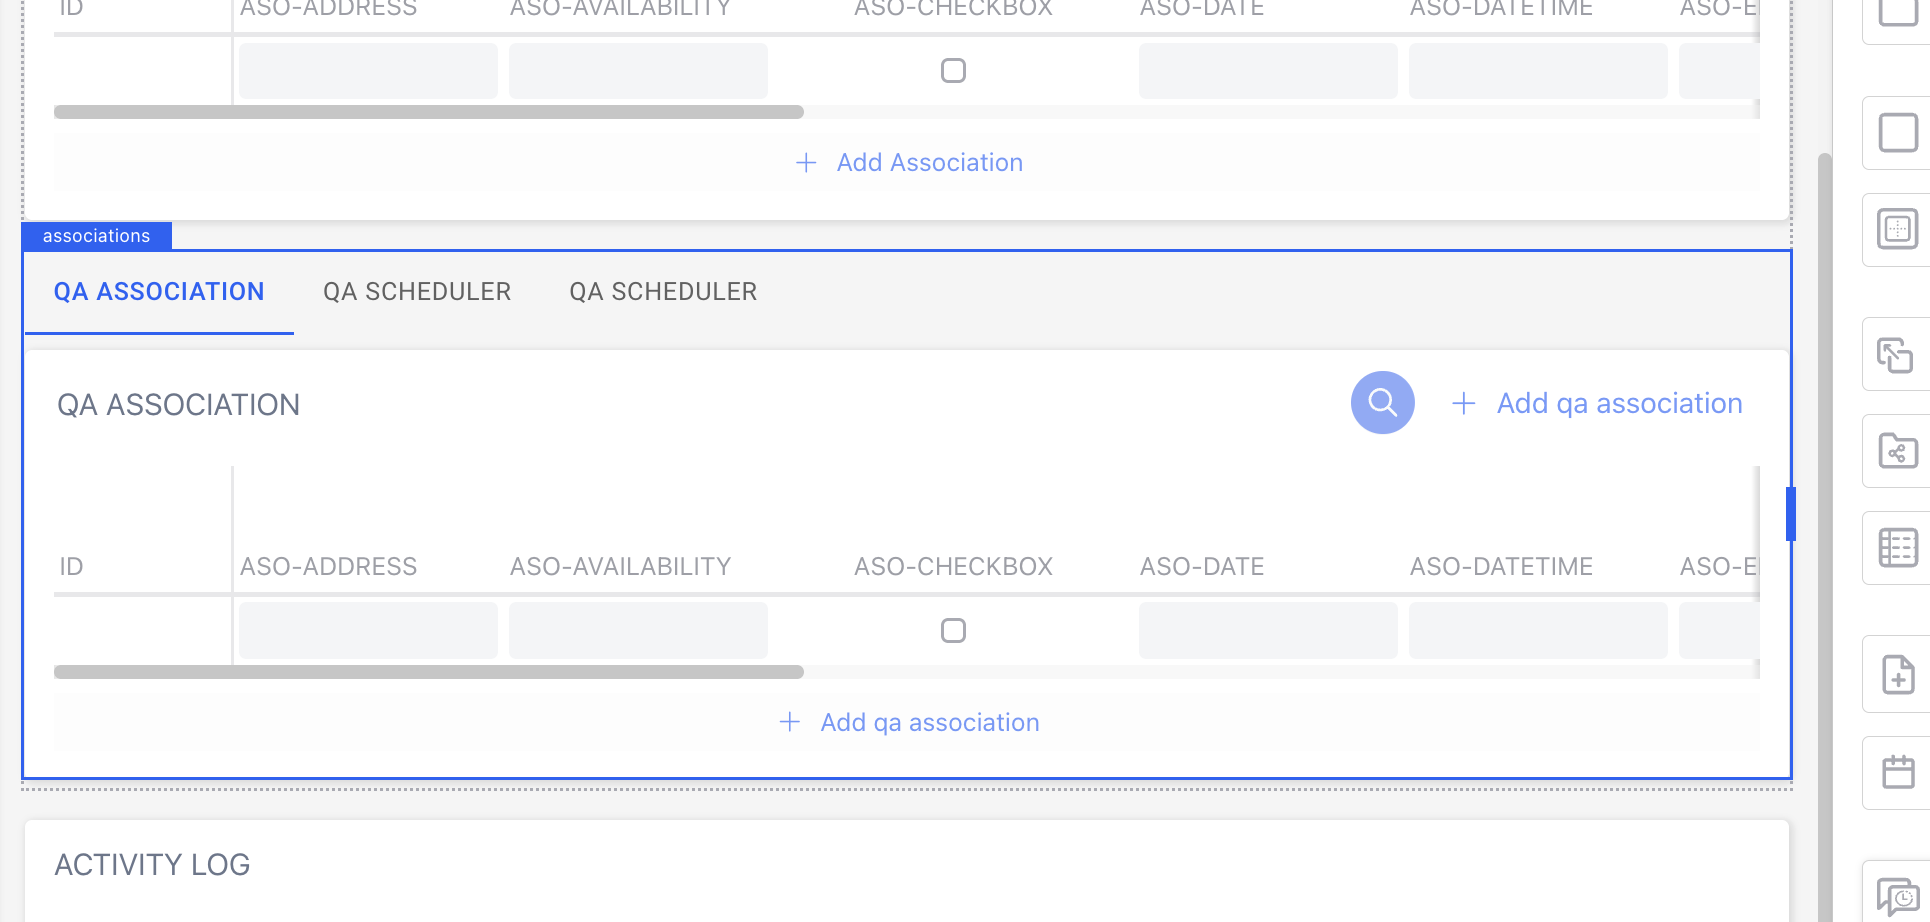
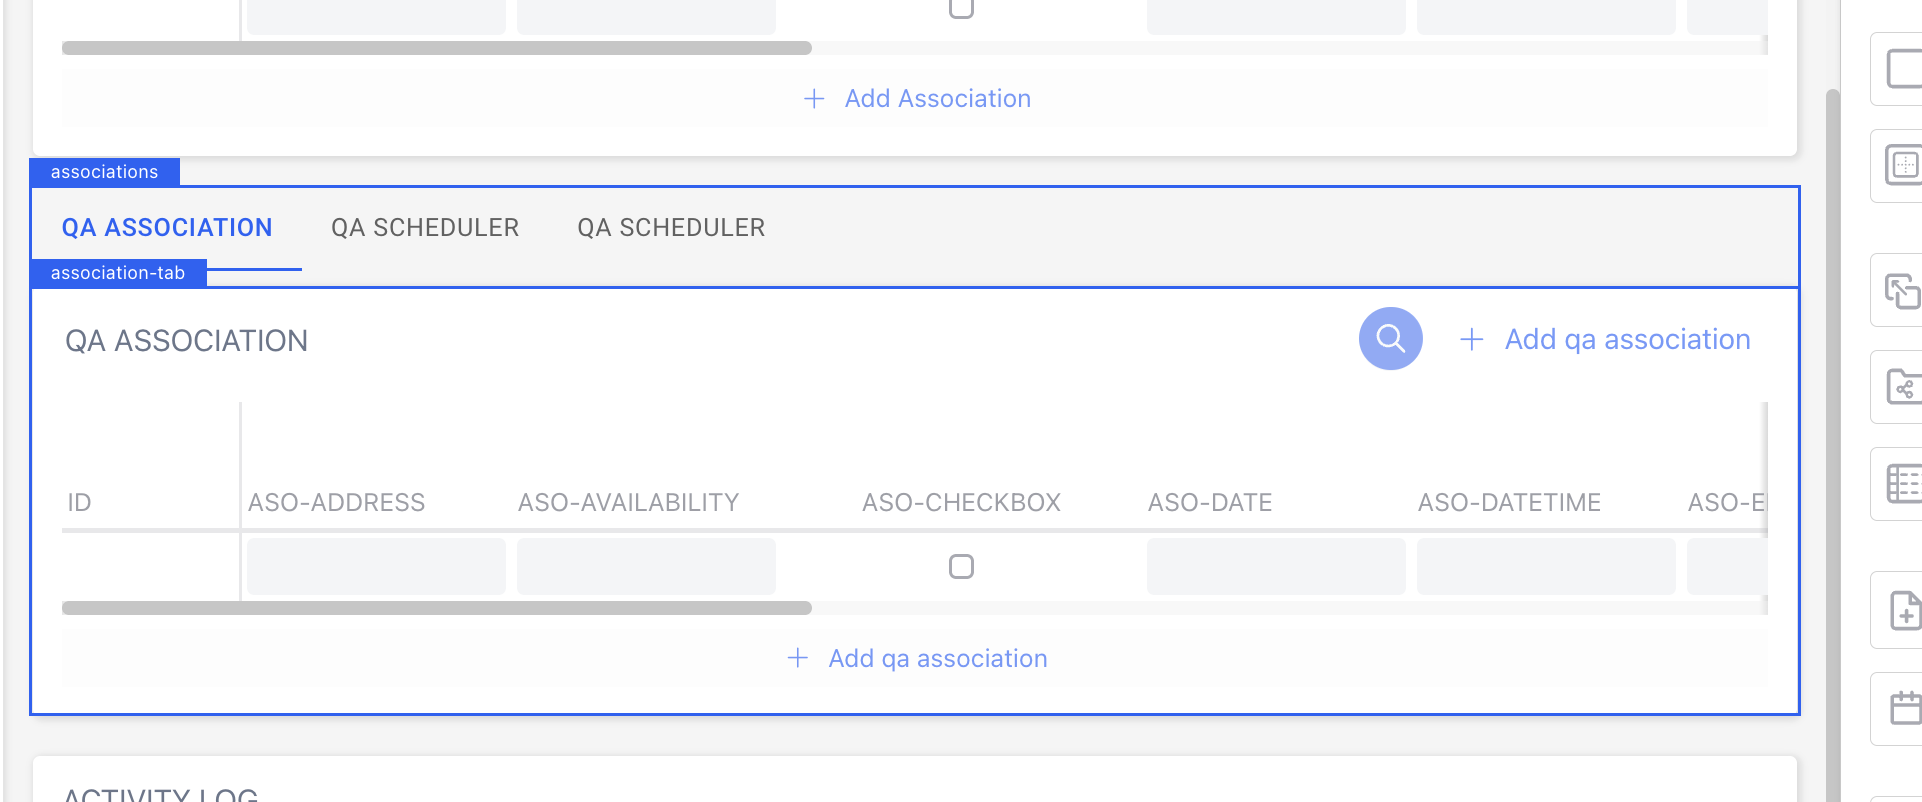
10. Association Tab
If you have several associations, keep them tidy with tabs (e.g. Orders, Invoices, Tickets).
11. Association
Represents a single relationship with another record. Example: Employee data with Manager.
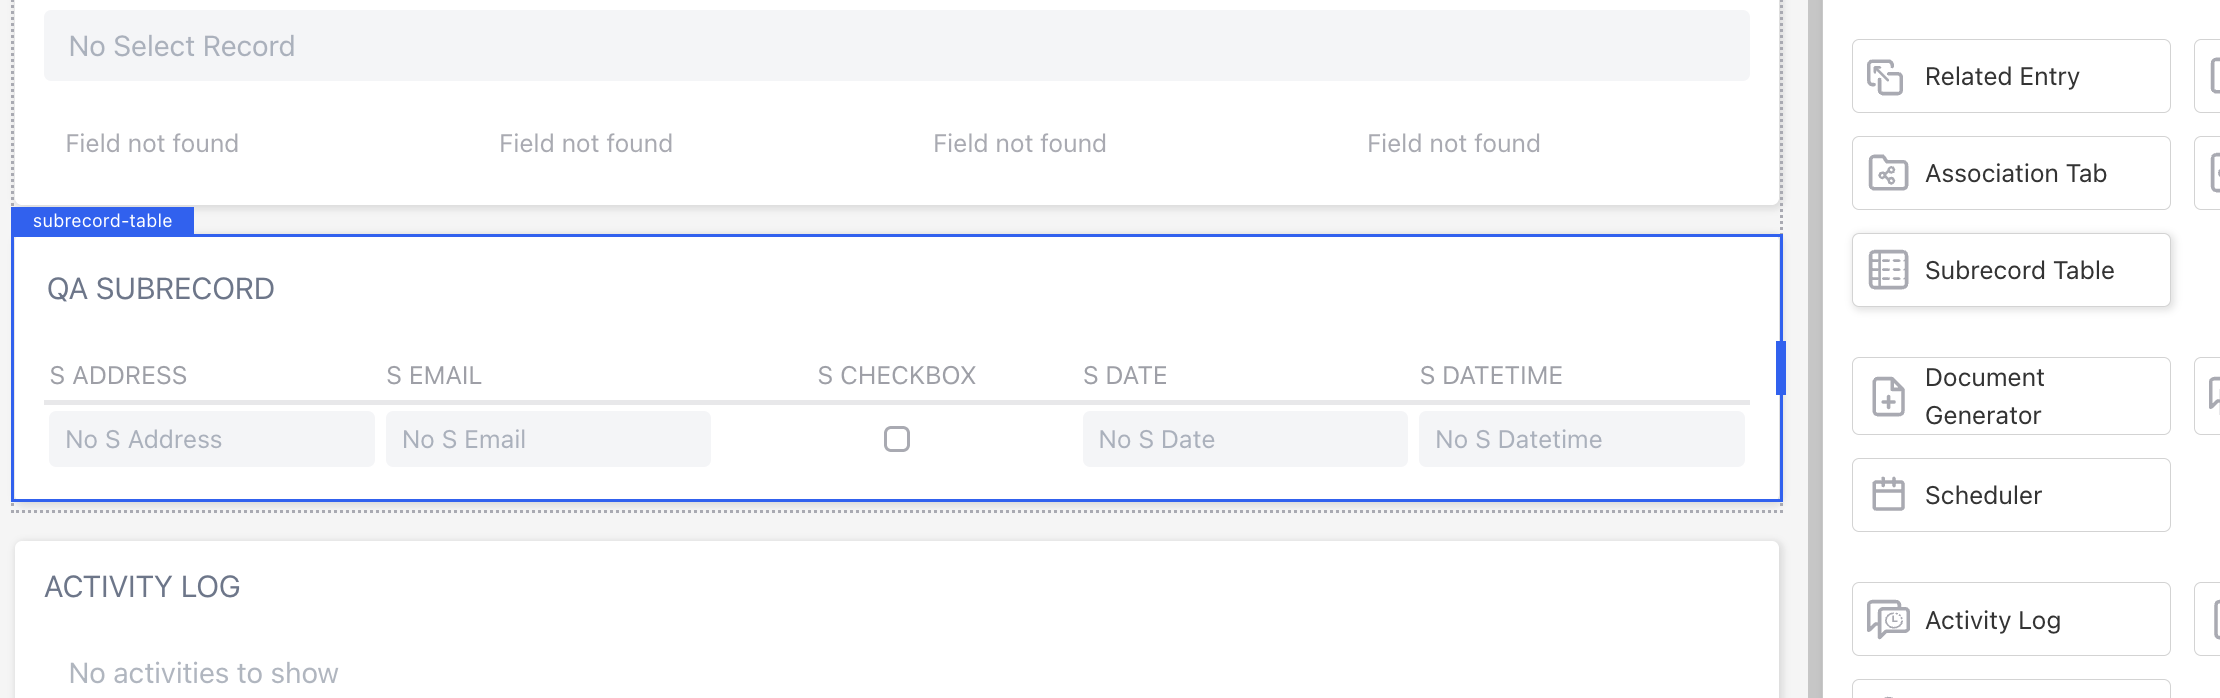
12. Subrecord Table
Perfect when a record has smaller items within it (e.g. Order → Line Items). Users can scan or update them in a table format.
13. Header
The top section of your layout. It highlights key information at the top, like a record title or ID, so users know what they’re looking at right away.
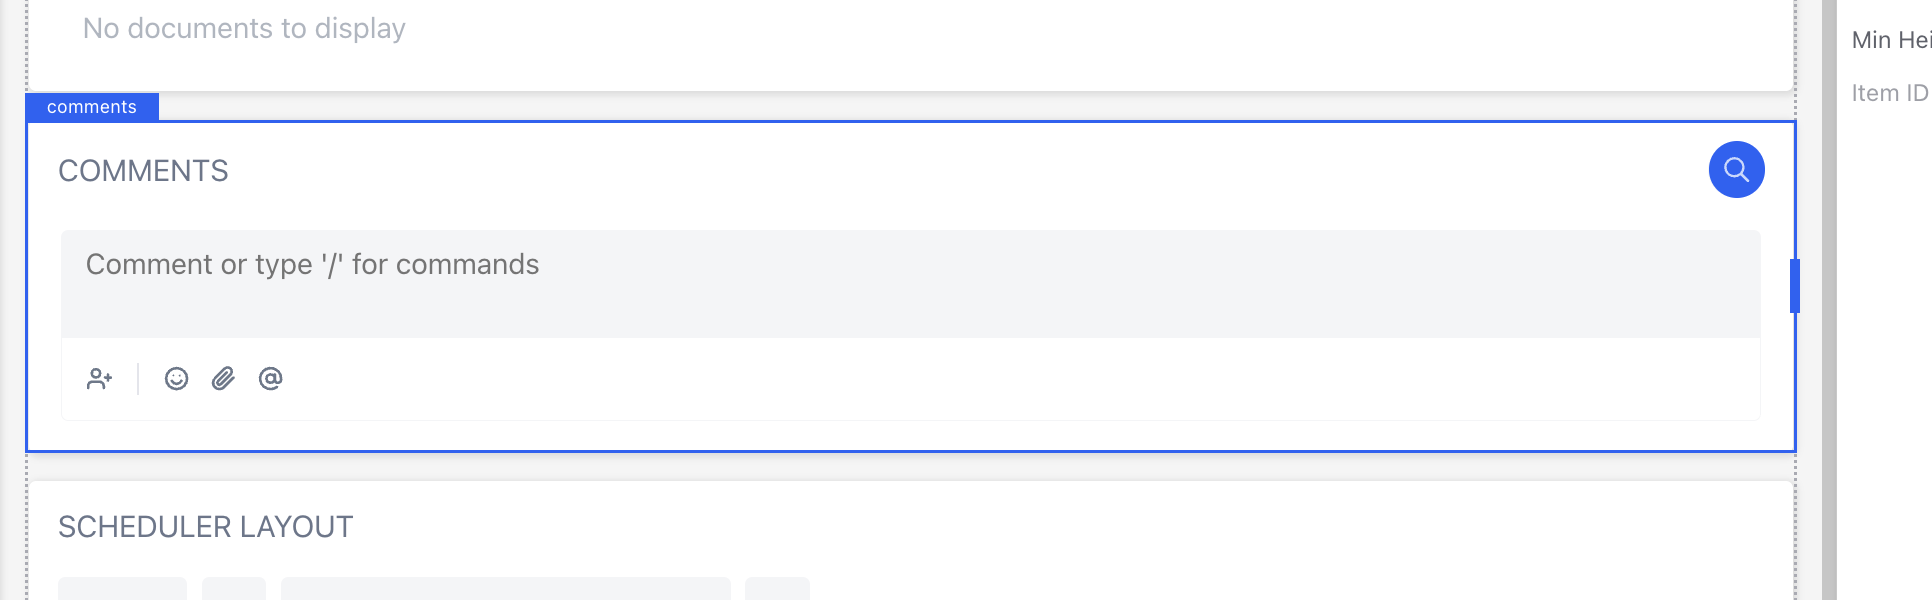
14. Comments
Allows users to add notes or feedback to the record.
15. Activity Log
Help users track what’s been done on this record (e.g. “Status changed,” “Assigned to”).

16. Audit Trails
Logs system-level activities and changes chronologically.

17. Scheduler
Let users plan or view events tied to the record, such as meetings or tasks.
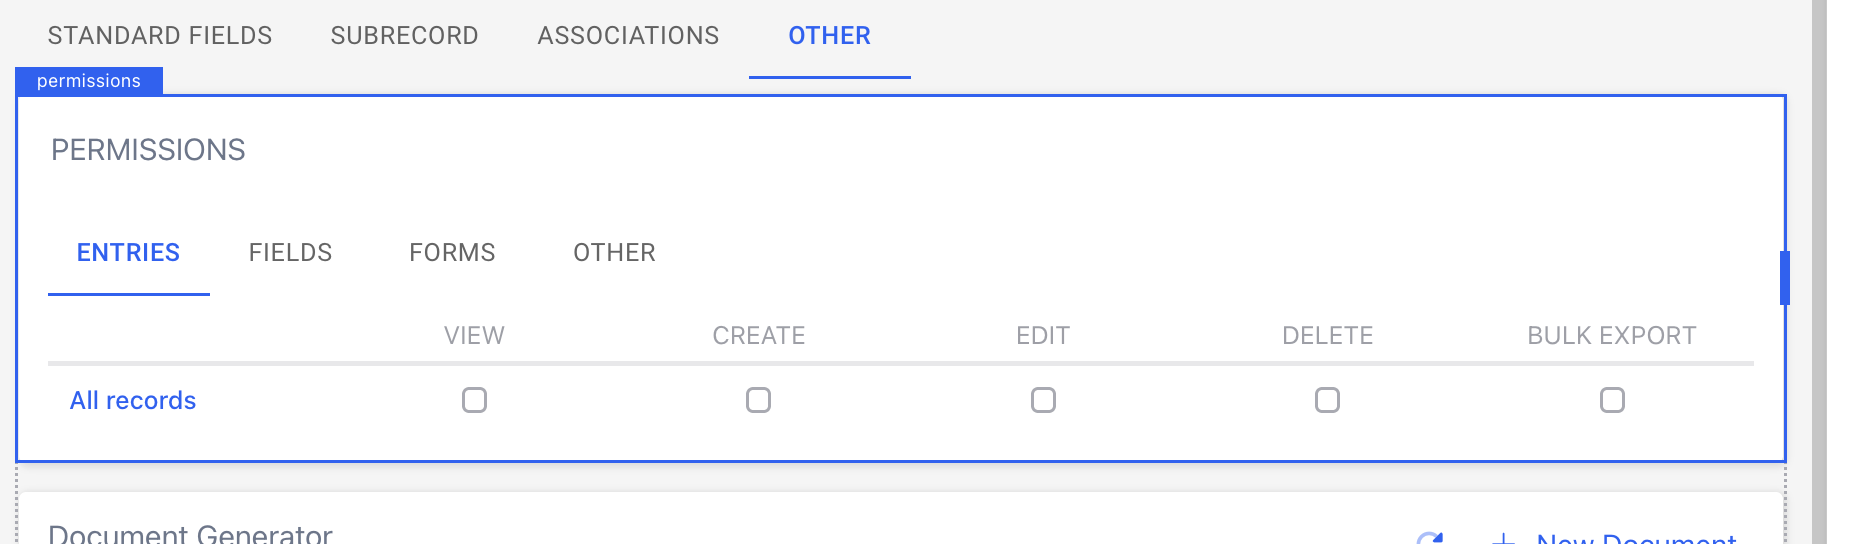
18. Permissions
Show who has access and what they can do. Helpful for sensitive or shared records.
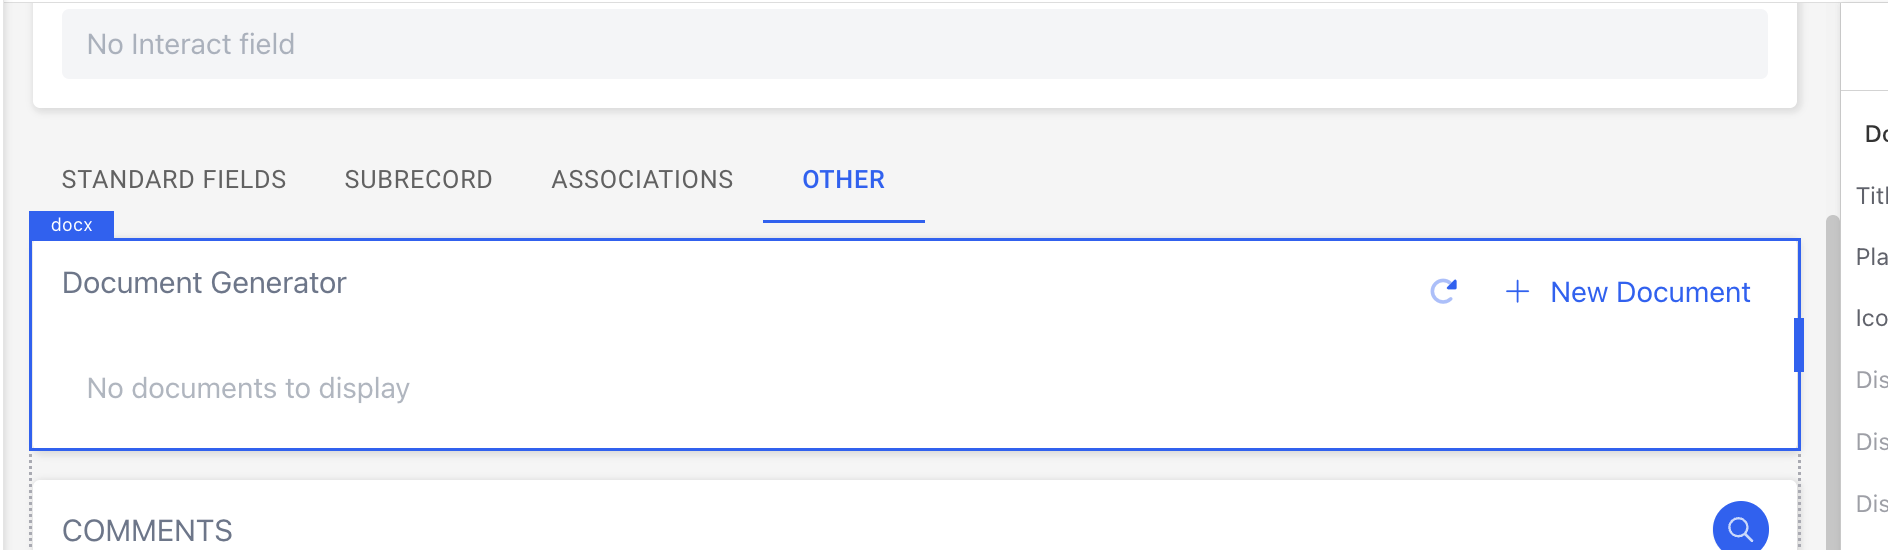
19. Document Generator
Make life easier by letting users generate contracts, invoices, or other documents directly from record data.
Step 3: Configure Components
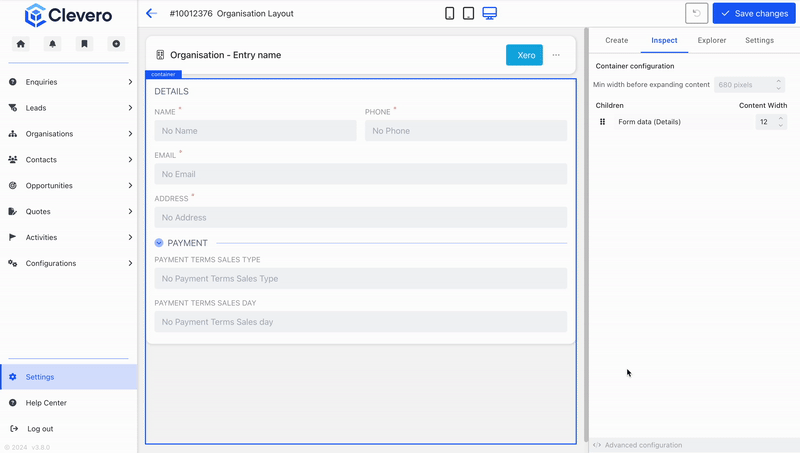
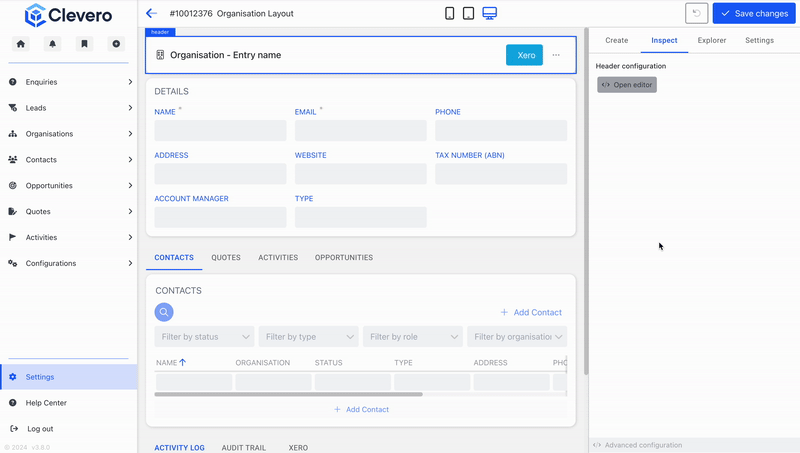
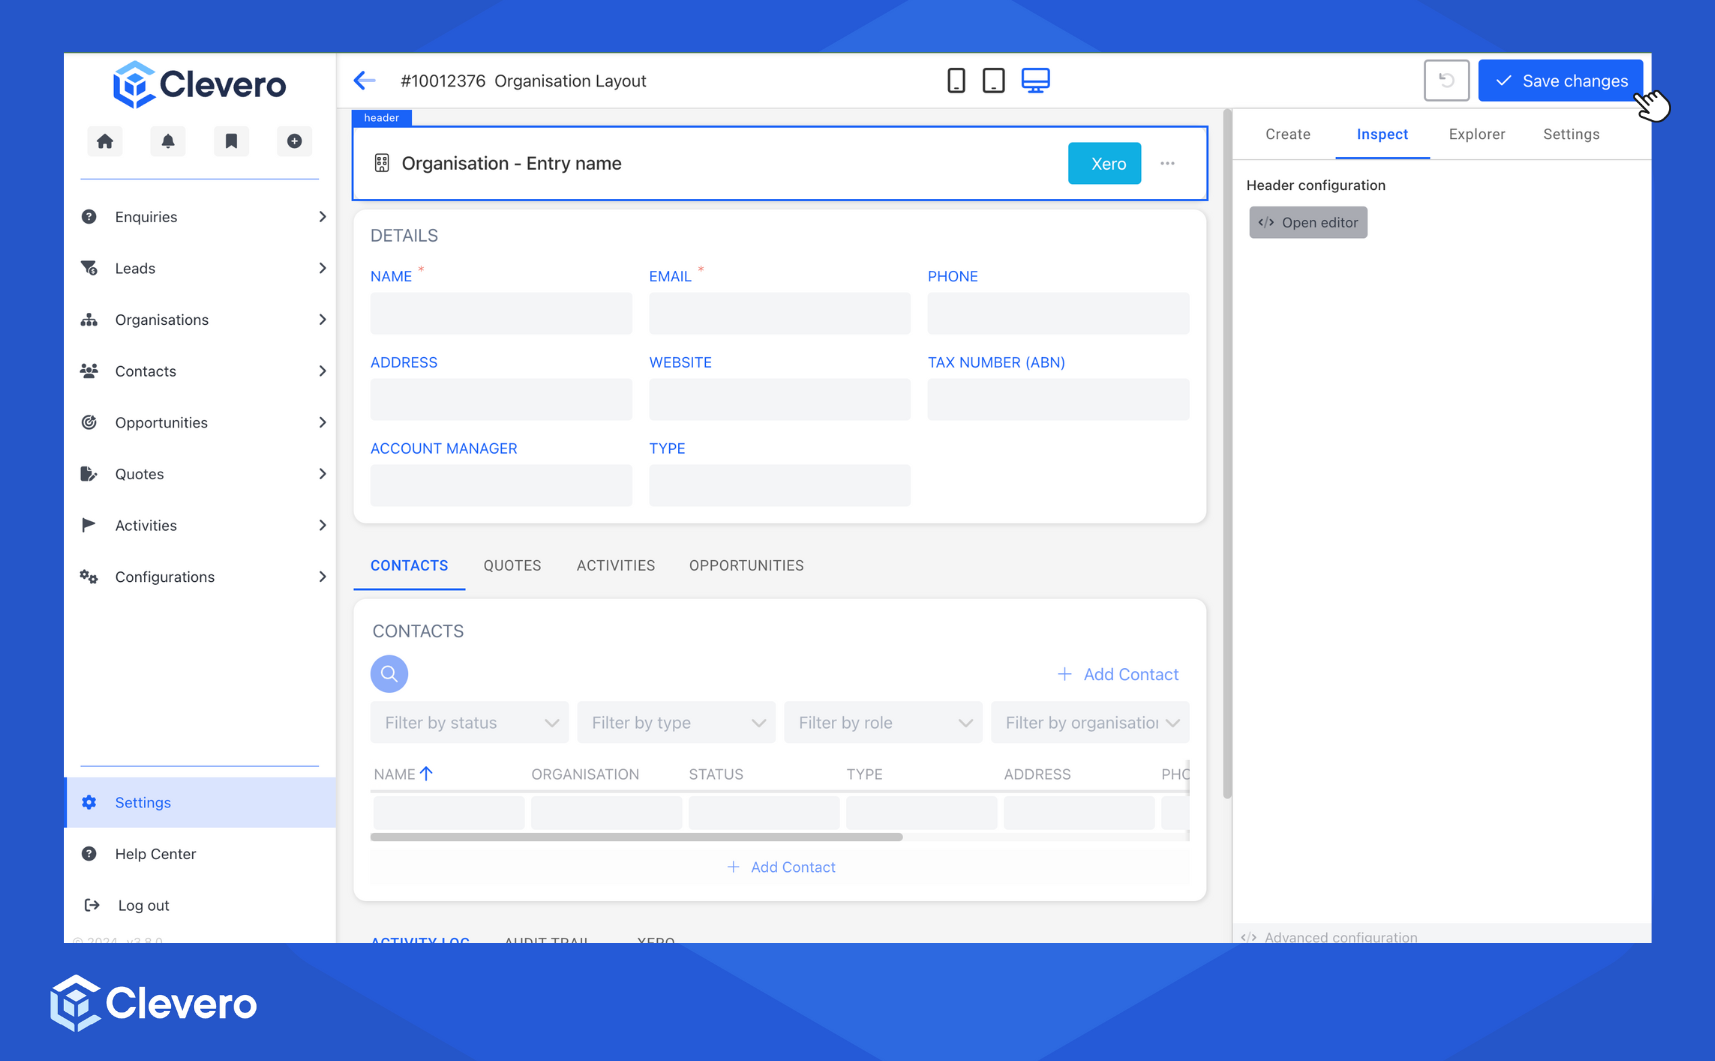
- Select a component and switch to the Inspect tab to rename labels or adjust settings.
- To delete a component: hover over it, right-click, and select Delete.
Step 4: Preview the Layout
Use the icons at the top to preview how the layout looks on different display sizes (desktop, tablet, or mobile).
Step 5: Assign the Entry Layout to a Role
Now that you've built the Entry Layout, you need to assign it to one or more user roles so it becomes visible and usable within the system. Assigning a layout determines who can view, create, or edit records using the layout you designed.
Follow the steps below to assign the Entry Layout to a role:
- Go to the Settings tab > the Role Assignment section.
- You will be presented with two types of Entry Layouts: "Add" and "View".
Types | Purpose | Function |
|---|---|---|
Add | This is used when you want to create or edit a new Entry or Record. | You can fill out a form with information to create a new Record and edit its information. This layout typically includes Fields and options for entering data. |
View | This is used when reviewing an existing Entry or Record . | You can view the details of an existing Record. This layout typically displays the data associated with a specific Record. |
- Choose the Roles to which you want to assign this Entry Layout. You can select one or more roles depending on your needs.
- Click the "Save Changes" button to save the changes.
Additional Information: Duplicate an Entry Layout
- Go to the Settings tab and select the Duplicate Layout option.
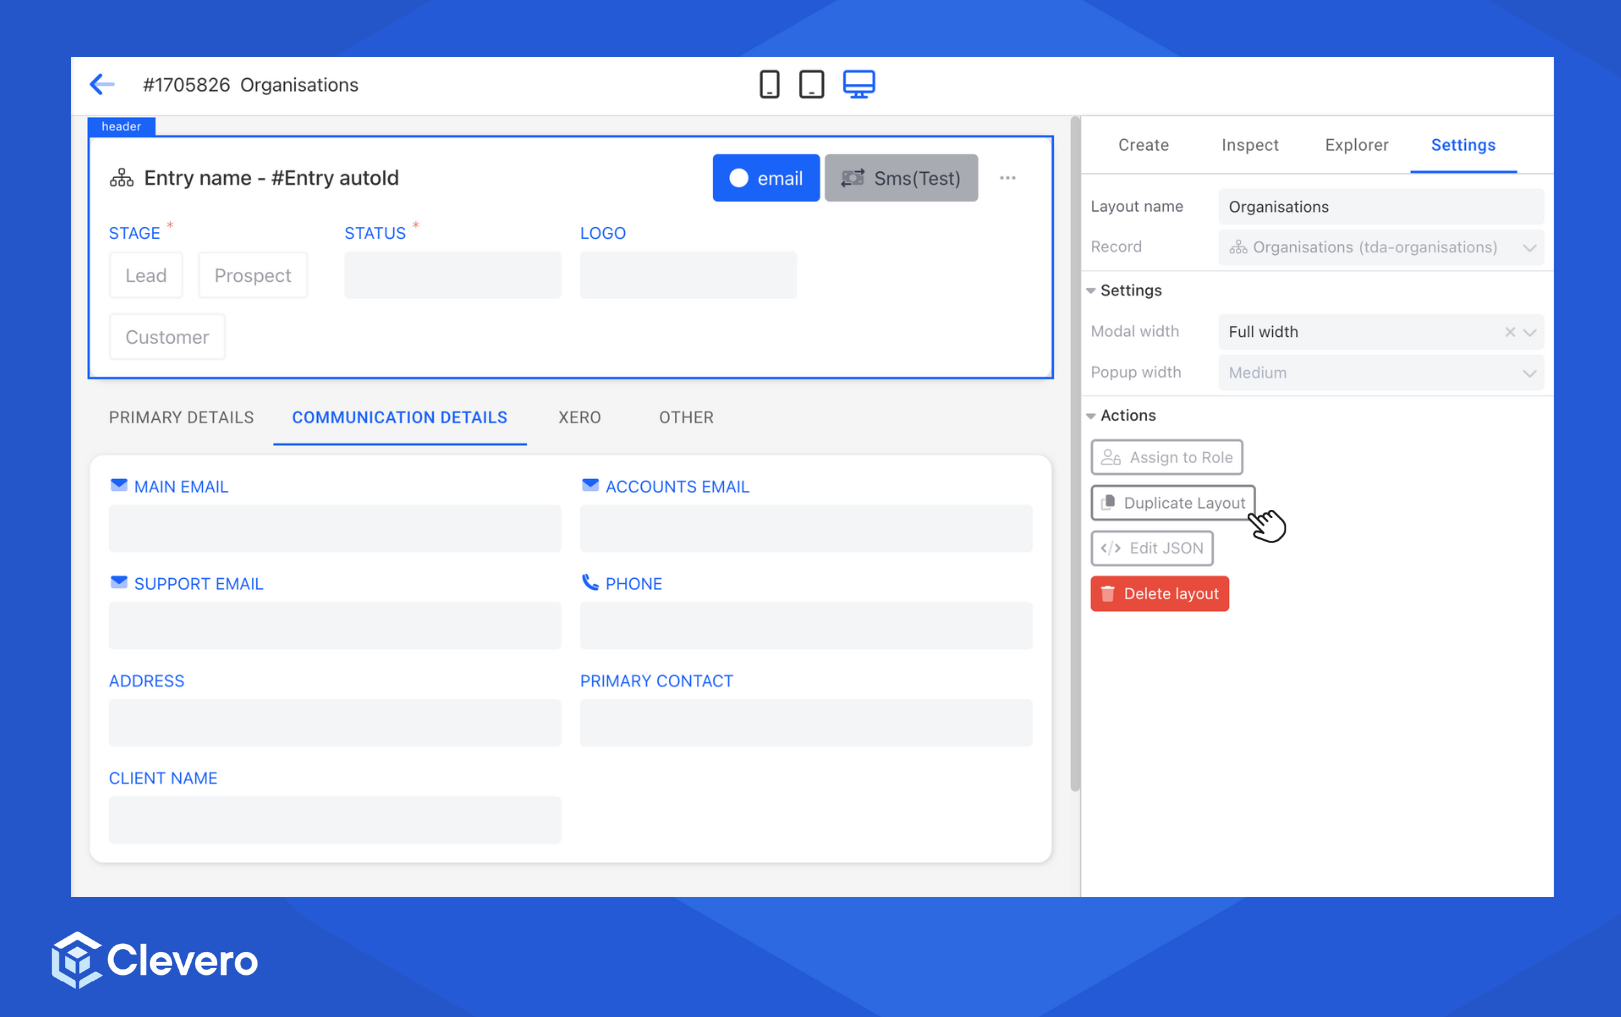
- You'll need to give the duplicated layout a new name and decide which new record you want to assign it to.
- click on the "Create" button to finish the process.
Info:If you don't click the 'Create' button, the duplicate layout will not be created.
📌 Need Help?
