Document Templates
📑 Find out how to create and customise document templates for generating standardised documents.
Document Templates in Clevero are pro forma documents that merge record data, creating a unique link for users to access, review, and sign.
It utilises a Docx generator to convert a .docx template containing tags (similar to email/pdf builder) into a new .docx.
1. Uploading Docx Templates
To upload Docx Templates in Clevero, follow these simple steps:
- Go to "Settings" > "System Settings".
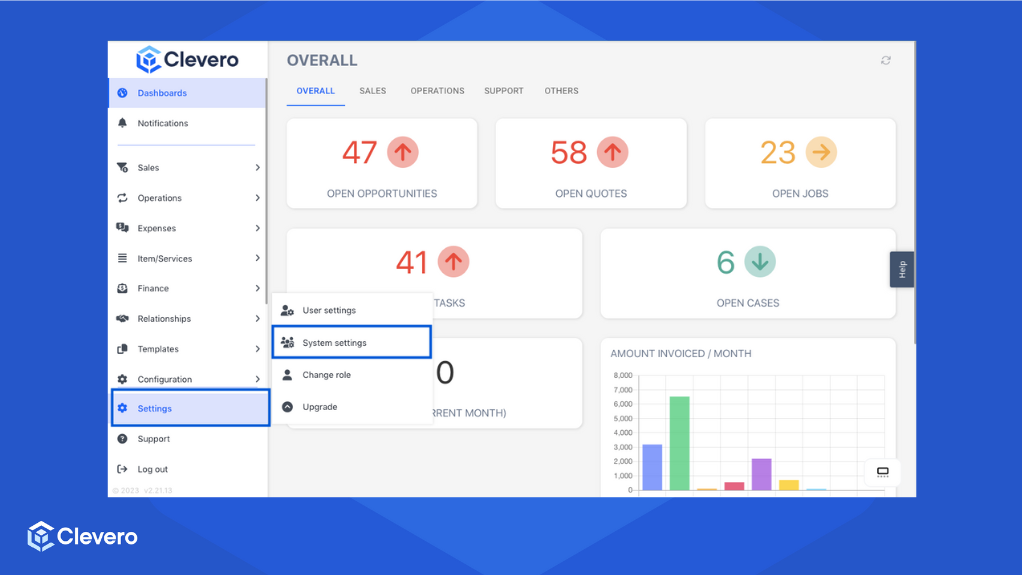
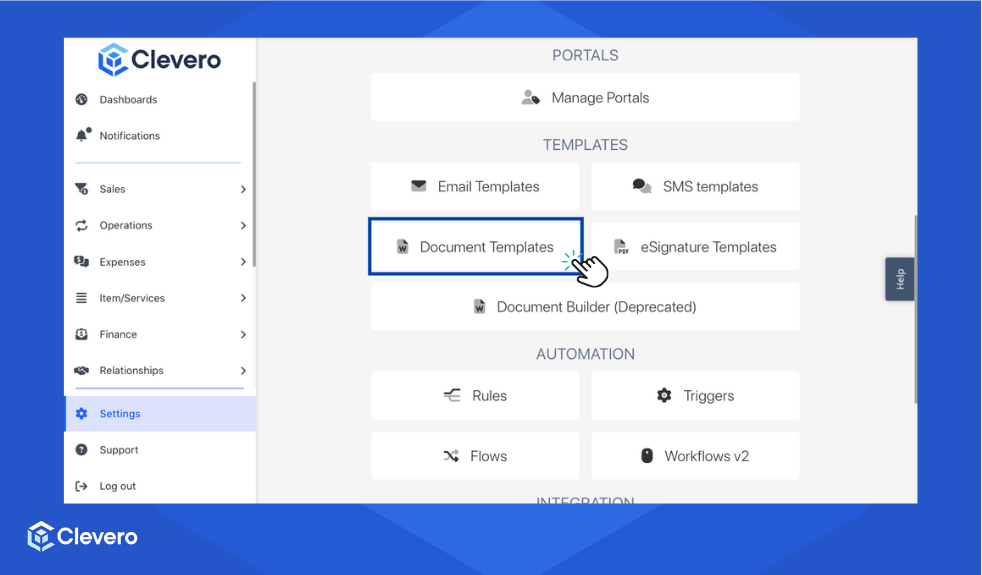
- Choose "Document Templates".
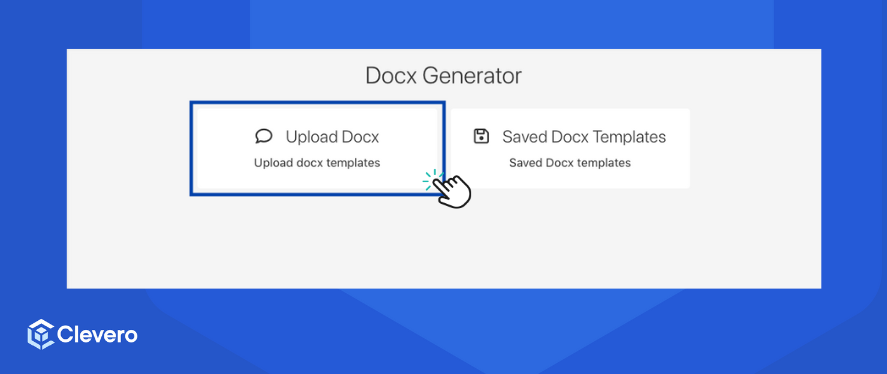
- Click the "Upload Docx" option to upload your desired document template.
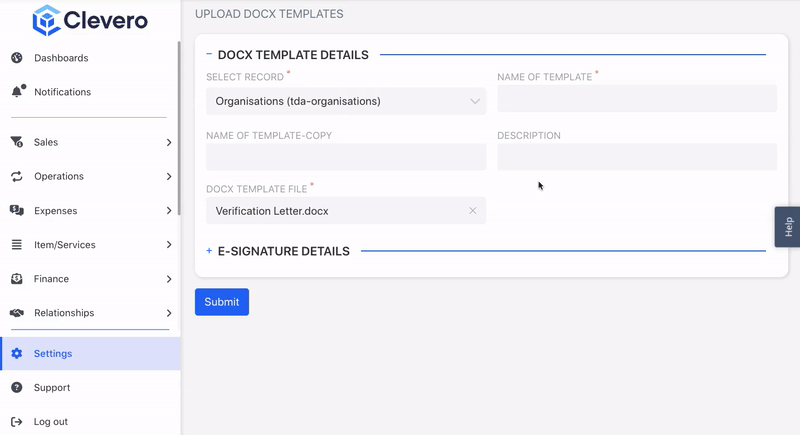
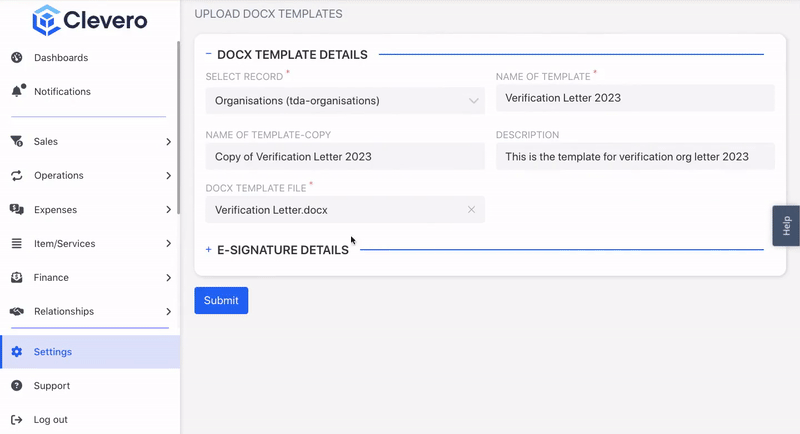
- Fill in the provided fields in two sections:
Docx Template Details
Field | Details |
|---|---|
Select Record | Choose the relevant record associated with the template. |
Name of Template | Enter a name for the template. This name is used as a reference when generating a merged document from the Docx Generator Entry Layout Tile or from the Docx Generator Custom UI. |
Name of Template-Copy (Optional) | Provide a name for a copy of the template. The Docx Generator creates a copy of the original docx file in Google Drive and merges the values from the system. This name will be used for the copied and merged files stored in Clevero's Google Drive. |
Description | Add a brief description of the template. |
Docx Template File | Upload the Docx template file. It could be any docx file, but it must be below 10MB.
|
E-Signature Details
Field | Details |
|---|---|
Select Default Email Template | Choose the default email template for the e-signature feature. This will automatically fill in the email template when you click the "Send for Signature" button in the Docx Generator Entry Layout. |
Select Default Destination Field | Select the default destination field for storing the signed PDF. The file field will automatically be filled in when generating a merged document from the Docx Generator Entry Layout Tile. |
Select Default Recipient Field | Choose the default recipient field for the e-signature. This will automatically fill in the "To" field in the email popup. |
Generated Document Name | Specify the name of the generated document. This is for internal use to reference documents created by the system. |
Filename Prefix | Add a prefix to the file name of the signed PDF. After the docx is generated and the PDF is signed, it will be stored in the |
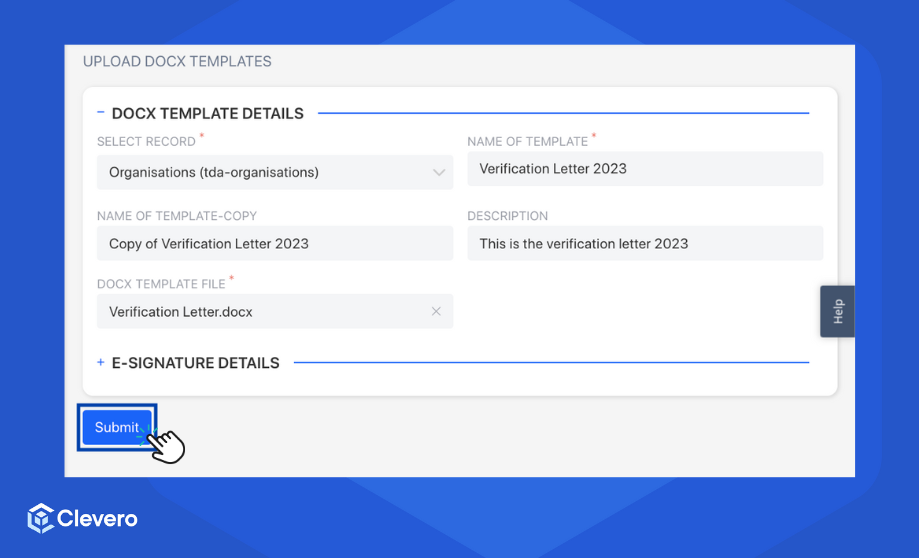
- Click the "Submit" button to save the document template.
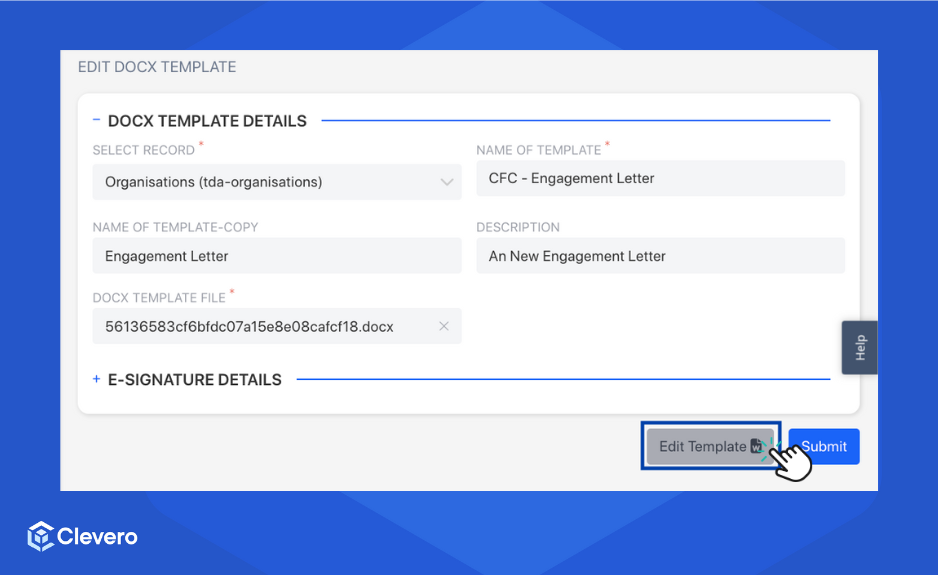
2. Editing Docx Templates
Once you have successfully created a template, you may want to add additional features, such as linking to associated values and enabling signature capabilities.
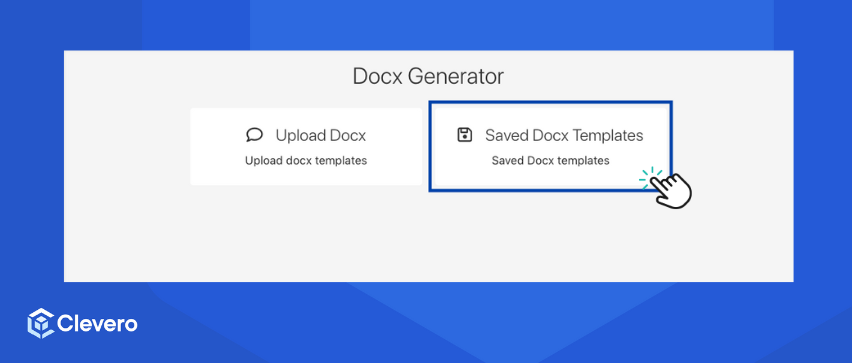
- Open the "Saved Docx Templates" option.
- Select the desired template.
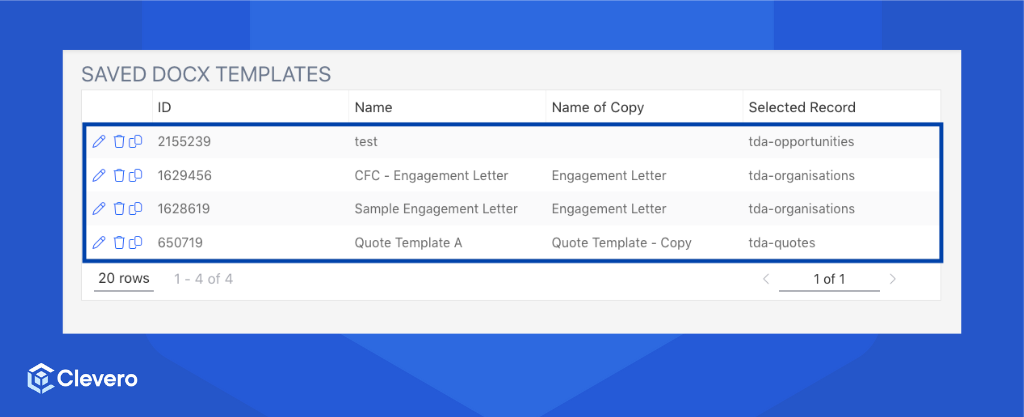
- Click on the "Edit Template" button.
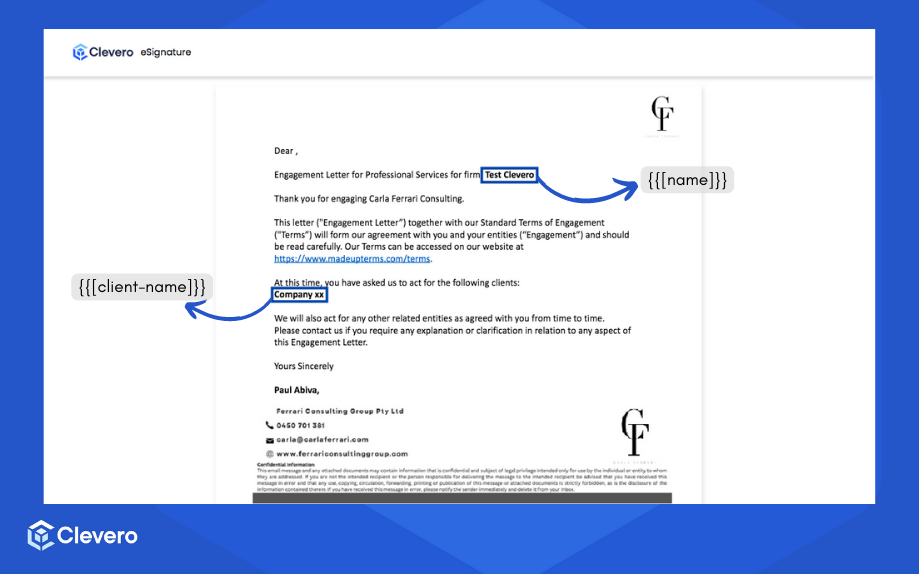
- Modify the look of your document template by using tags. Tags are marked with the format
{{[internalid]}}.
For example, you can use the tag {{[primary-contact].[full-name]}} to automatically populate the name from the selected record.
Dear {{[primary-contact].[full-name]}},

Engagement Letter for Professional Services for firm: {{[name]}}

Thank you for engaging Carla Ferrari Consulting.

This letter ("Engagement Letter”) together with our Standard Terms of Engagement ("Terms”) will form our agreement with you and your entities (“Engagement”) and should
be read carefully. Our Terms can be accessed on our website at
https://www.madeupterms.com/terms.

At this time, you have asked us to act for the following clients:
{{[client-name]}}
The above example will show the following display in the document:
Info:Learn more about Tags here.
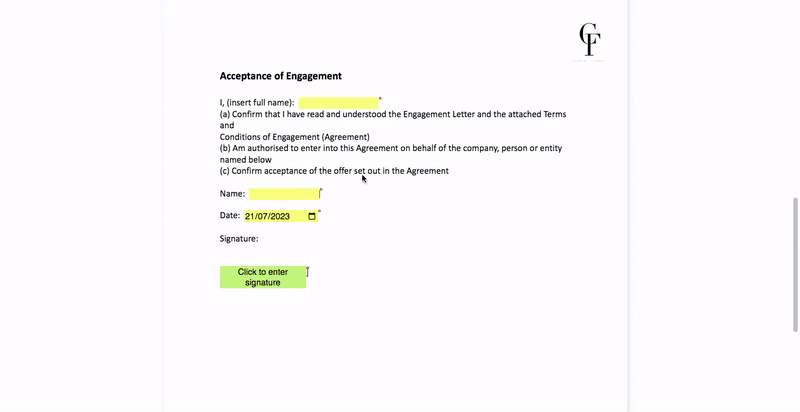
- Additionally,
[[name of field | type | "req" if required. Otherwise, leave blank]]can be used to create fields in the doc, allowing users to fill in the information when opening the document.
I, (insert full name):  [[name | text | req]]
(a) Confirm that I have read and understood the Engagement Letter and the attached Terms and
Conditions of Engagement (Agreement)
(b) Am authorised to enter into this Agreement on behalf of the company, person or entity named below
(c) Confirm acceptance of the offer set out in the Agreement

Name:  [[name|text|req]]

Date:  [[date2|date|req]]

Signature:

[[sign|signature|req]]
Info:Please note that various field types like
text,date,signature,number, and more - can be used to cater to specific data requirements.
The above example will show the following display in the document:
3. Docx Features
Once you have uploaded your Docx templates, Clevero allows you to customise them to suit your requirements. This will enable you to tailor your document's content, layout, and designs.
3.1. Generate Document
The "Generate Document" feature lets you create a new .docx file by resolving the values within your uploaded template. This dynamic process ensures that each document contains relevant data and information, ready for further customisation and distribution.
3.2. Merged Document
With the "Merged Document", you can combine multiple documents into one file. This simplifies document management and distribution.
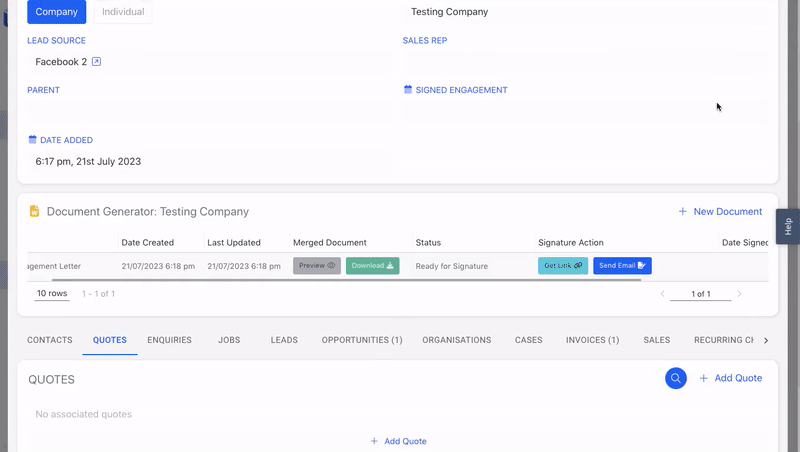
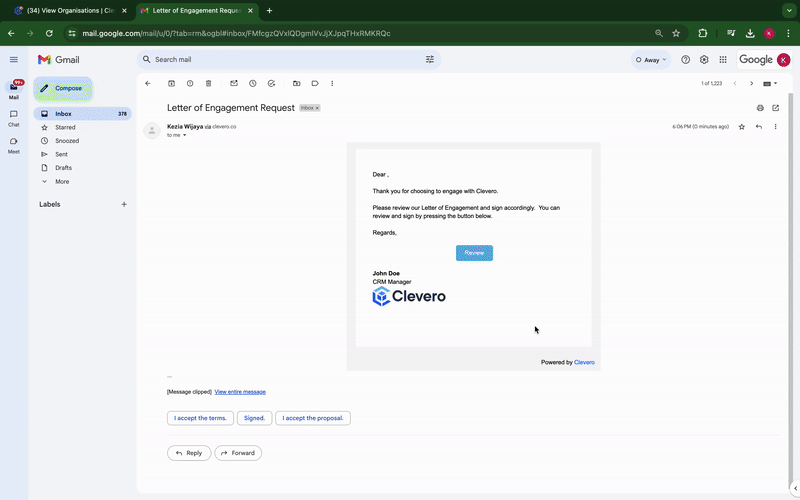
3.3. eSignature Action
Clevero simplifies the signing process with the "eSignature Actions" feature. This feature allows you to send the document to be signed via email or by sharing a direct link.
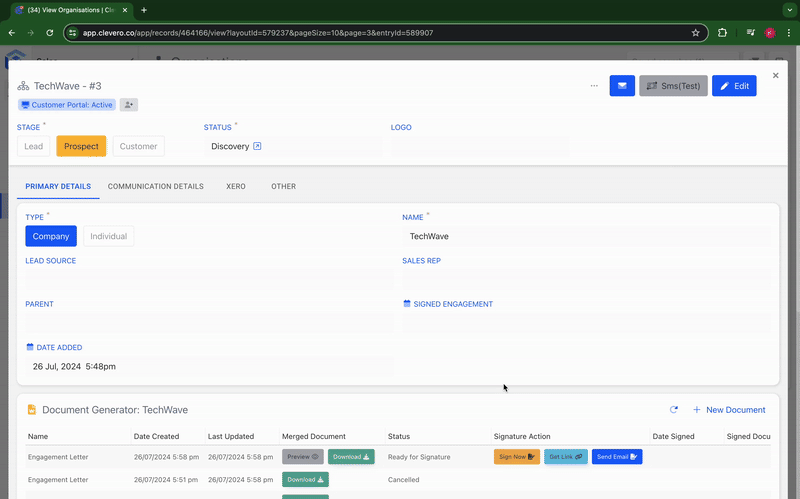
3.4. Signed Document
The "Signed Document" feature helps you keep track of successfully signed documents.
📌 Need Help?
