4. Set Up Navigation
- Set up an Instance of Clevero
- Create Records and Fields
- Create an Entry Layout
- Create a Navigation
- Create a View of Records
Overview
You’ve built Entry Layouts and assigned them to roles. But users can’t access them yet.
That’s where Navigation Layouts come in. Navigations define how users move through your app and where records can be found. Let’s create your first Navigation.
Video Walkthrough
Step by Step
Step 1 - Create the Navigation Layout
- Go to Settings -> System Settings from the side menu.
- Select Navigations menu.
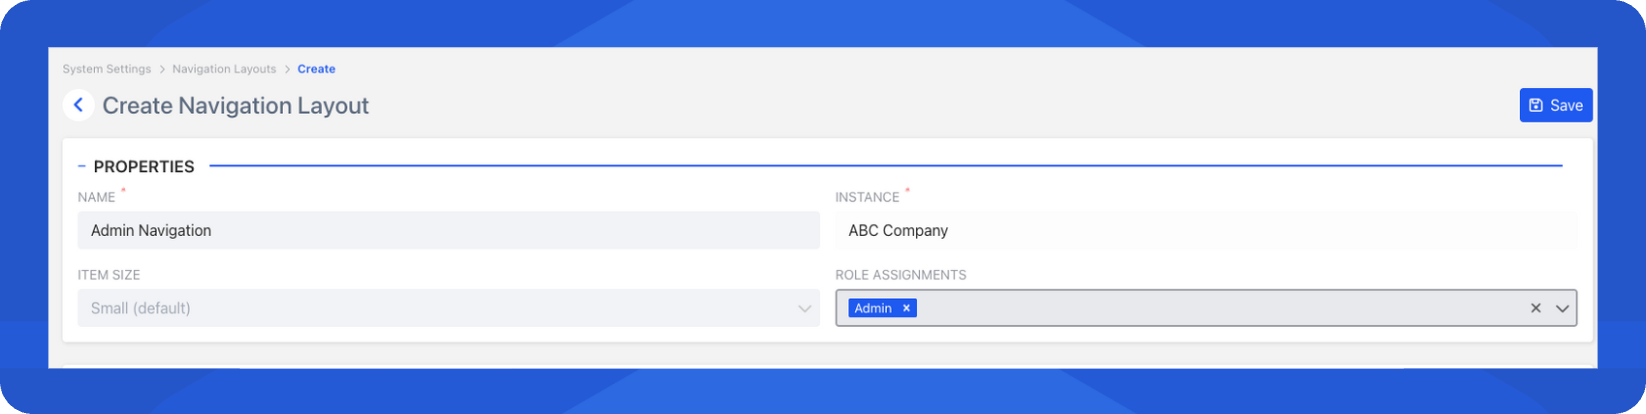
- Click on Create Navigation Layout to create a new layout.
- Enter a Name for your navigation.
- Assign your role into Role Assignments.
Step 2 - Add Items to the Navigation
- Click + Add Item to add a new one.
- Choose Record Link as your Type.
- Enter a Label (e.g "Customers")
- Enter an icon (e.g "Users")
- Choose the record (e.g "Customers")
- Click Add to save the data you've entered.
- At the top right, click Save to save your layout.
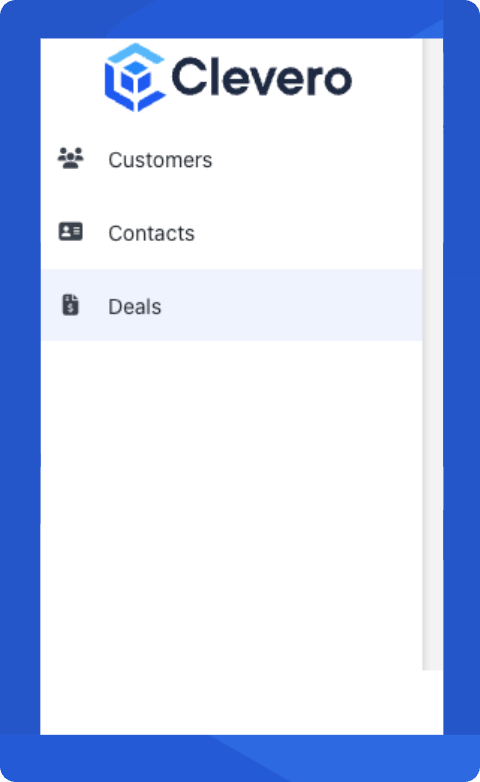
- If done right, your Navigation should have updated and look like this.

- Repeat the process to add Deals and Contacts.
- Afterwards, it should look like this: