1. Create a New Instance of Clevero
- Set up an Instance of Clevero
- Create Records and Fields
- Create an Entry Layout
- Create a Navigation
- Create a View of Records
Overview
Before you can build your solution, you’ll need to set up a new Instance. This is your dedicated workspace where all records, layouts, dashboards, and automations will live.
Video Walkthrough
Step by Step
Step 1 - Log in to the Partner Portal
- Go to https://app.clevero.co.
- Enter your partner login credentials.
- After logging in, you’ll land on your Partner Dashboard.
Step 2 - Create a New Instance
- In the left navigation, select Activation Links.
- Click + Instance button (top right) to create a new instance.
- Fill in the instance details:
- Tick the Not for Resale checkbox
- Enter an Instance Name (e.g., ABC Company)
- For Main Module, select Blank Instance [Premium]
- Click Submit to create the instance.
Step 3 - Switch to Your Instance
- At the bottom left, click Settings.
- Select Change Role.
- Search for your new instance (e.g., ABC Company).
- Click Admin under your instance name to switch into it.
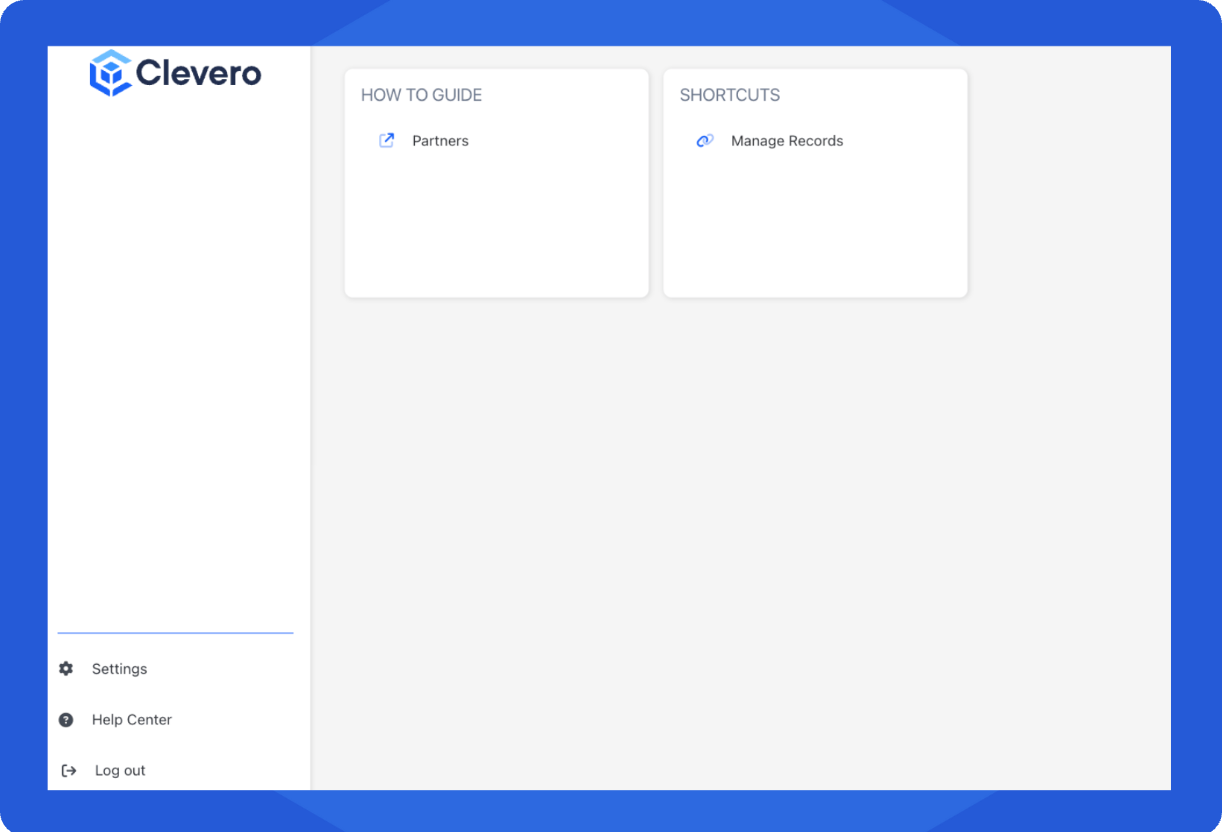
- If everything was done correctly, your screen should now look something like this: