How to Set Title Name on the Entry Layout
This article will guide you on how to update the entry record title name.
- Go to the Manage Records page of an entry that you want to update.
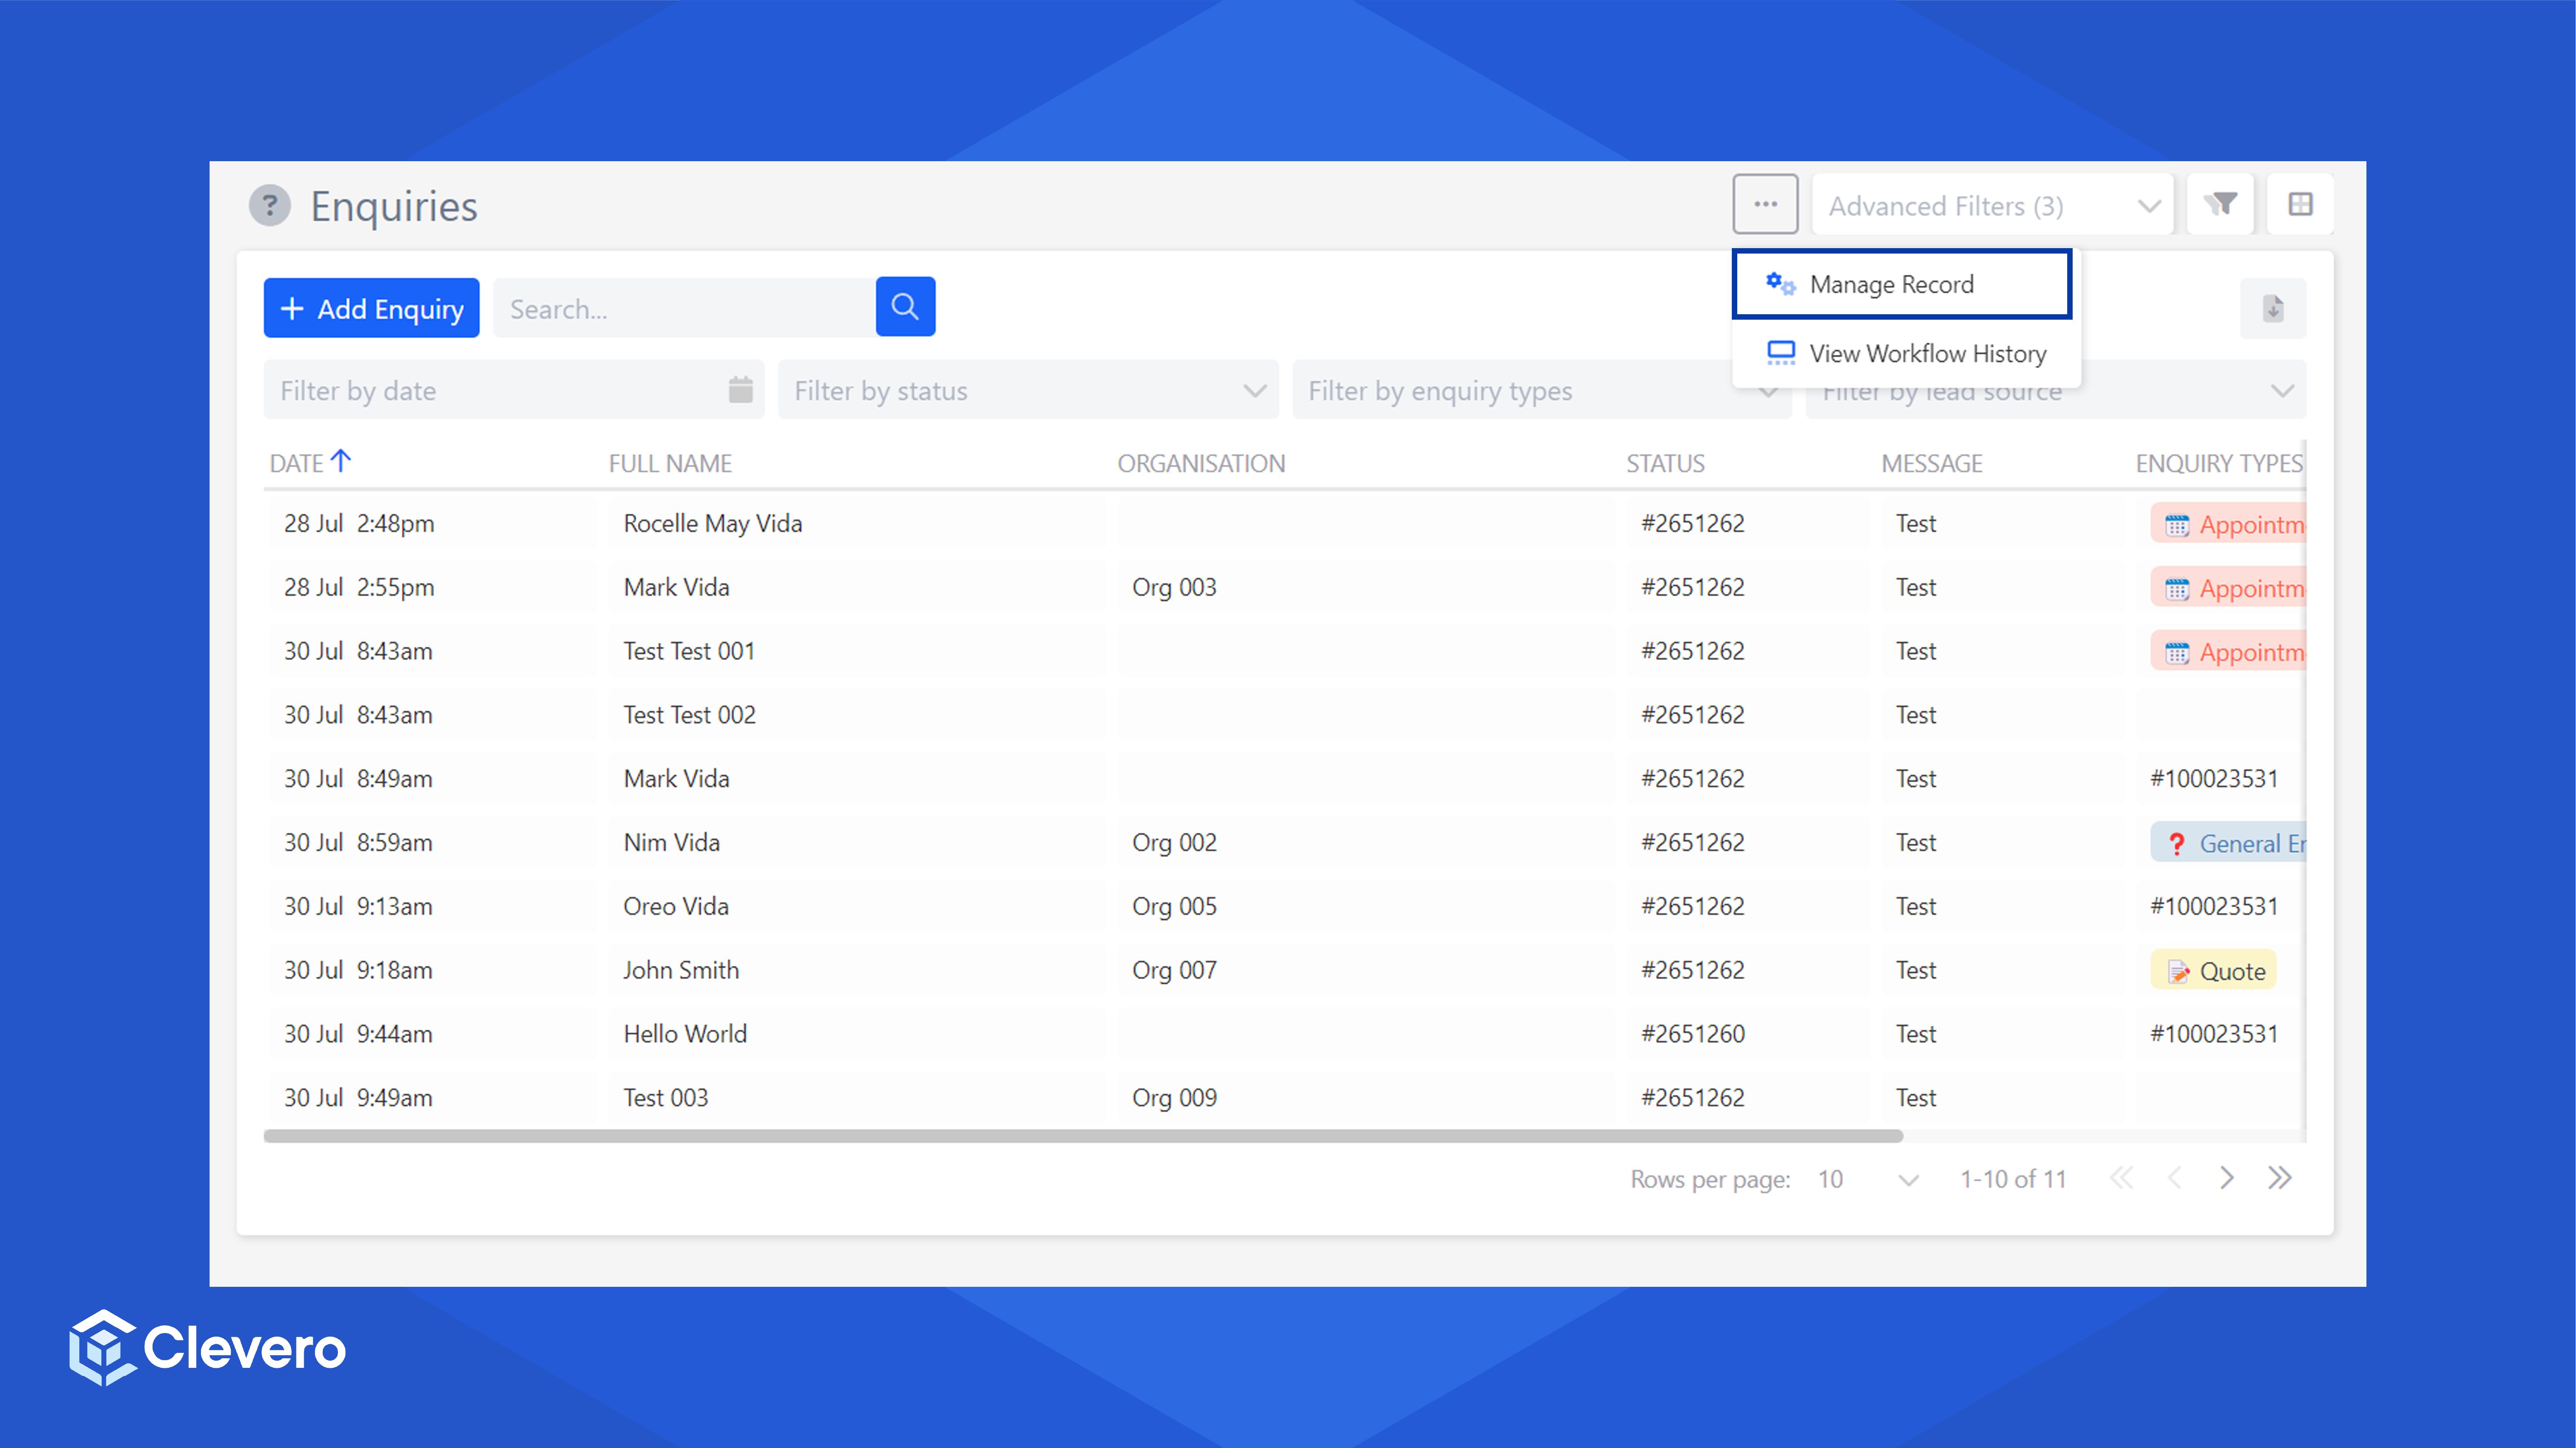
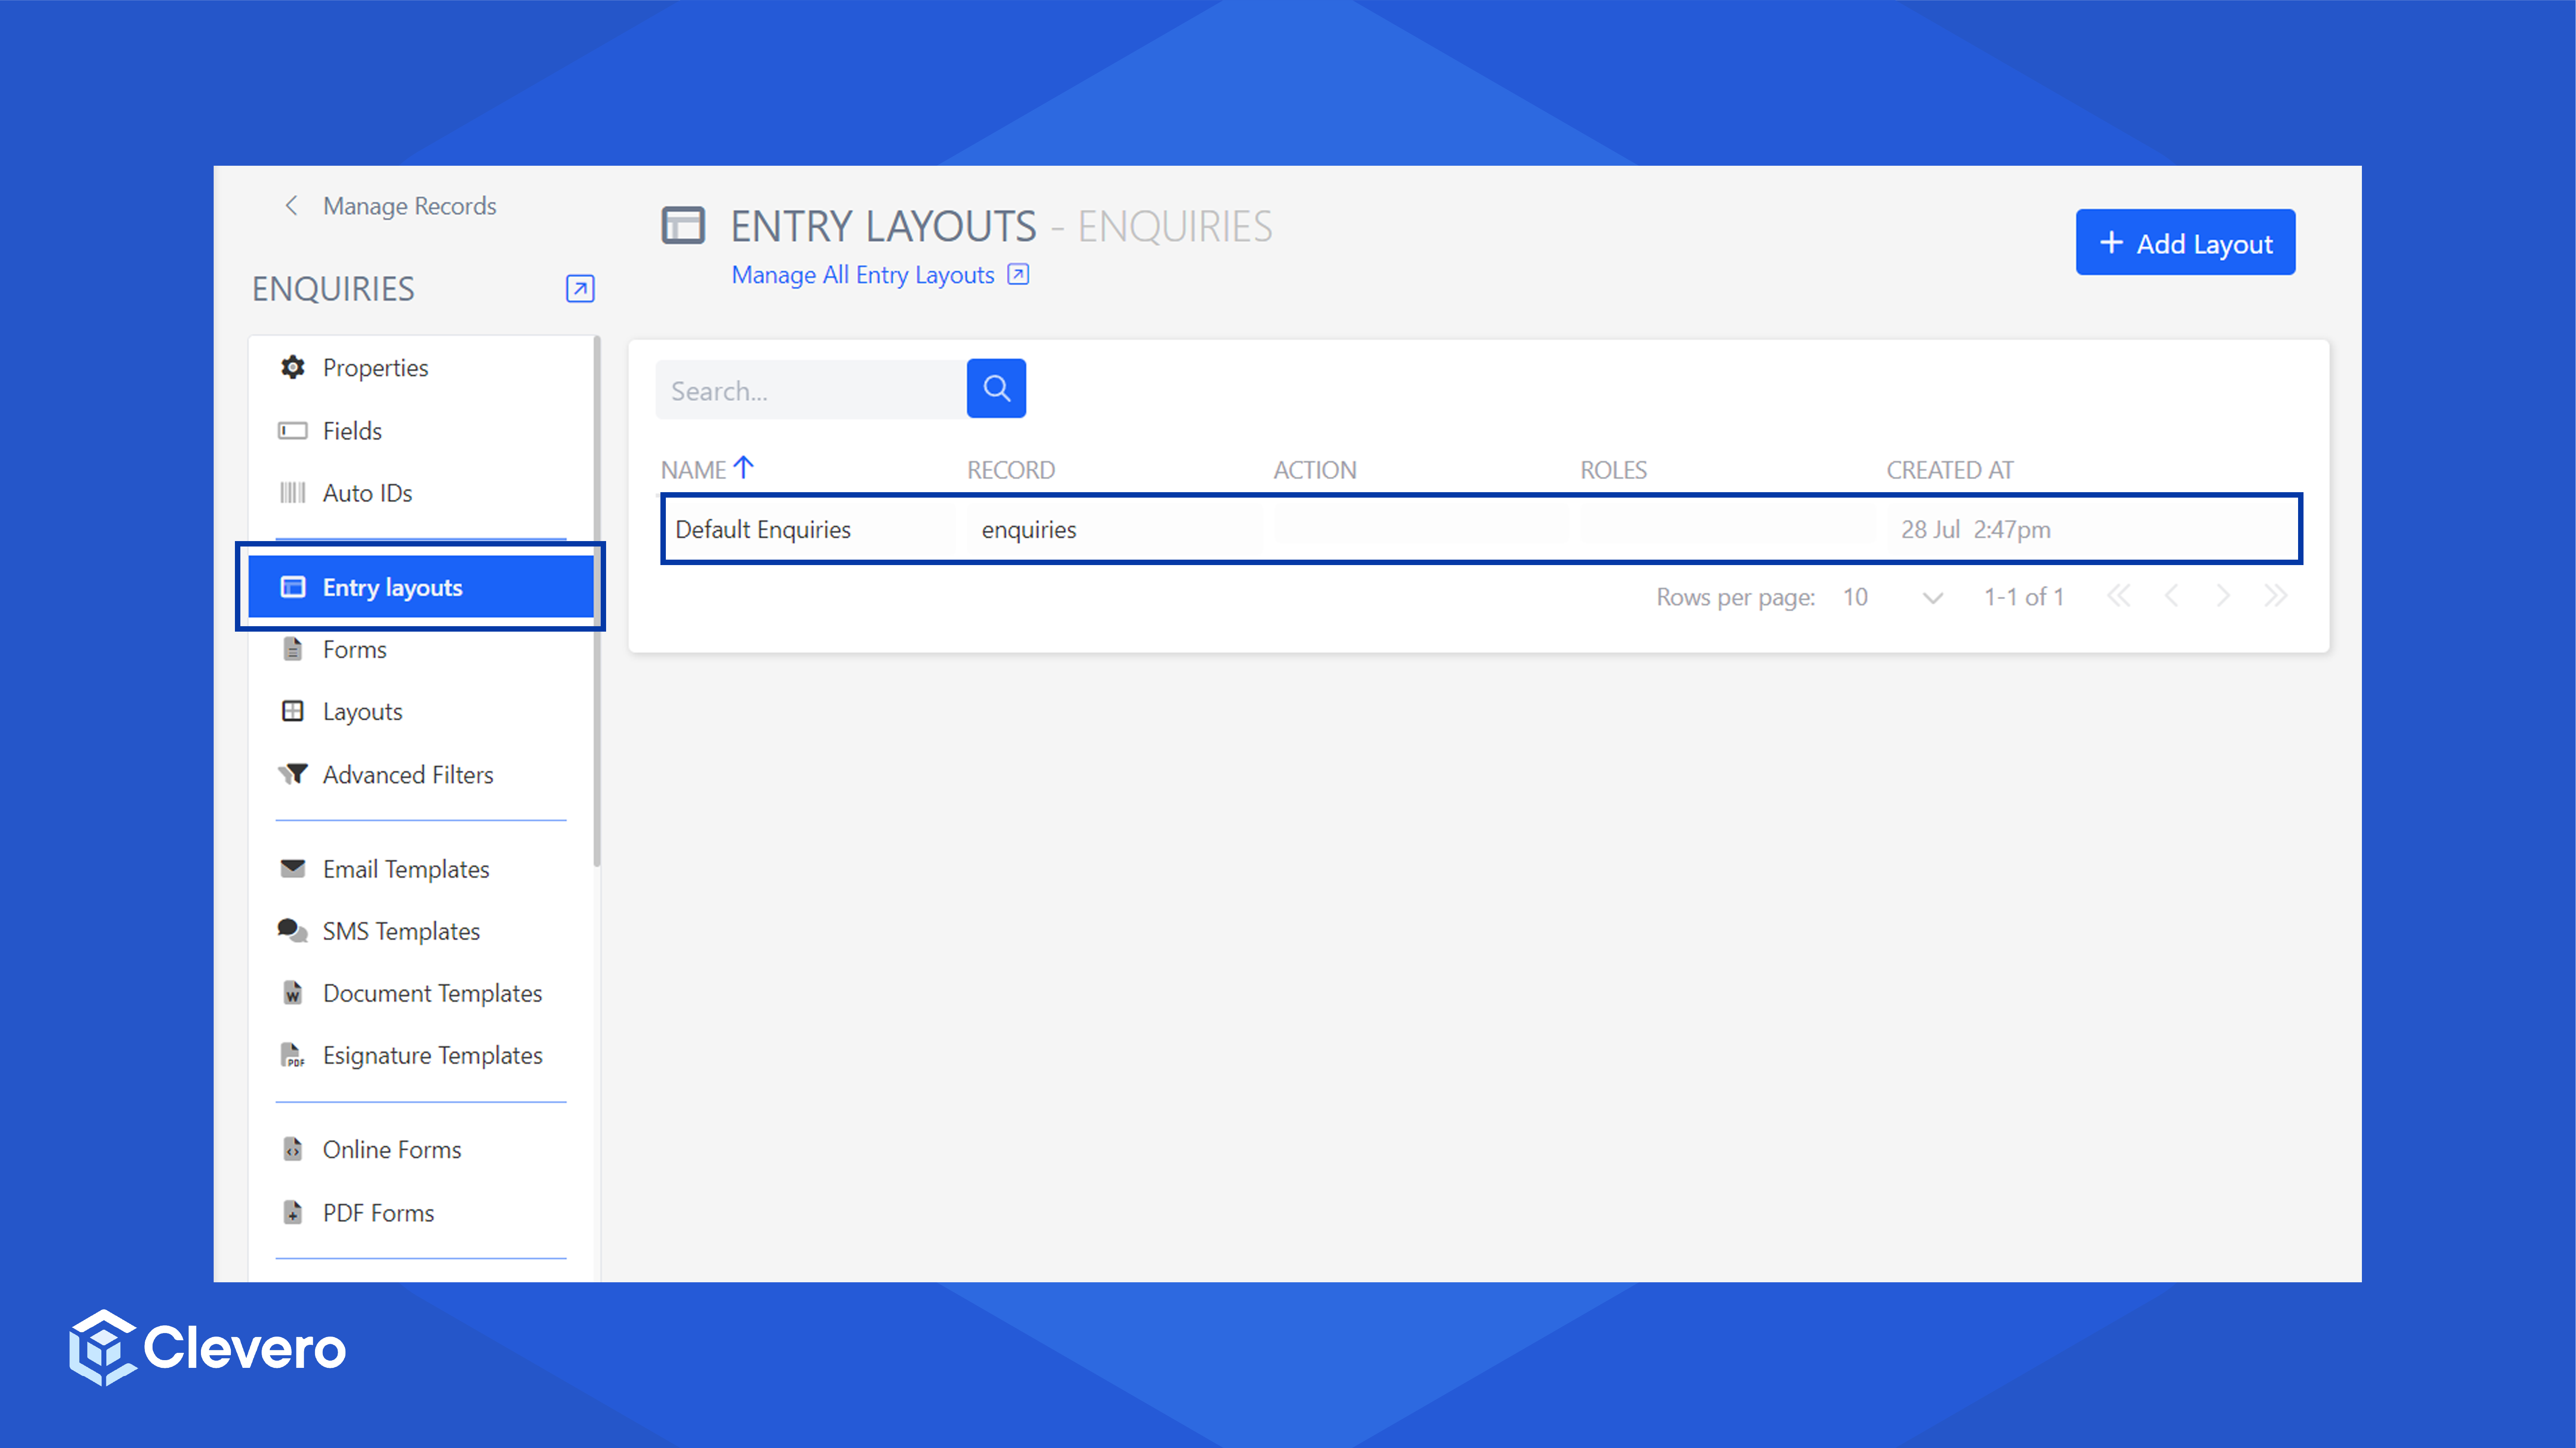
- Click on the Entry Layouts tab, then select the entry layout that you want to change.
- Click on the header fields, then click Open Editor.
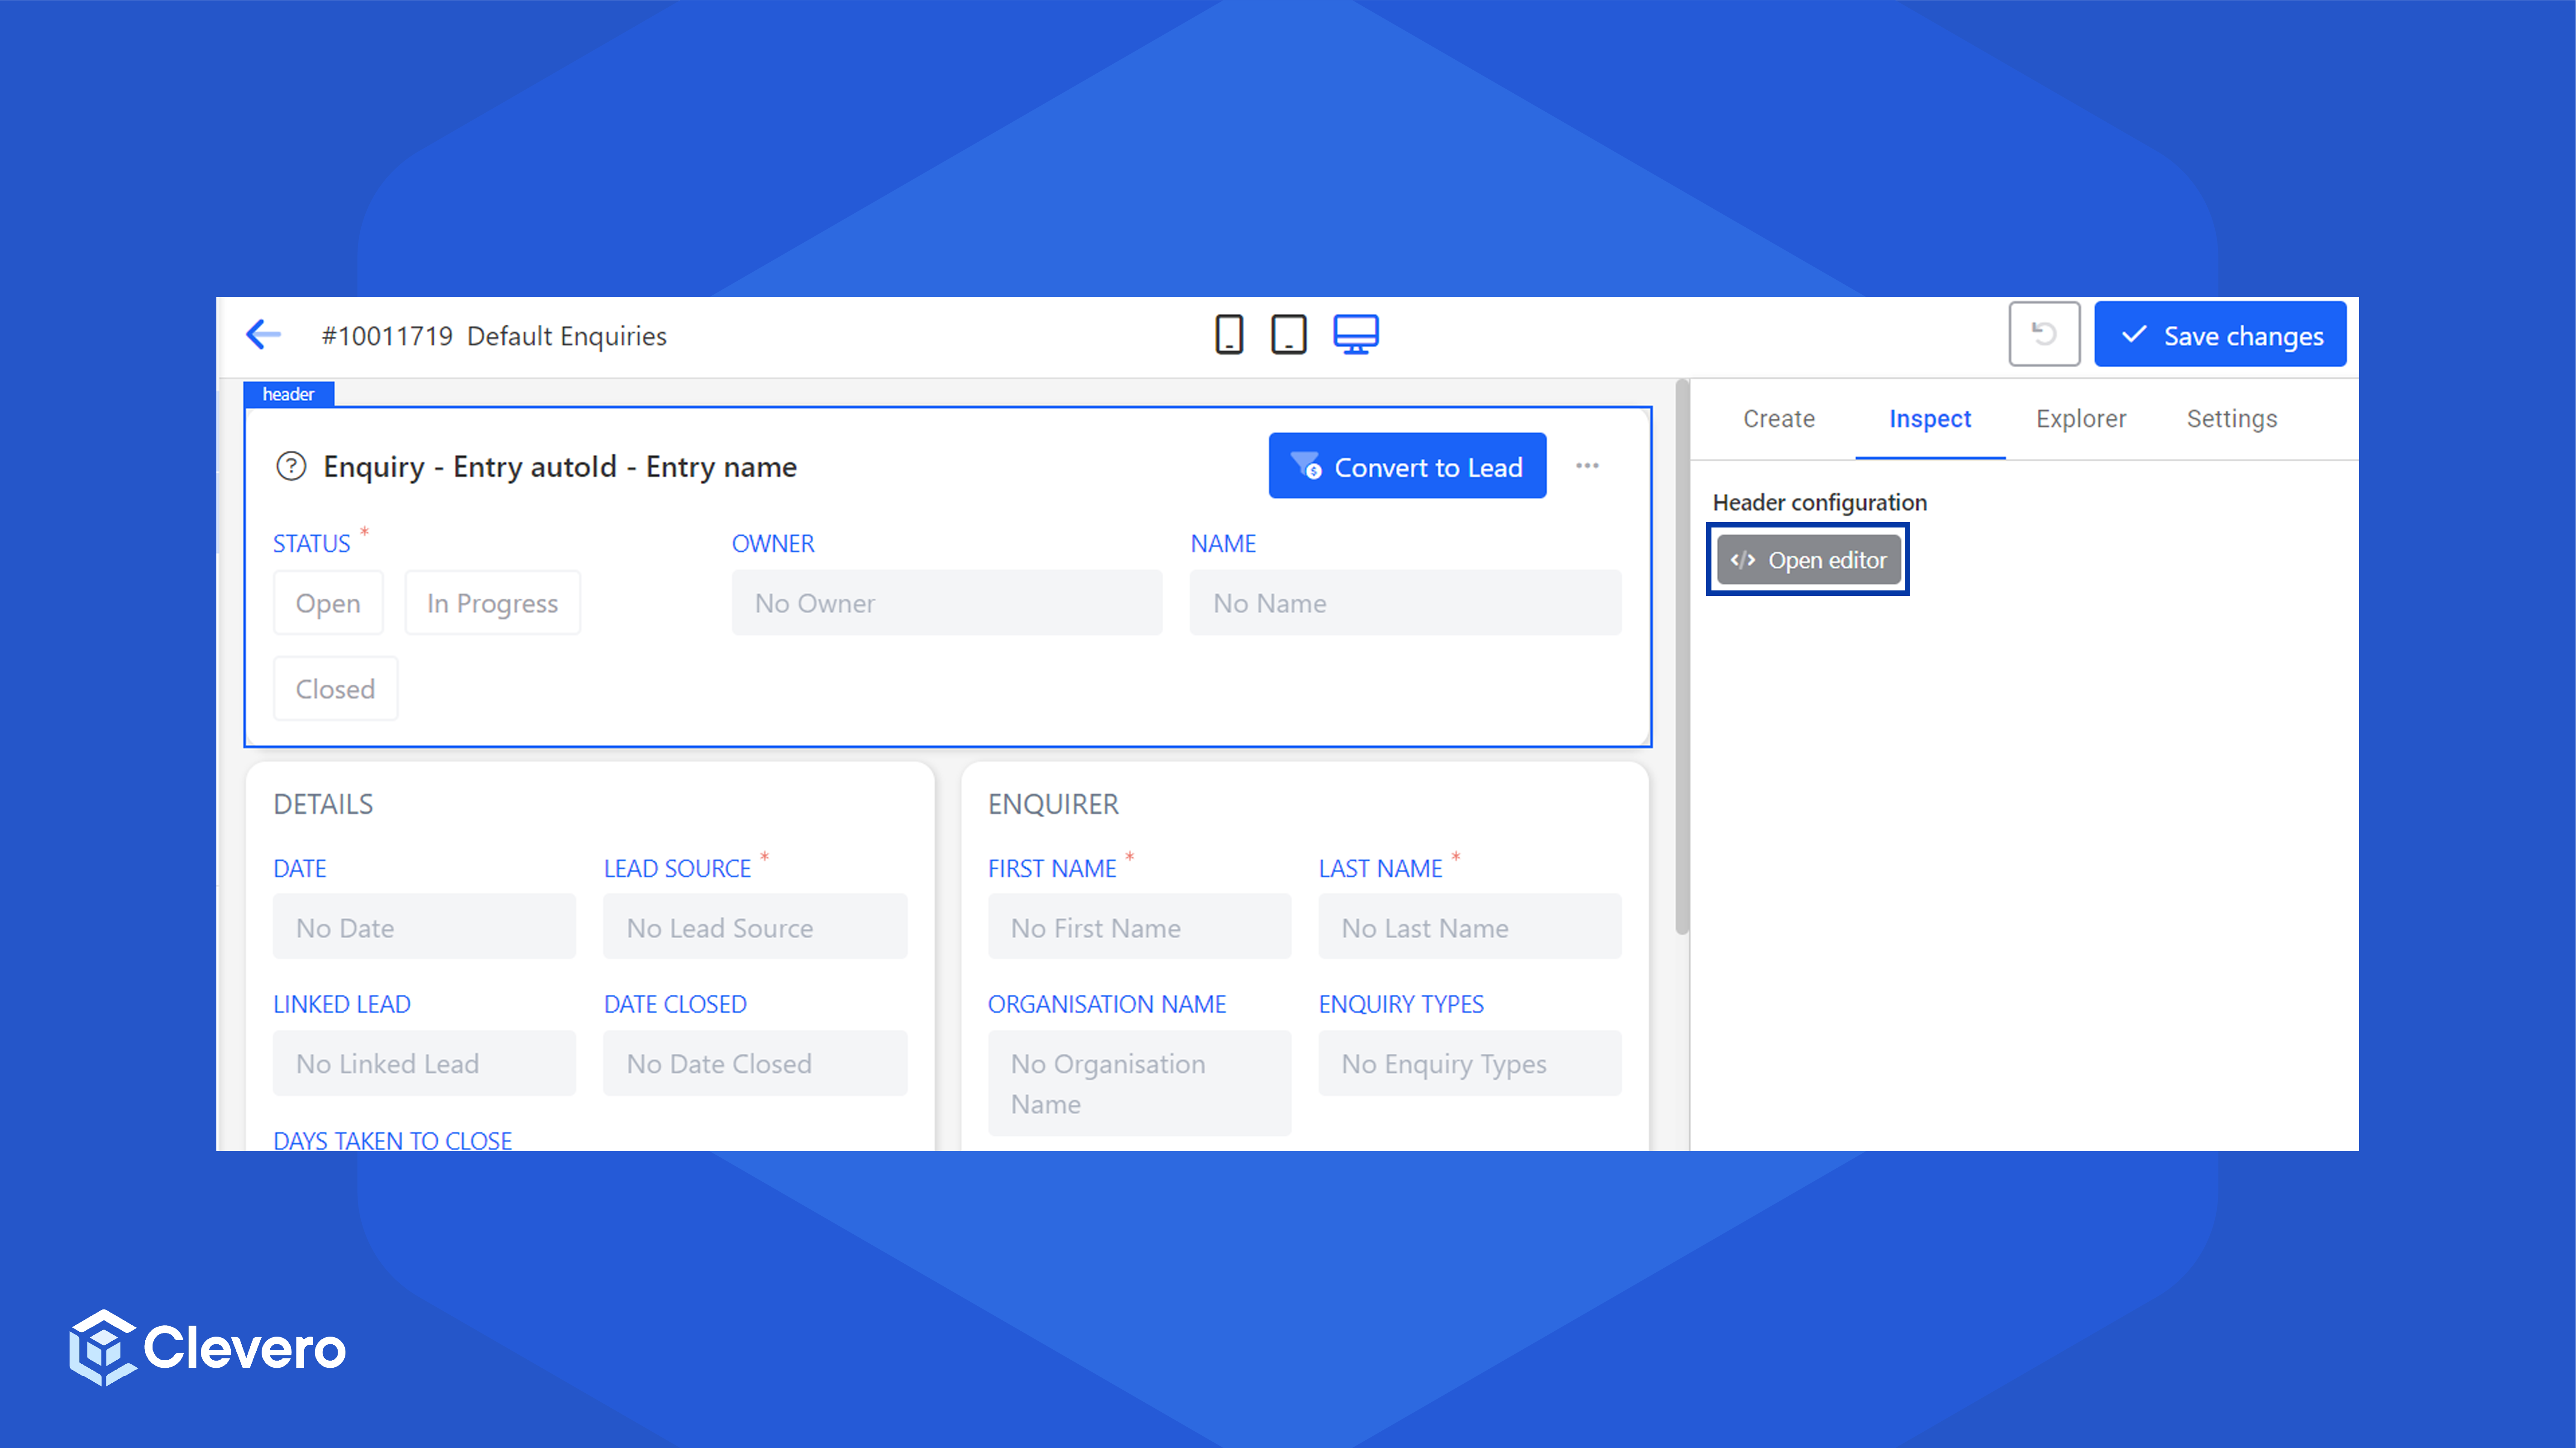
- You'll see a configuration that roughly follows this structure. We'll change the
title.elementsproperty value.
{
    "type": "header",
    "title": {
        "elements": [
            "{{singular record.name}}",
            "{{{entry.autoId}}}",
            "{{{entry.name}}}"
        ],
        "joinWith": " - ",
        "icon": true
    },
    "buttonsLeft": [
        ...
    ],
    "buttonsMenu": [
       ...
    ],
    "sameLine": 600,
    "content": [...]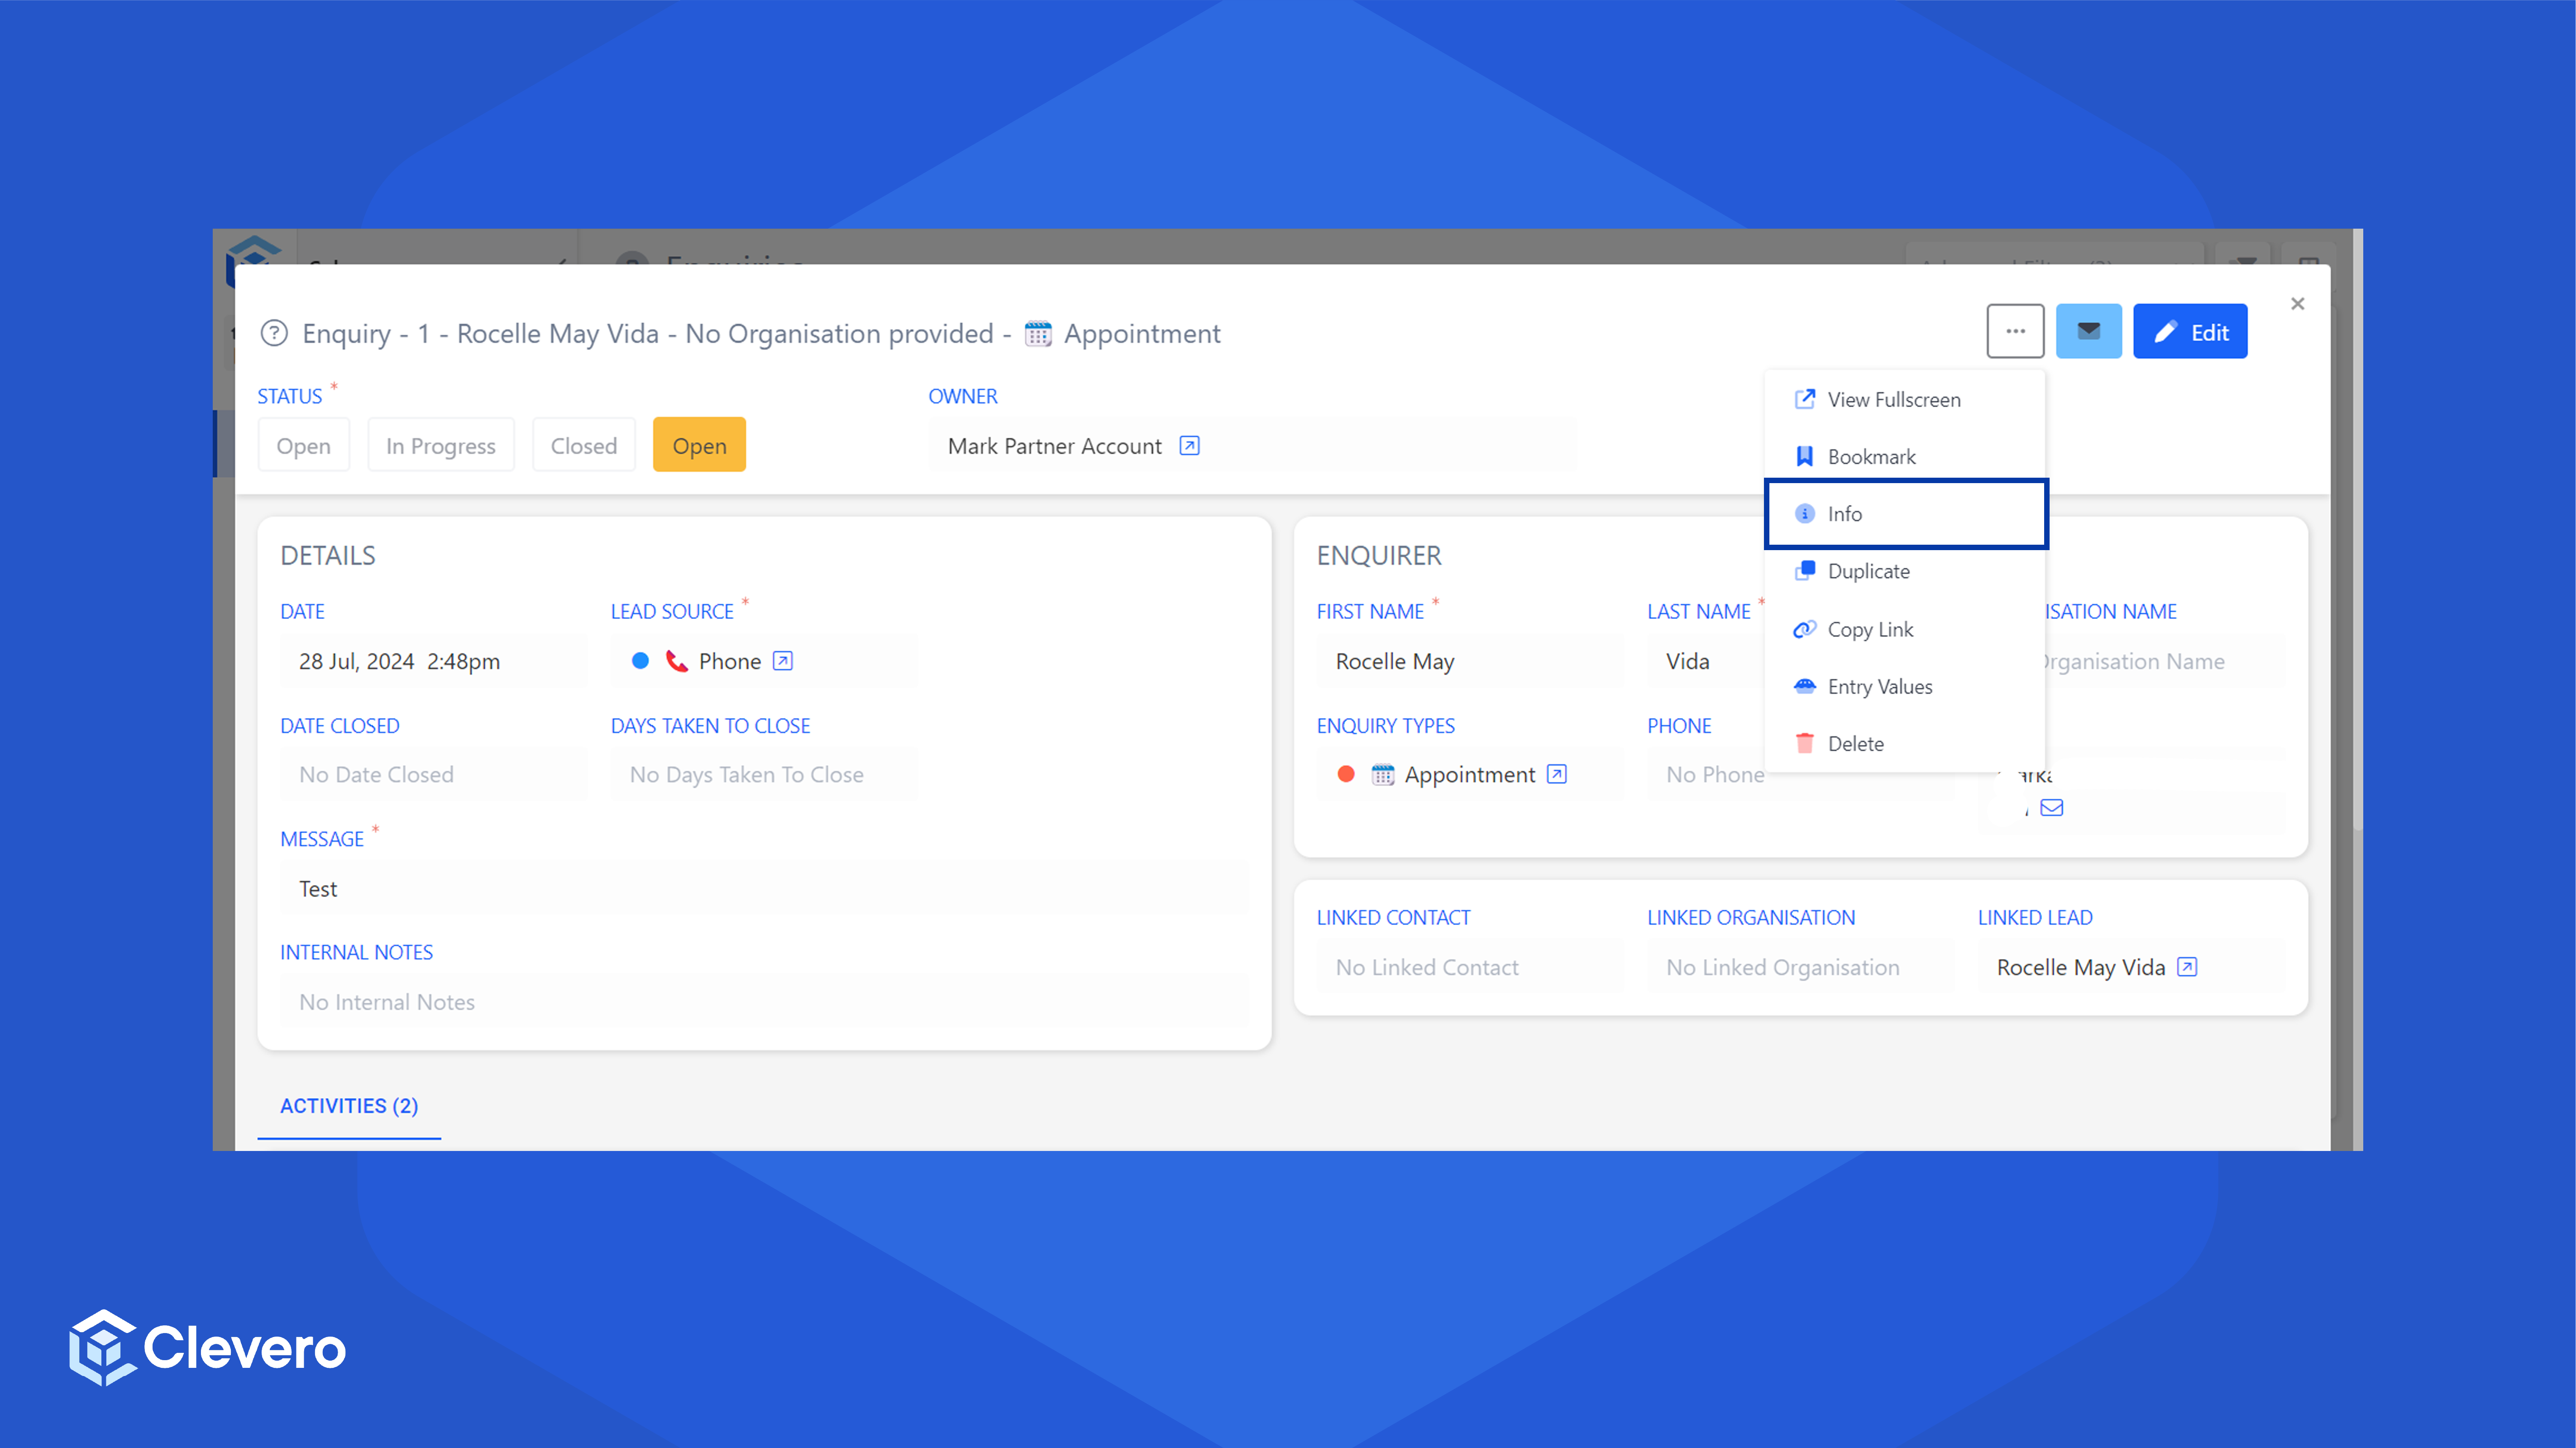
}- To know which fields you can use for the title, go to any record entry page. Click on the Three Dots button, then click Info.
- Check on the Show Field Information.
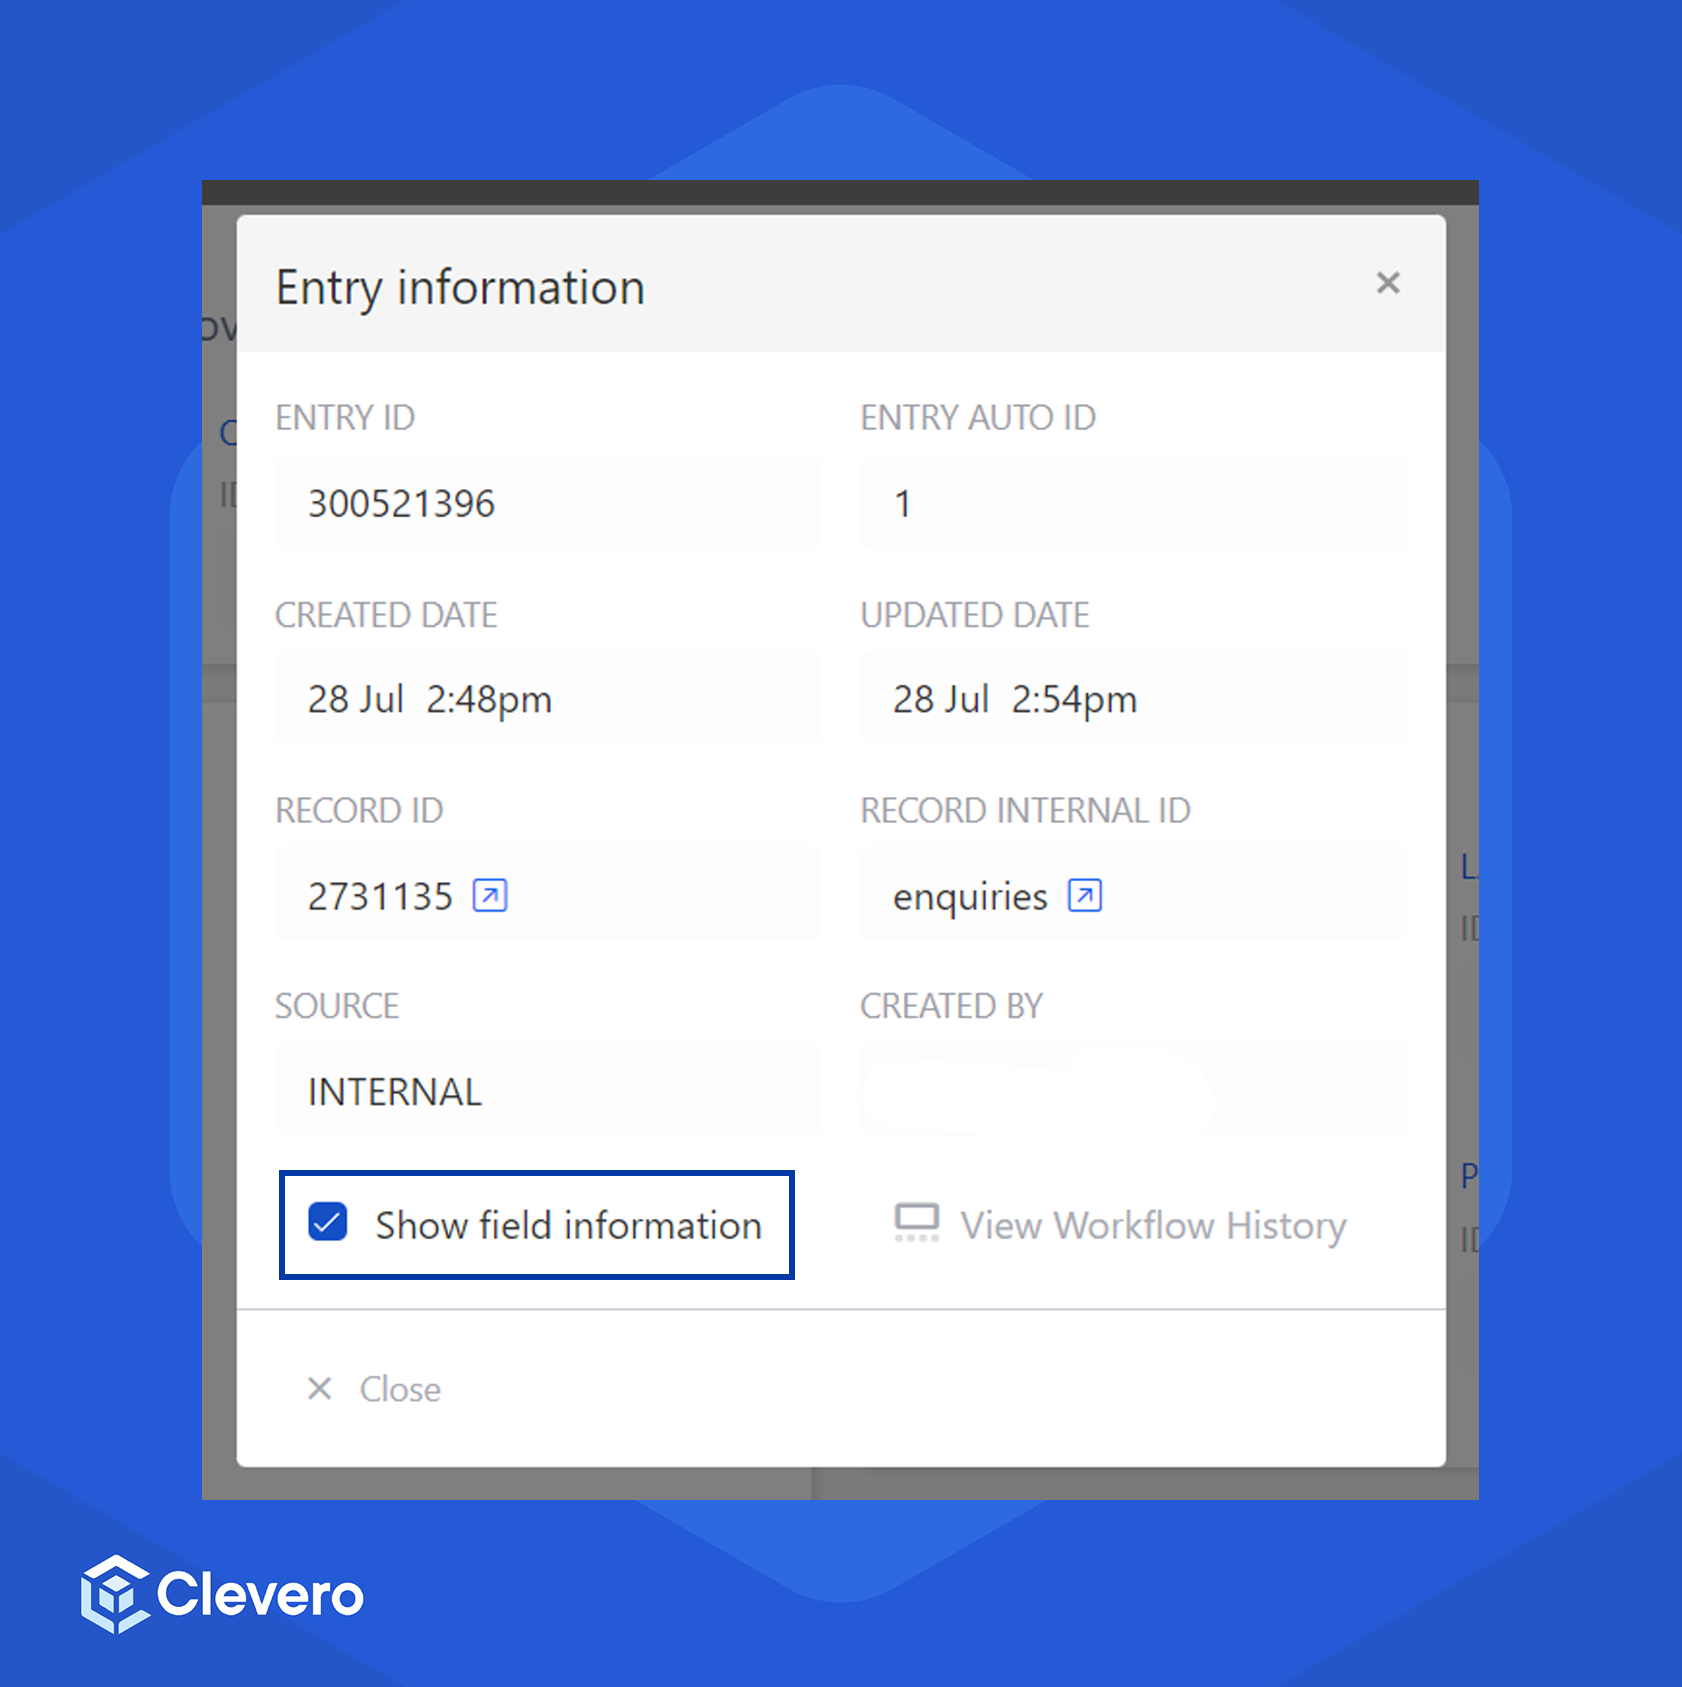
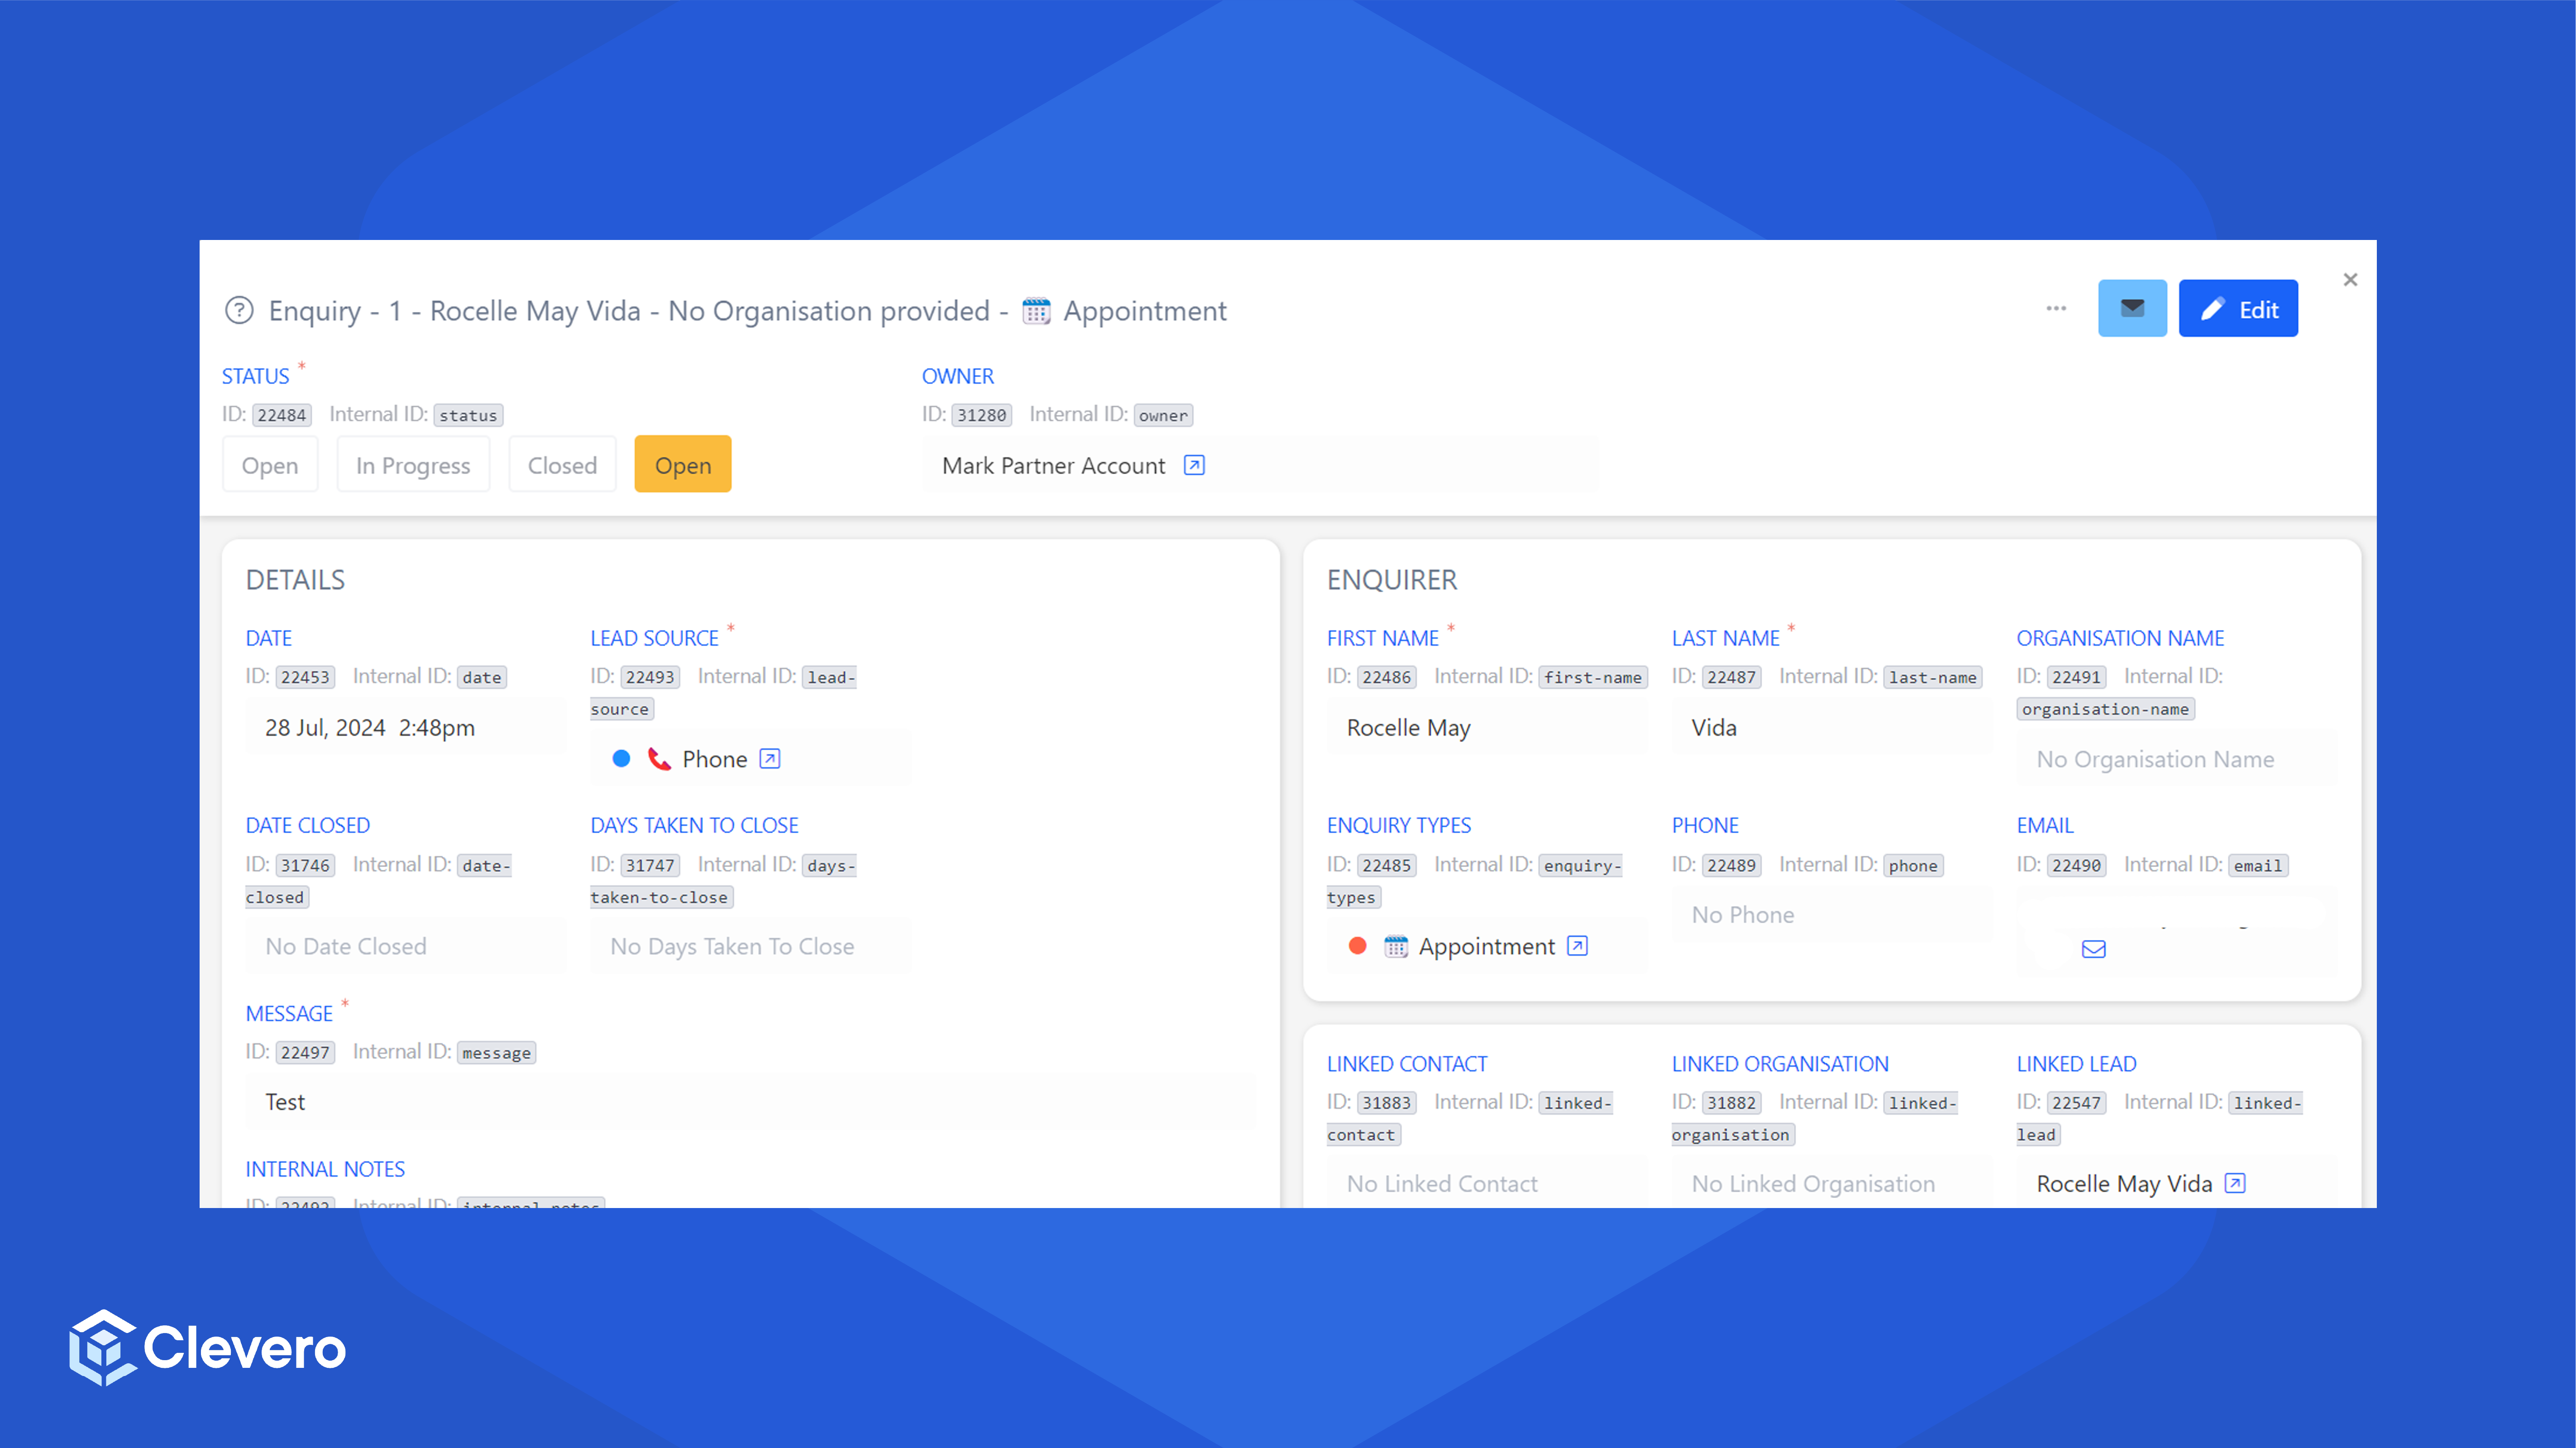
- You'll see an additional field appear on each entry. We'll use the value that appears on the
internal-idsection.
- For example, we replace the
autoIdin the title withstatus. The new configuration becomes like this. See that we still keep theentry.prefix.
{
"type": "header",
"title": {
"elements": [
"{{singular record.name}}",
"{{{entry.status}}}",
"{{{entry.name}}}"
],
"joinWith": " - ",
"icon": true
},
"buttonsLeft": [
...
],
"buttonsMenu": [
...
],
"sameLine": 600,
"content": [...]
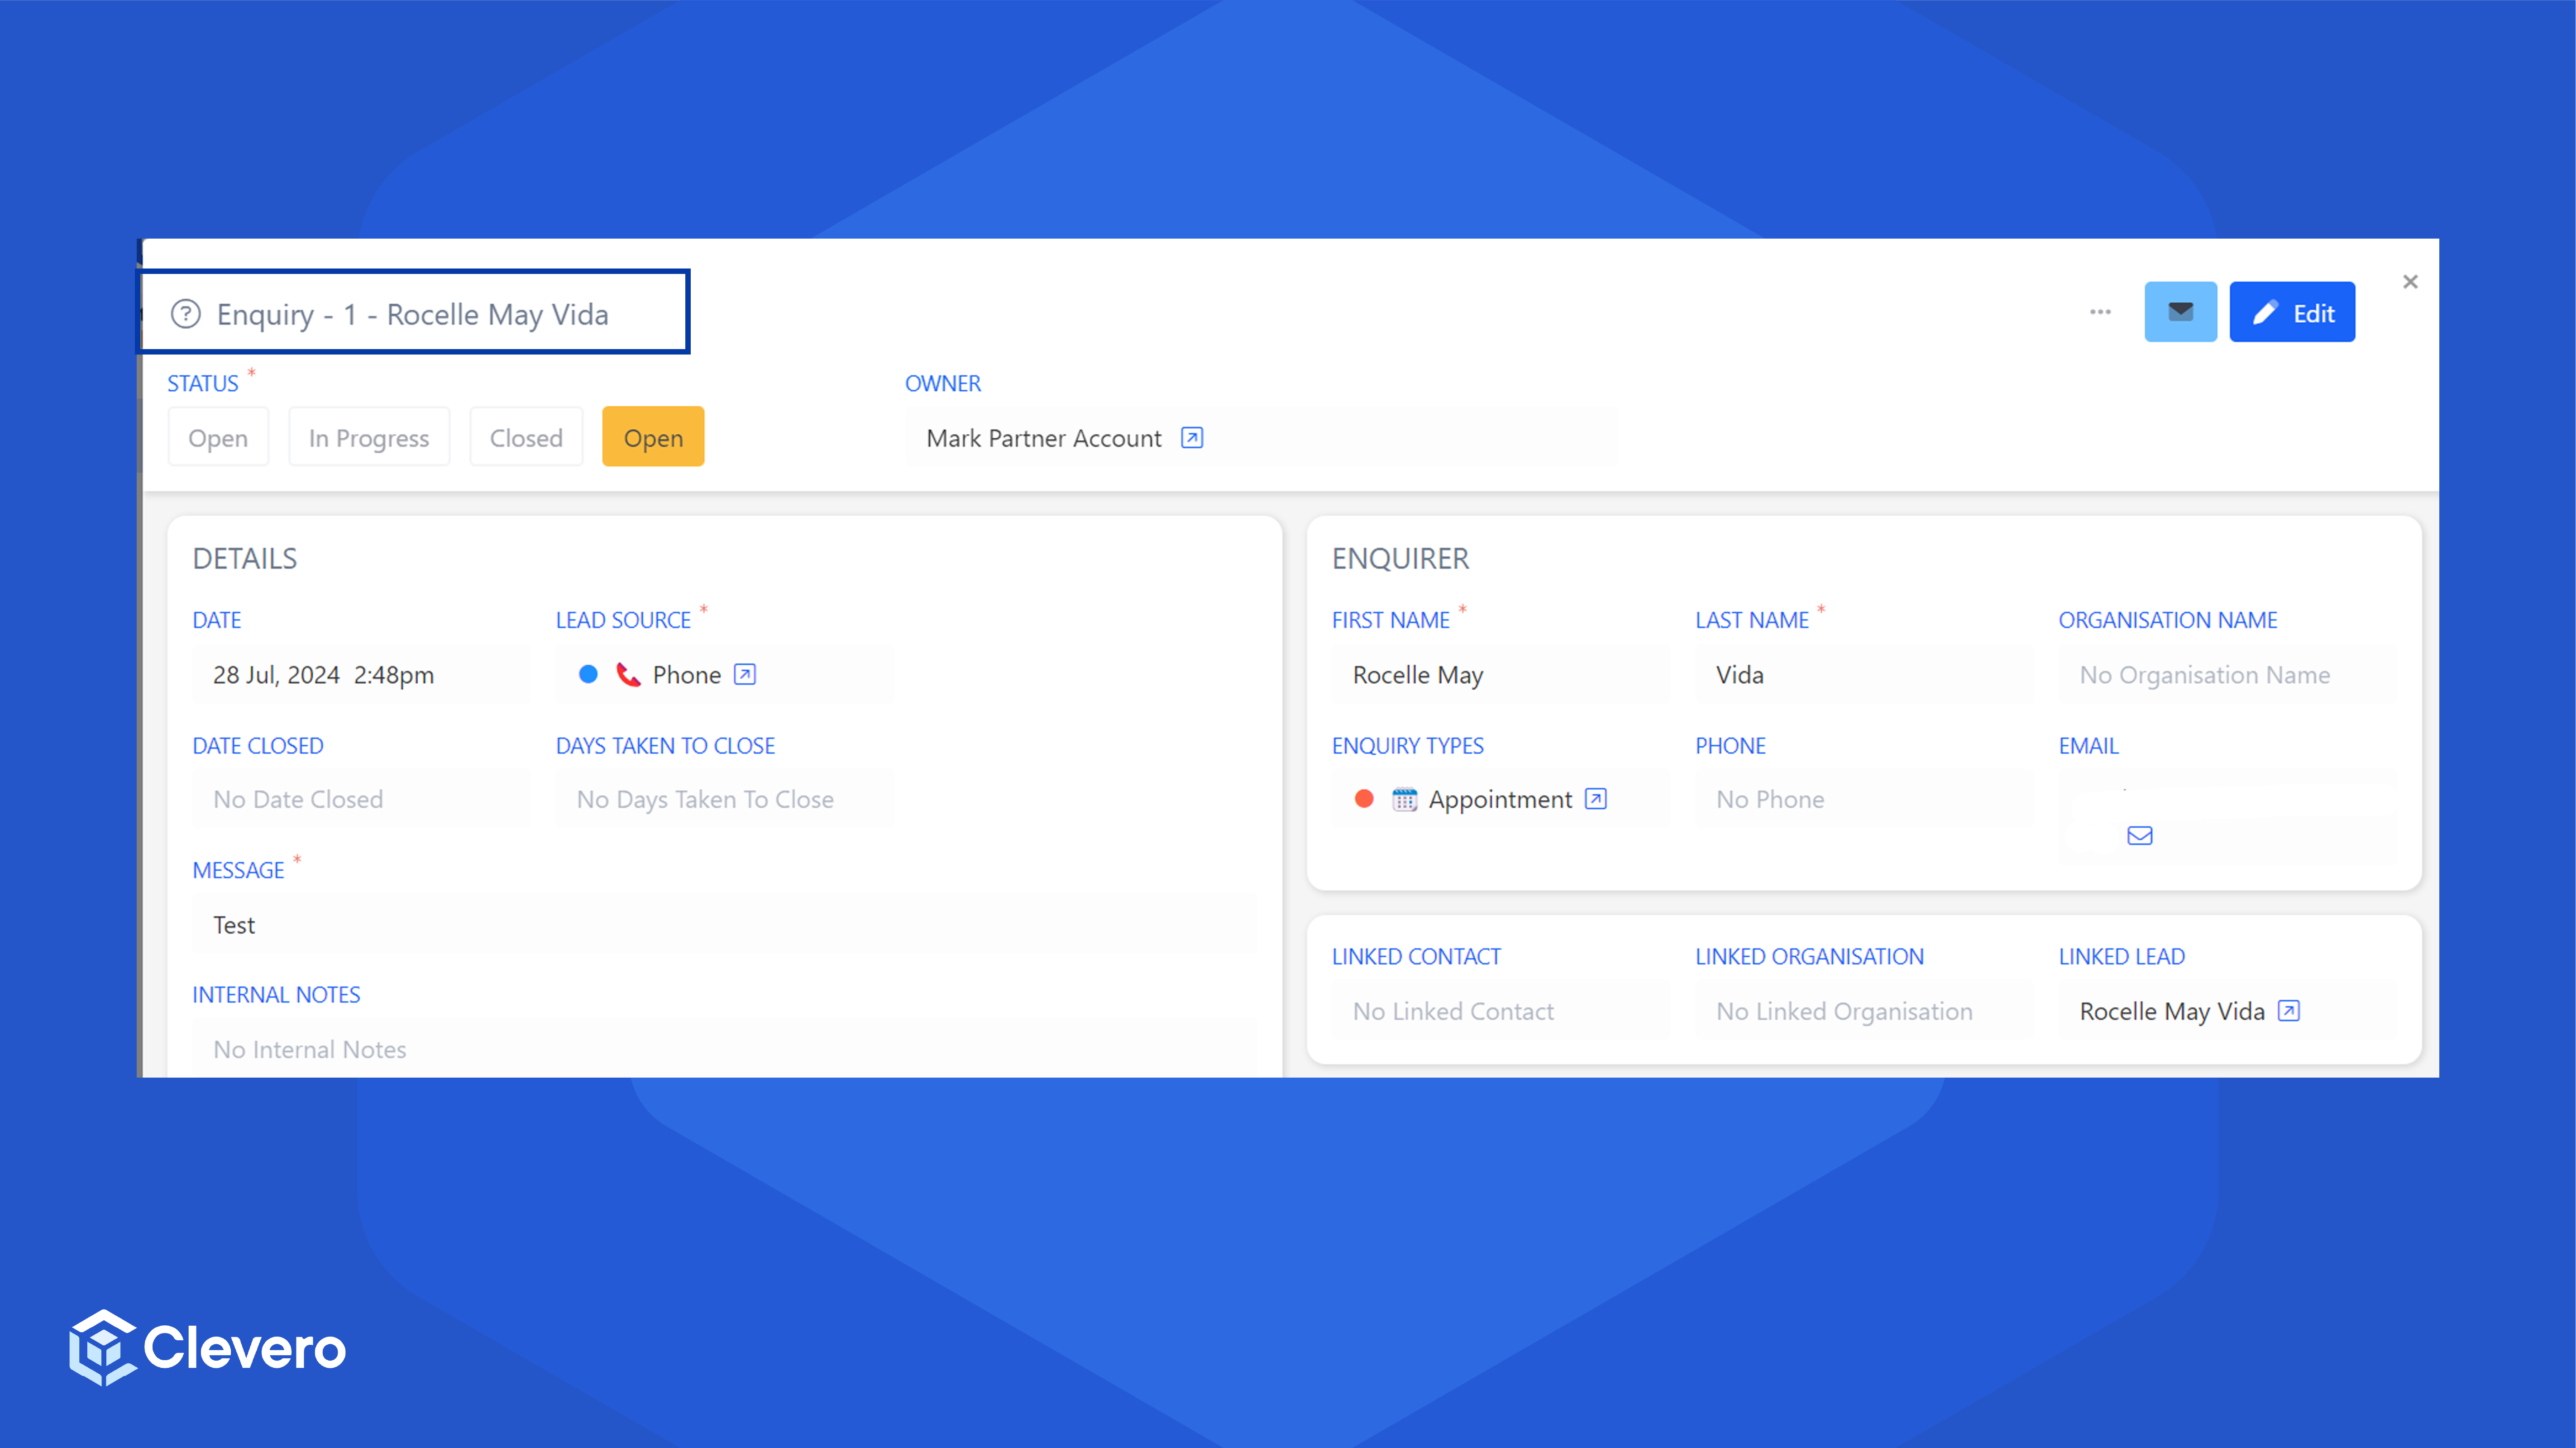
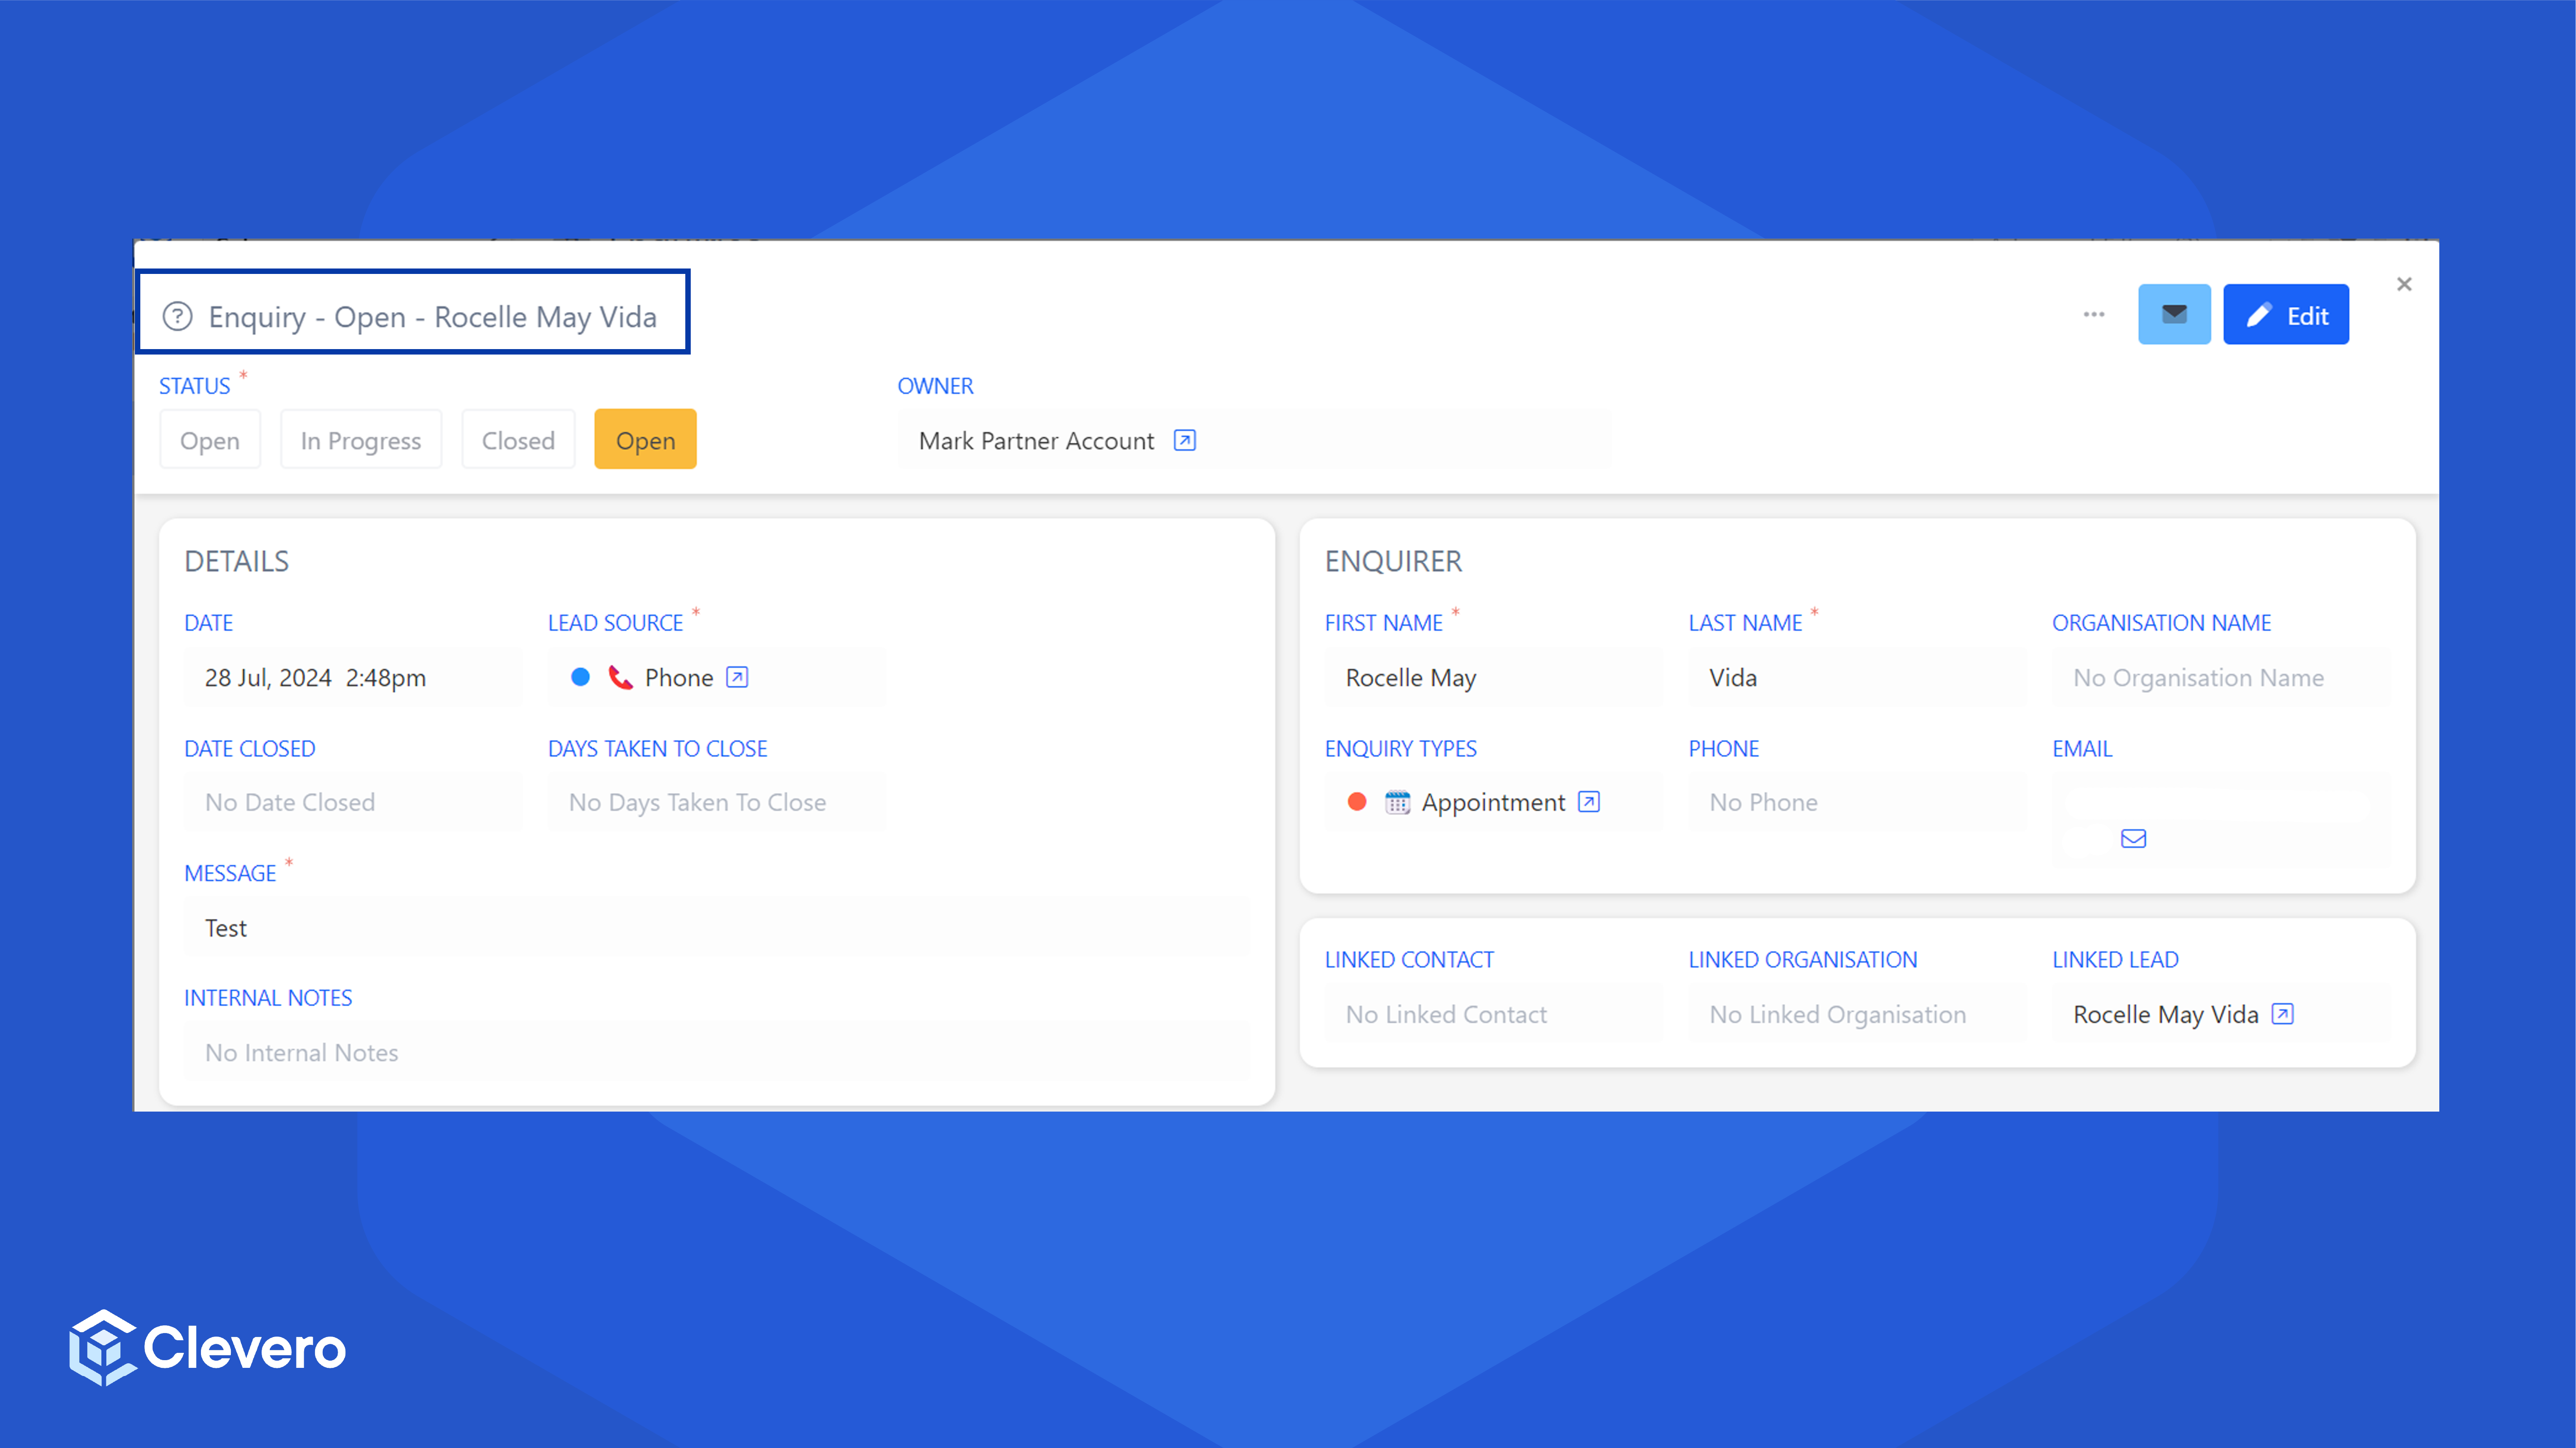
}- Click Save Changes. If you go to the entry record page, you'll see that the title format has been changed.
📌 Need Help?
