5. Add Views
- Set up an Instance of Clevero
- Create Records and Fields
- Create an Entry Layout
- Create a Navigation
- Create a View of Records
Overview
Now that we can navigate to our records, you'll notice a message looking like this.
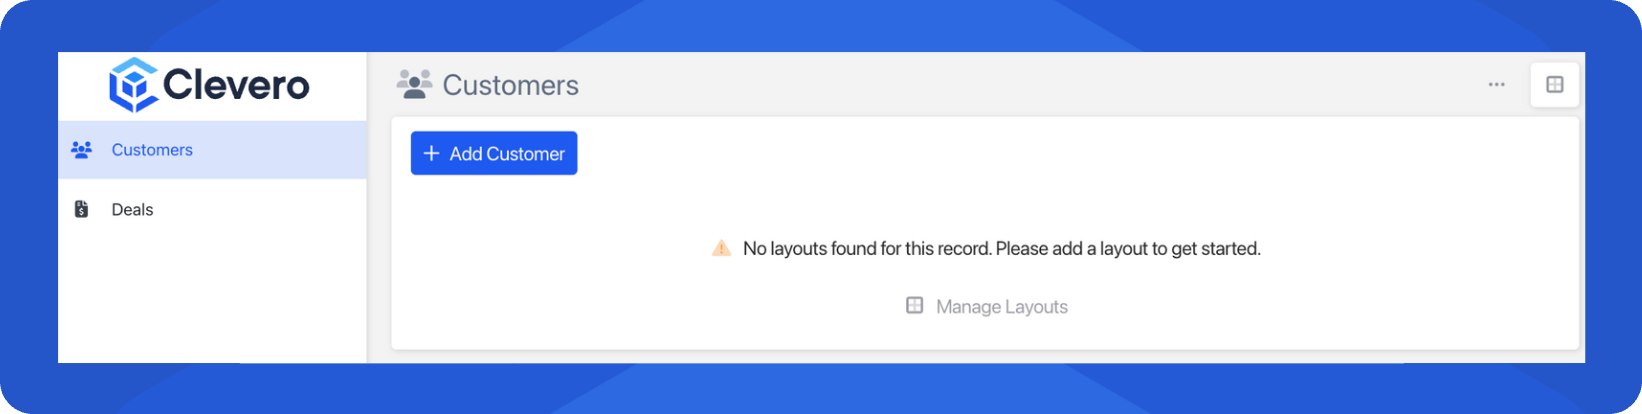
That’s because we haven’t created any Views yet. Views let you display your records in tables, making it easy to browse, search, and manage your data.
Step by Step
Step 1 - Create a Table Layout
- Click on Manage Layouts.
- Click on New Layouts(top right).
- Choose Table Layout.
- Enter a Layout Name (e.g Customer View)
- Click + Add all Fields or add fields one at a time. You can re-arrange the fields to be in the order you want them in by dropping and dragging them.
- Click Save to save the layout.
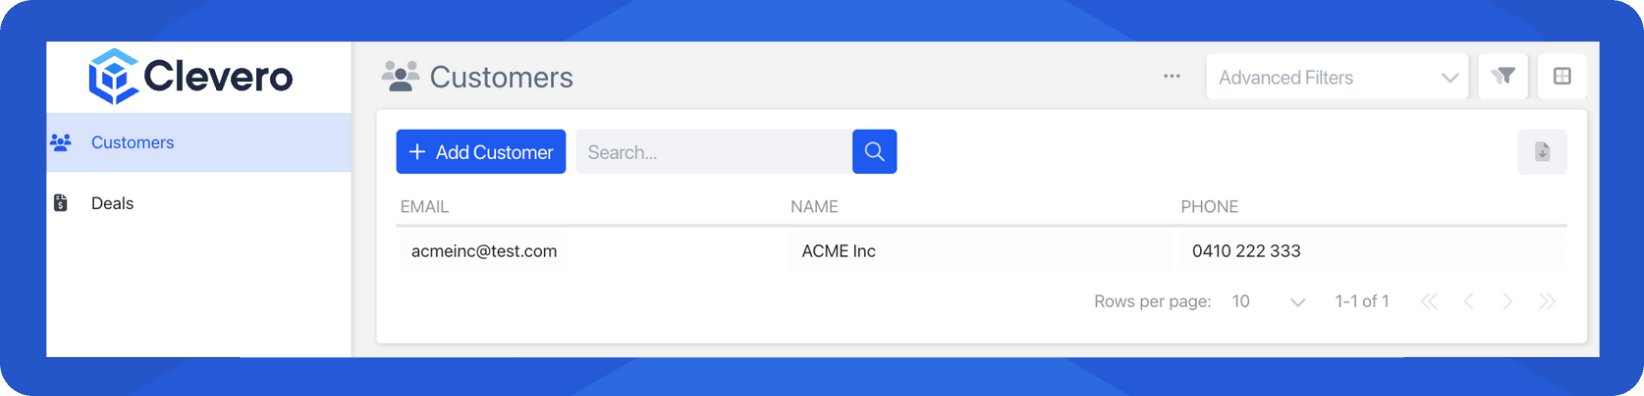
Step 2 - Add Your First Record
Now let’s bring the view to life with data. Let's add our first Customer!
- Click on + Add Customer.
- Enter Name, Phone, Email and.
- Select Submit to save the data.
- Your table should now look like this:
Step 3 - Repeat for Other Records
Create a Table Layout for Deals and Contacts. Each one will display data in a structured way, as shown below.
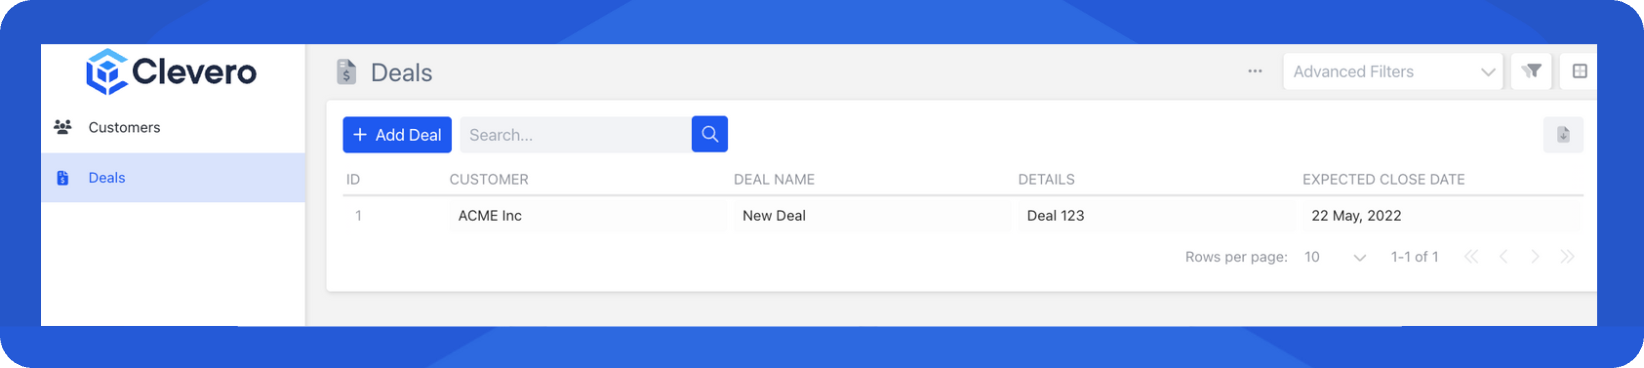
Deals
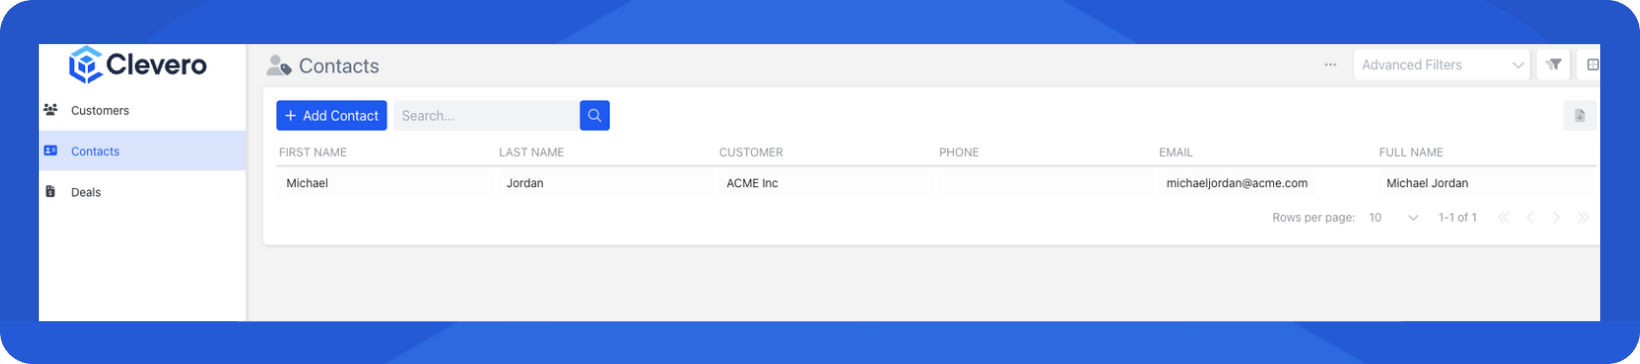
Contacts