Vero Links
Vero Links allow users to perform specific actions directly from a link inside an email or document. For example, they can be used to approve a record, update a status, or trigger a process in an instance. When a user clicks a Vero Link, it redirects back to the instance and executes the intended action automatically.
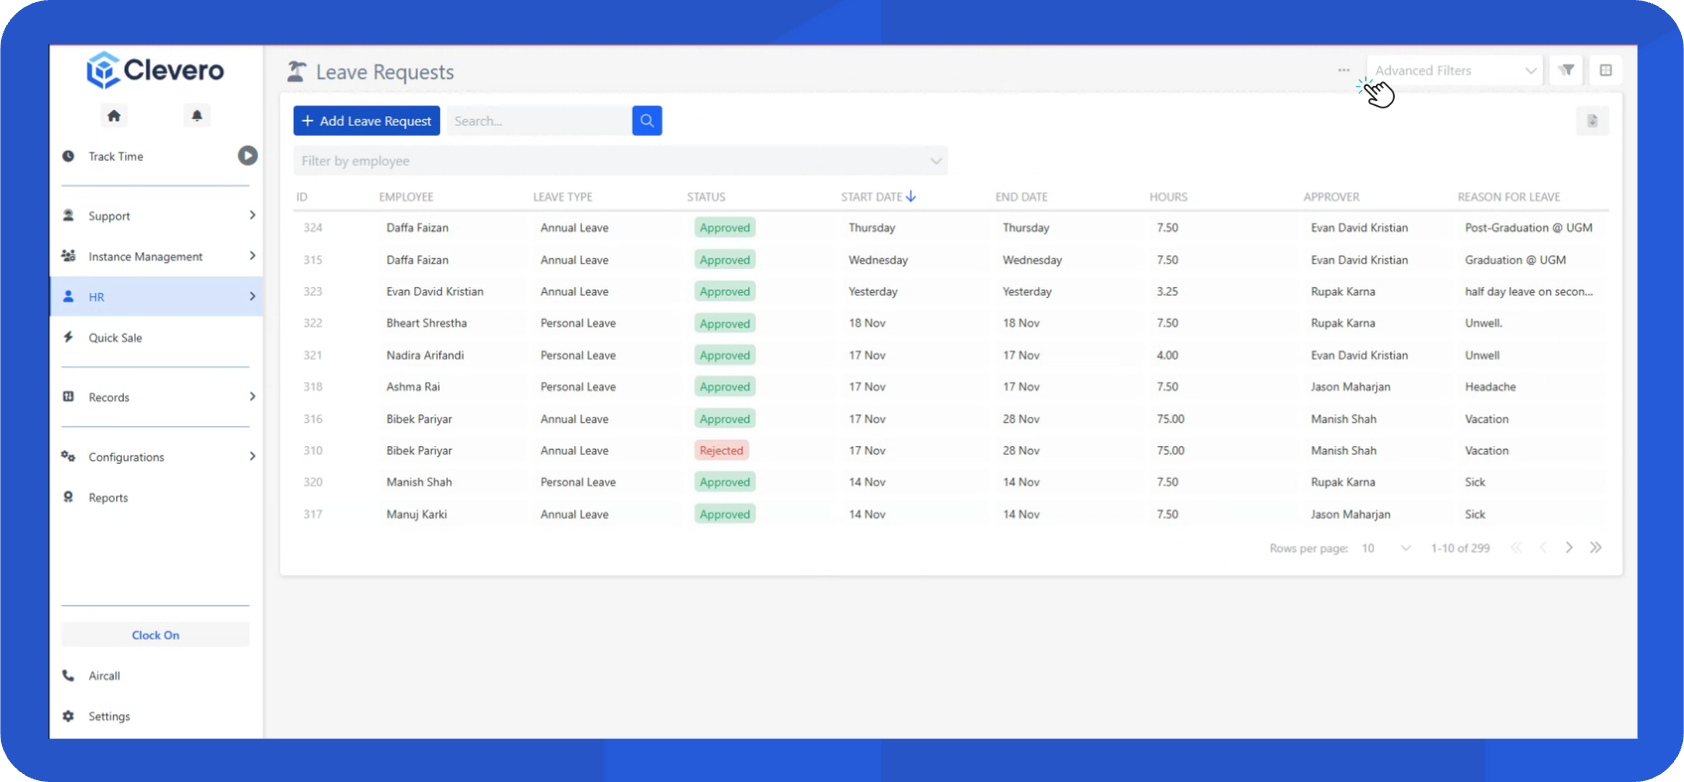
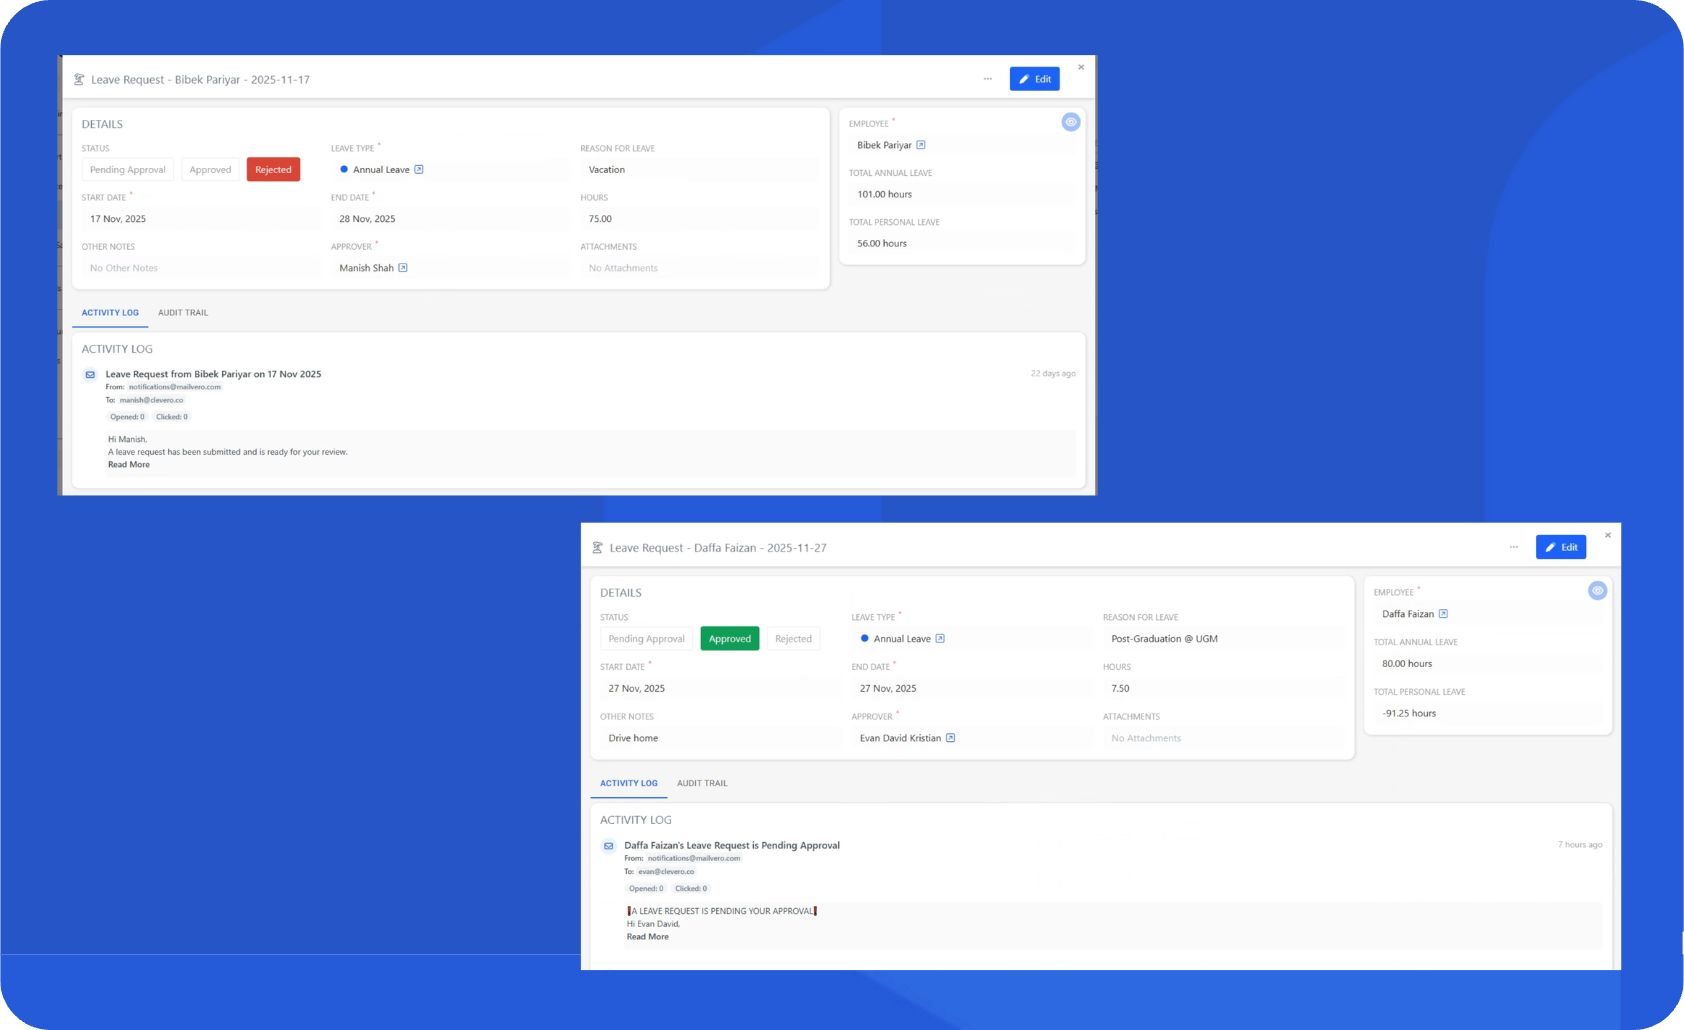
In this guide, we will create a Vero Link for a Leave Request module. When an employee submits a leave request, the approver will receive an email containing a Vero Link (e.g., Approve or Reject).
Step 1. Configure Script
Set up the script that will define what happens when the Vero Link is triggered (e.g., approve the request, reject the request, update status, etc.). After you deploy the script, it automatically runs when users access the link.
InfoPlease refer to the Workflow - Scripts page for more details on how to create a new script.
Below is the example script for the Approve action in a leave request workflow.
async function script(C) {
    //C.log("eventMetadata", C.getEventMetadata())
    const eventMetadata = C.getEventMetadata().autolinkUserData;
    //C.log("message: ", eventMetadata);
    //C.addJsonToSummary({ eventMetadata });

    const entry = await C.getEntry({
        entryId: +eventMetadata.entryId,
        recordInternalId: "leave-requests", // if not passed, current record's internal will be taken
    });
    //C.log("entry", entry)
    entry.status = [2718731];
    const response = await C.updateEntries({
        updates: [
            {
                value: entry,
                entryId: +eventMetadata.entryId,
                recordInternalId: "leave-requests",
            },
        ],
    });
    //C.addJsonToSummary({ eventMetadata: eventMetadata, entry, response });

    return {
        message: "Leave Request Approved",
        redirection: {
            text: "Go To Clevero",
            url:
                "http://app.clevero.co",
        },
    };
}
NotePlease contact our support team for assistance on configuring the script.
Step 2. Configure a Vero Link in a Template
- Open the record you want to configure.
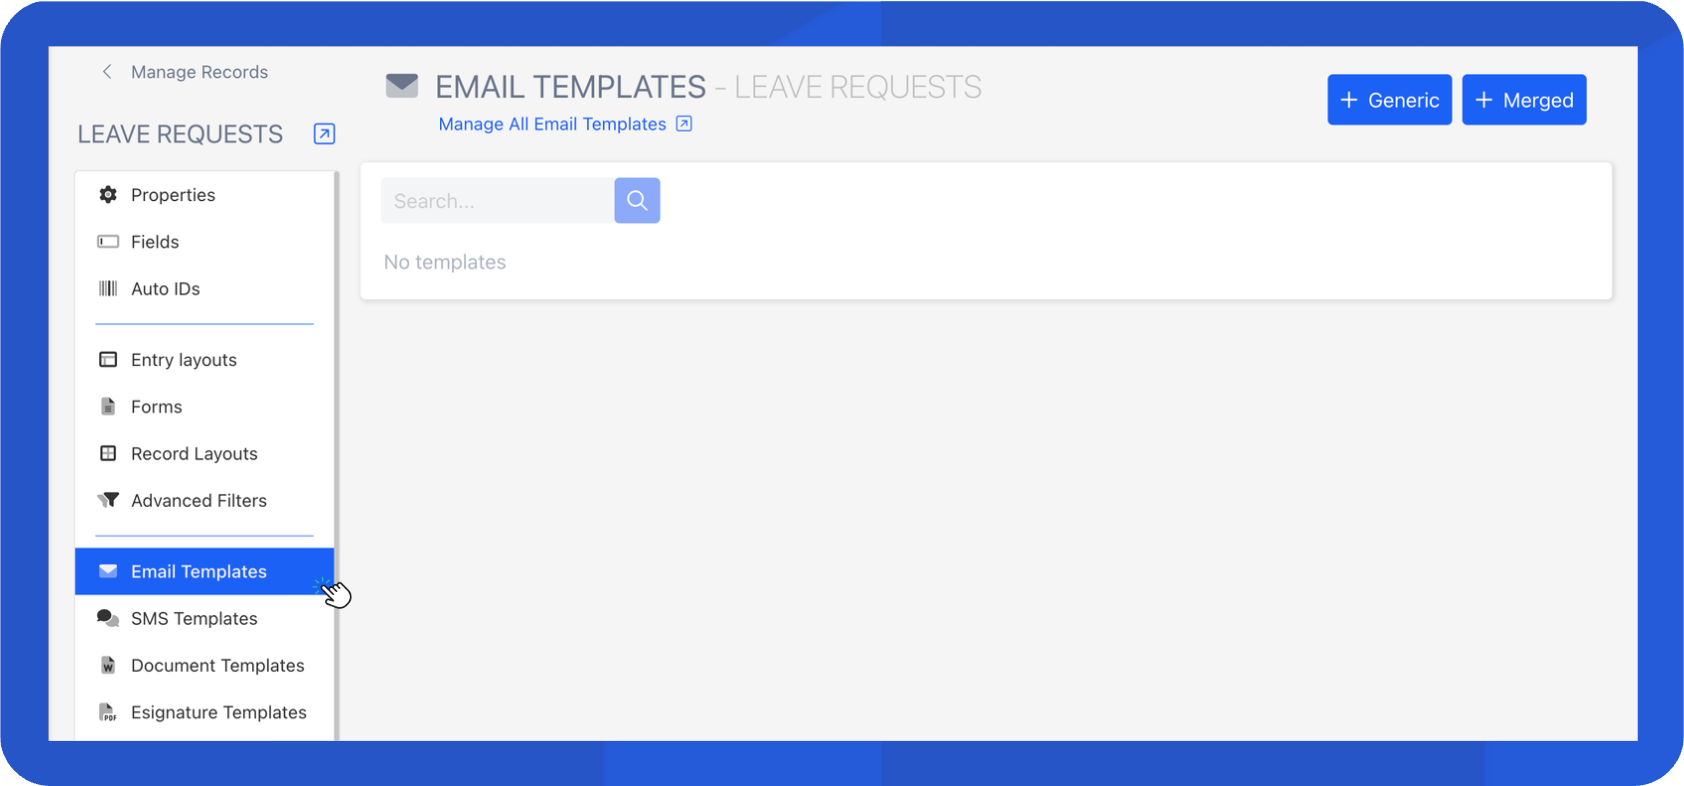
- Click the three-dot menu at the top right and select Configure Record.
- In the sidebar, select Email Template.
- Create a new one or select the existing template.
InfoLearn more about the types of email templates and how to create it in the Email Templates documentation.
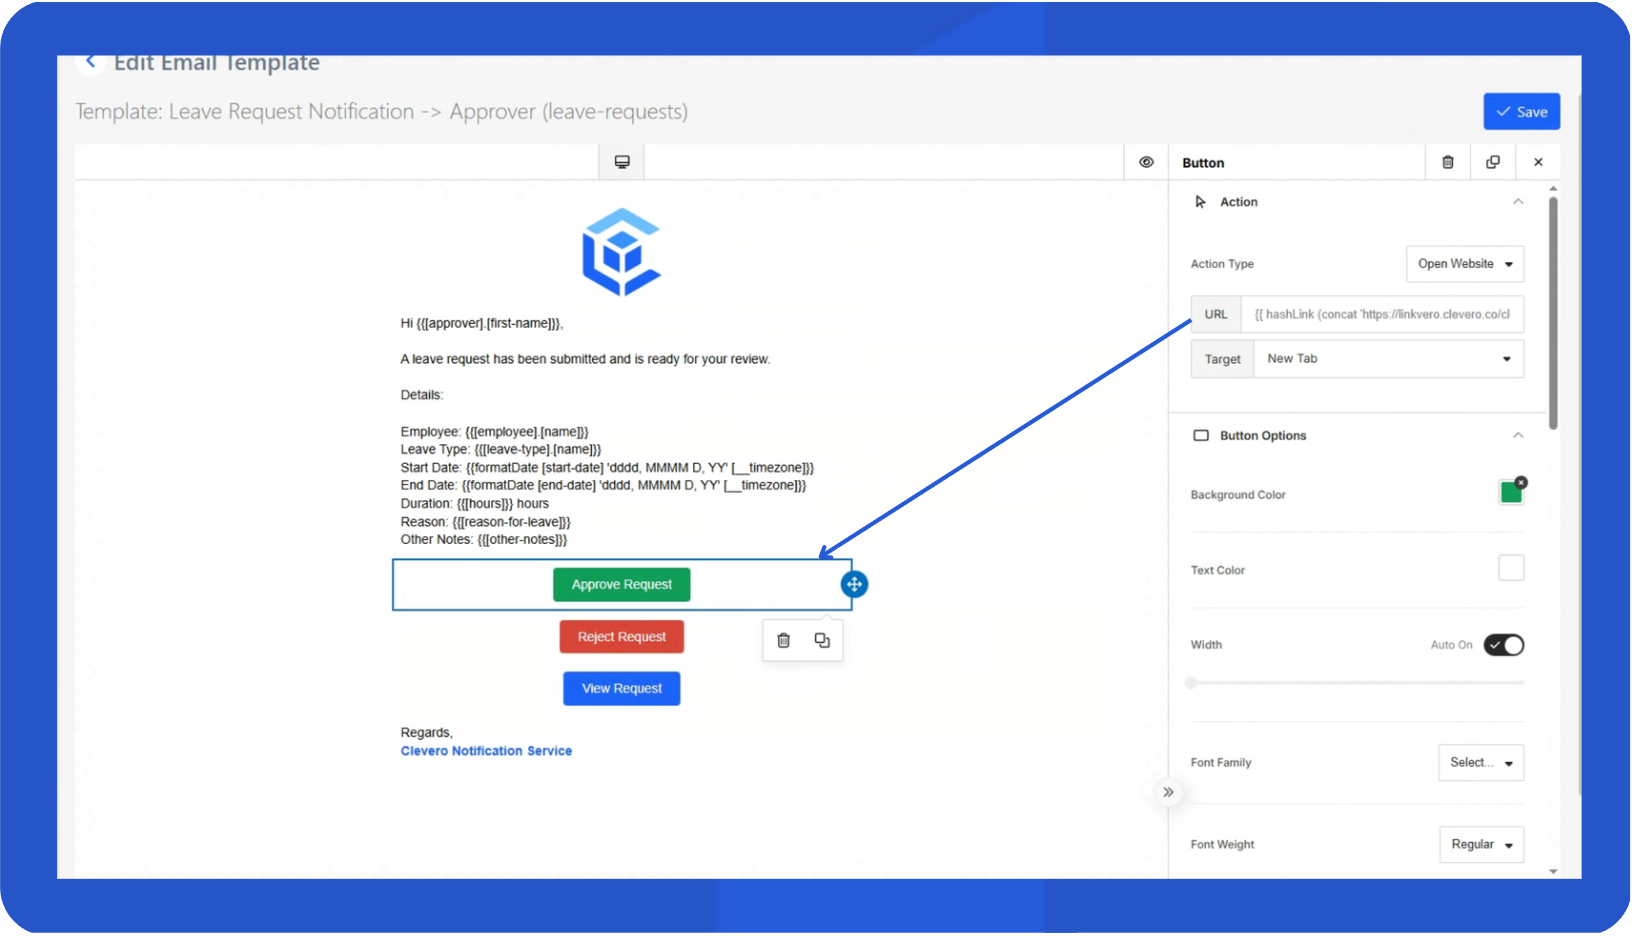
- In the email template, you will typically include action buttons that link to your record.
- Select the Button component.
- Drag and drop it into the template.
- In Action Type, add the Vero Link in the URL field.
{{hashlink (concat 'https://linkvero.clevero.co/<instanceID>?instanceId=<instanceID>&deploymentUid=<deploymentID>&entryId=' recordValueId '&recordInternalId=<recordInternalID>') }}| Parameter | Description |
|---|---|
| instanceID | The unique identifier of the customer’s instance. |
| deploymentID | The module ID where the record belongs. |
| recordInternalID | The internal ID of the record within the system. |
- Repeat the same steps for each action button.
- Click Save to apply the changes to the email template.
Step 3. Test the Vero Link
After everything is set up:
- Send a test email using the configured template.
- Click the Approve or Reject button in the email.
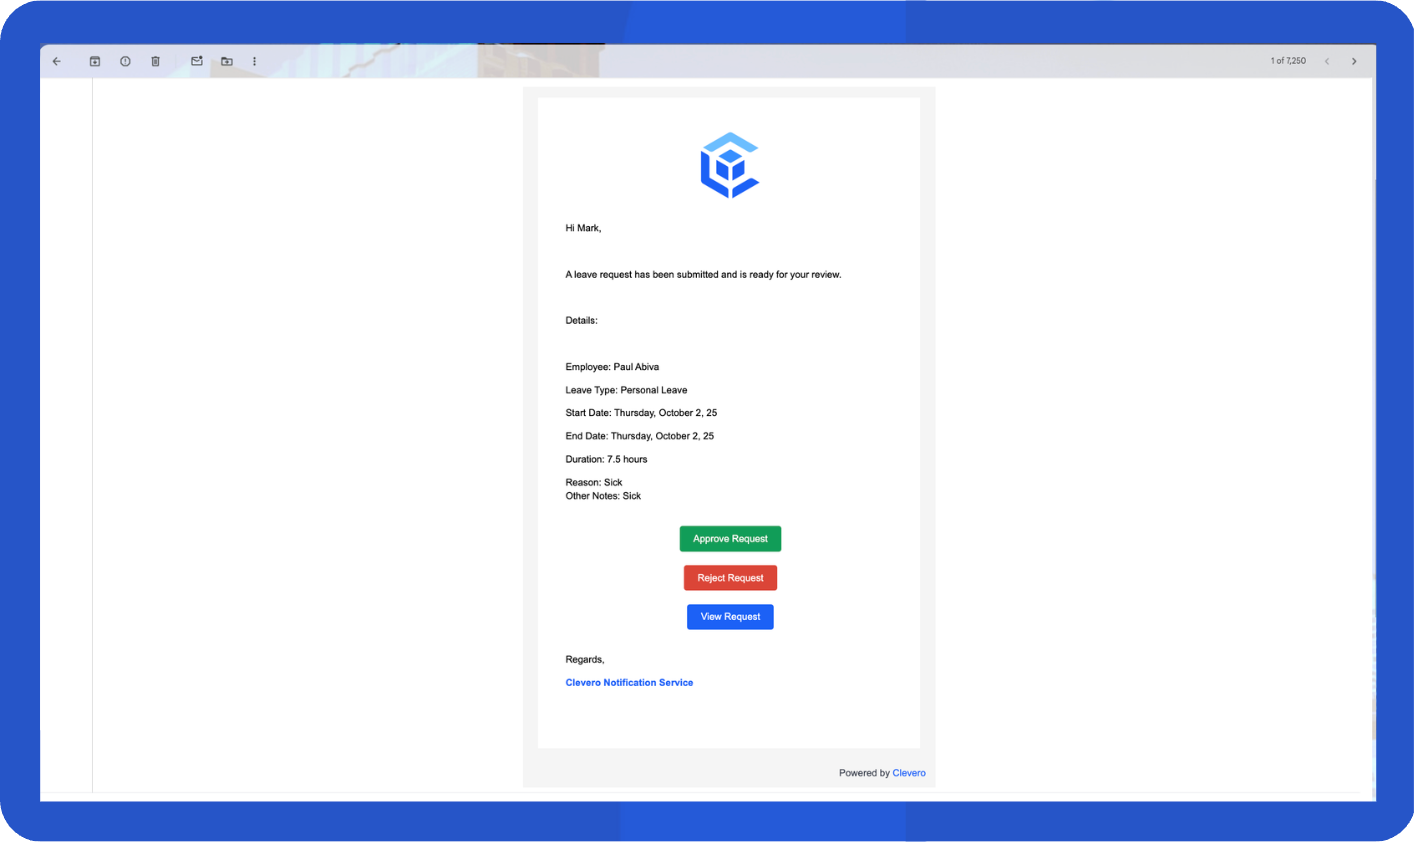
- The script should execute, and the record will be updated in the instance. For example, selecting Approve automatically updates the record status to Approved.
📌 Need Help?
