3. Configure Entry Layouts
- Set up an Instance of Clevero
- Create Records and Fields
- Create an Entry Layout
- Create a Navigation
- Create a View of Records
Overview
So far, we’ve created two records (Customers and Deals) and added fields to them. But, in our current state, we are unable to add any data as there is no User Interface.
We address this by creating an Entry Layout. An Entry Layout is the user interface for adding and editing records.
Video Walkthrough
Step by Step
Step 1 - Create and Design the Layout
- Navigate to Settings → System Settings → Records
- Select your record (e.g. Customers).
- Click on Entry Layouts menu.
- Click + Add Layout (top-right) to create a new layout.
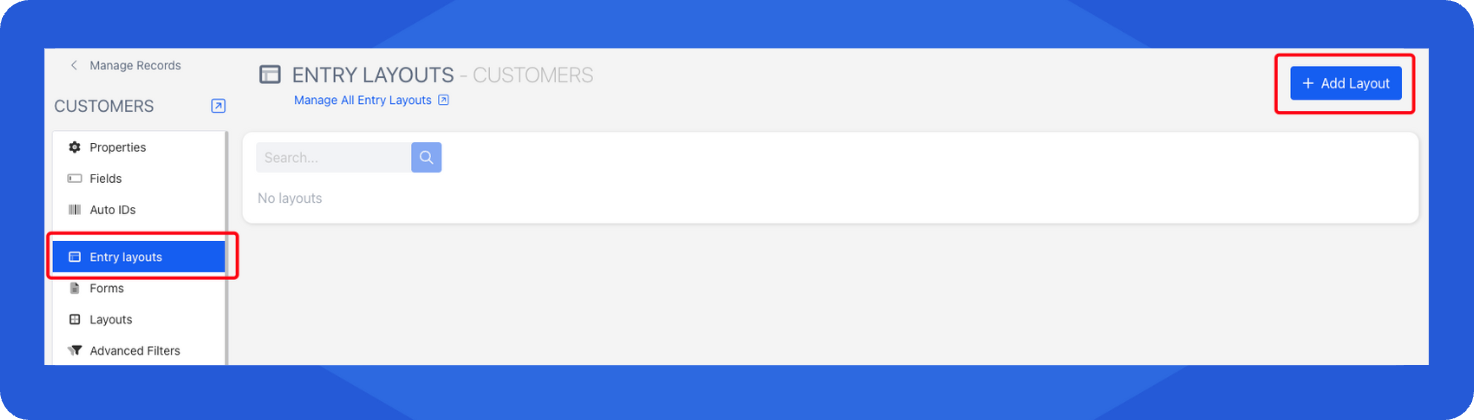
- If you’re in the right place, your screen will look like this:
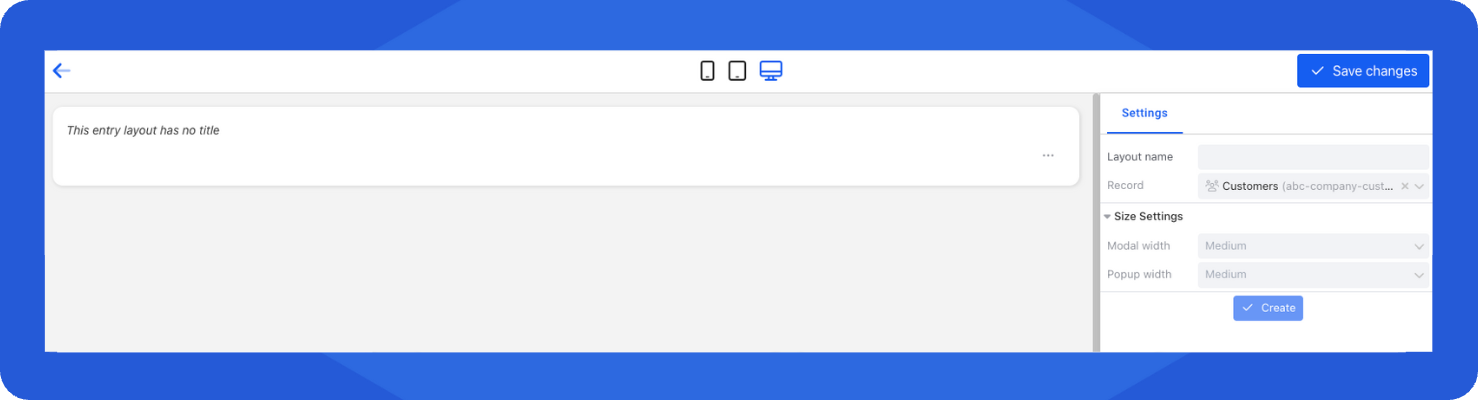
- Enter a Layout Name and click Create.
- Drag and drop elements to design your UI. In this example, we’ll add:
- Form Data
- A Field Group inside the Form Data
- Fields (3 of them) inside the Field Group
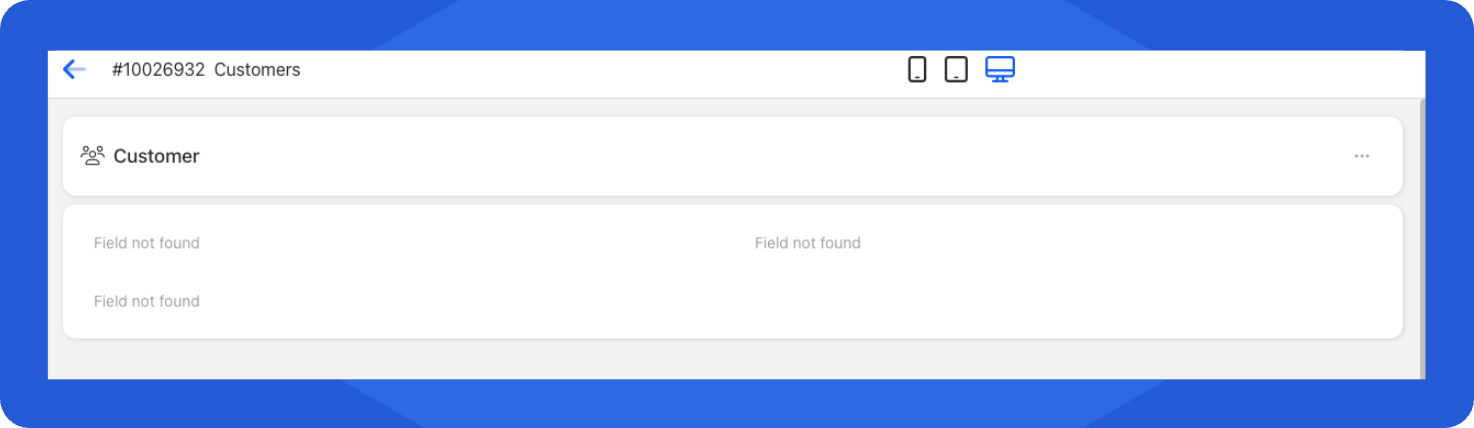
- Click into each field and choose which “Fields” to display (e.g. Name, Phone, Email).
- Once you're done with the layout, click Save Changes (top-right).
InfoTo understand more about Entry Layouts, see: Entry Layout Builder
Step 2 - Assign Roles to the Entry Layout
To make your Entry Layout usable, we need to assign it to a role.
- On your Entry Layout, click the Settings tab (next to Explorer).
- Set Action to View and Add.
- Assign one or more Roles (e.g. Admin).
- Click Save Changes to save the settings.
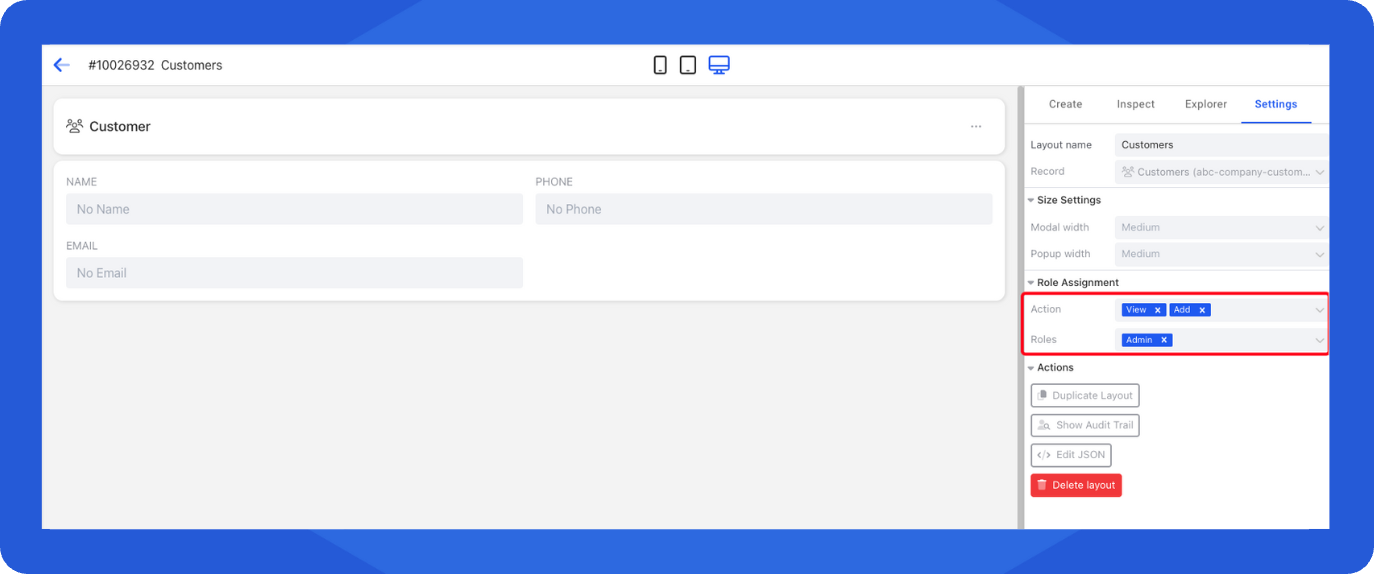
- Repeat the same process for your Deals record.